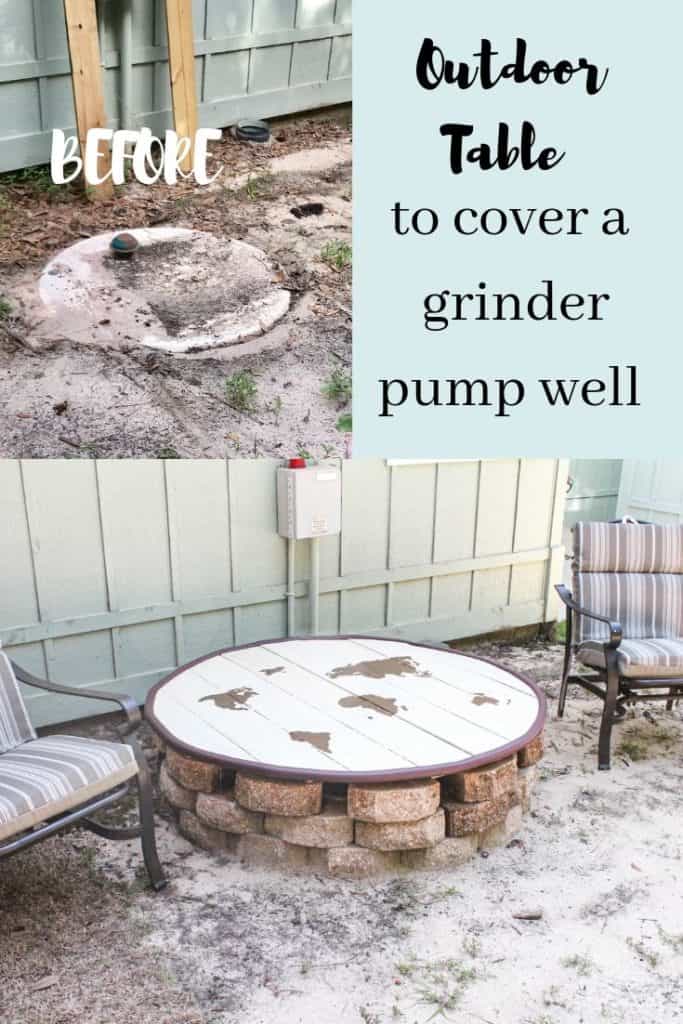
Why are grinder pump wells such an eyesore? I figured by now someone would have created a more pleasant way to display (or hide) that lovely round thing on the ground. In our case, the grinder pump well is right next to our porch! Ugh, what a bad design plan. It’s been a year since we moved, and I’m finally going to create an outdoor table to hide a grinder pump well.
For those of you that don’t know, this is a grinder pump well.
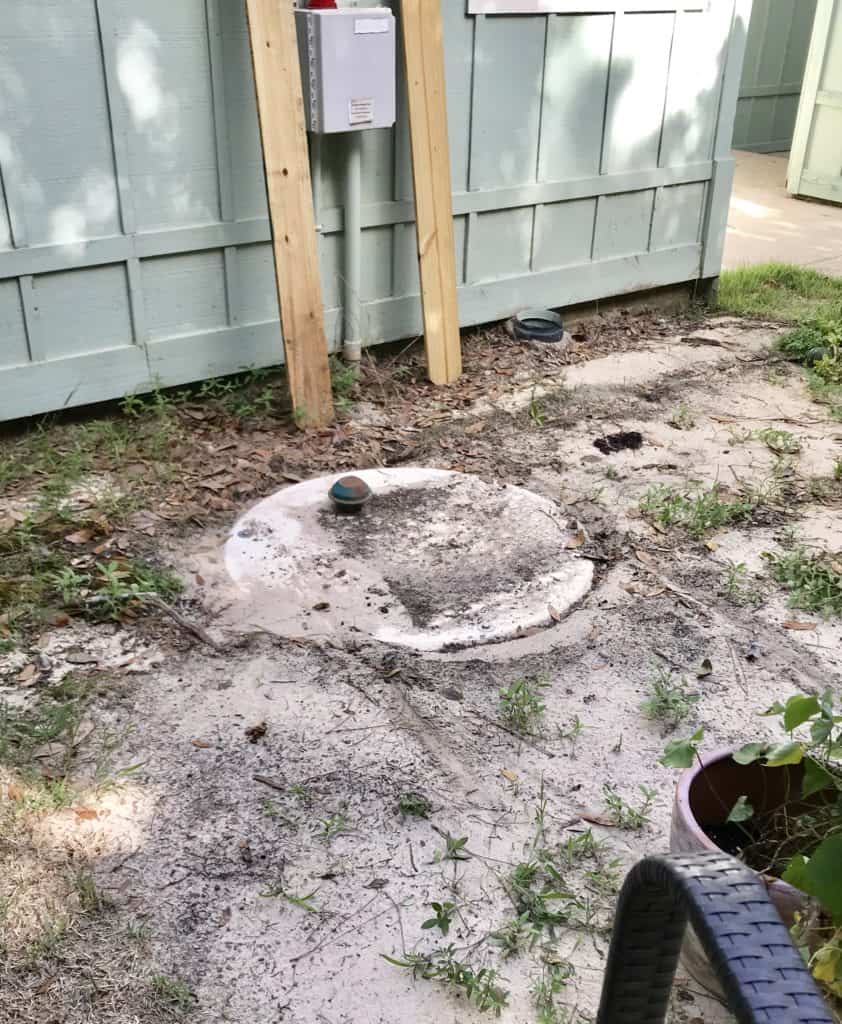
Like all utility box’s, I had to find a way to hide it and STILL be able to access it if needed.
I thought about laying large pavers over it. The problem with that is I didn’t want to add too much weight to the top for fear it might cave in. The thought of that makes me squirm. 🙂
Now what? I would have to find a way to cover it without putting something directly on top of it.
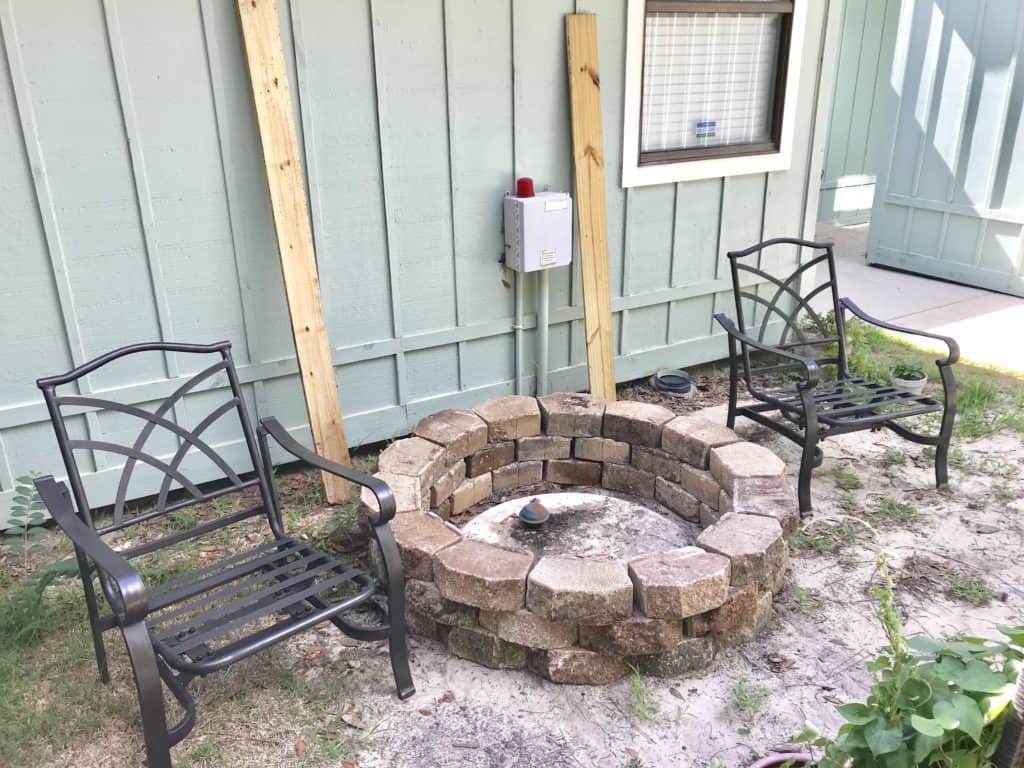
That’s when I got the brilliant idea to add pavers around it with a table top to create an outdoor table to hide the grinder pump well.
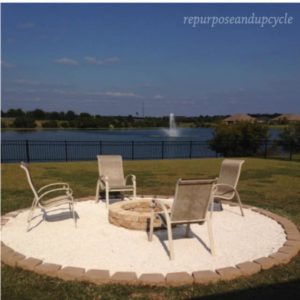
We did something similar in our previous home with our fire pit with pea gravel and pavers.
Just like in our last home, we had left over pavers that were laying outback that we could use!
Creating the base of our outdoor table to hide the grinder pump well
I didn’t have to do any pre calculating for the placement of the pavers because I was going to lay them on the outside of the grinder pump well (which is a perfect circle).
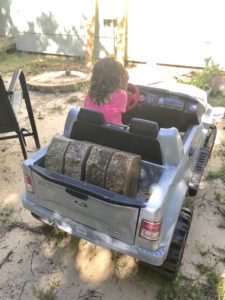
You like my little helper? That truck has come in handy for a few home projects over the years.

The hardest part about creating a perfect circle with the pavers is getting the spacing right for the last paver.
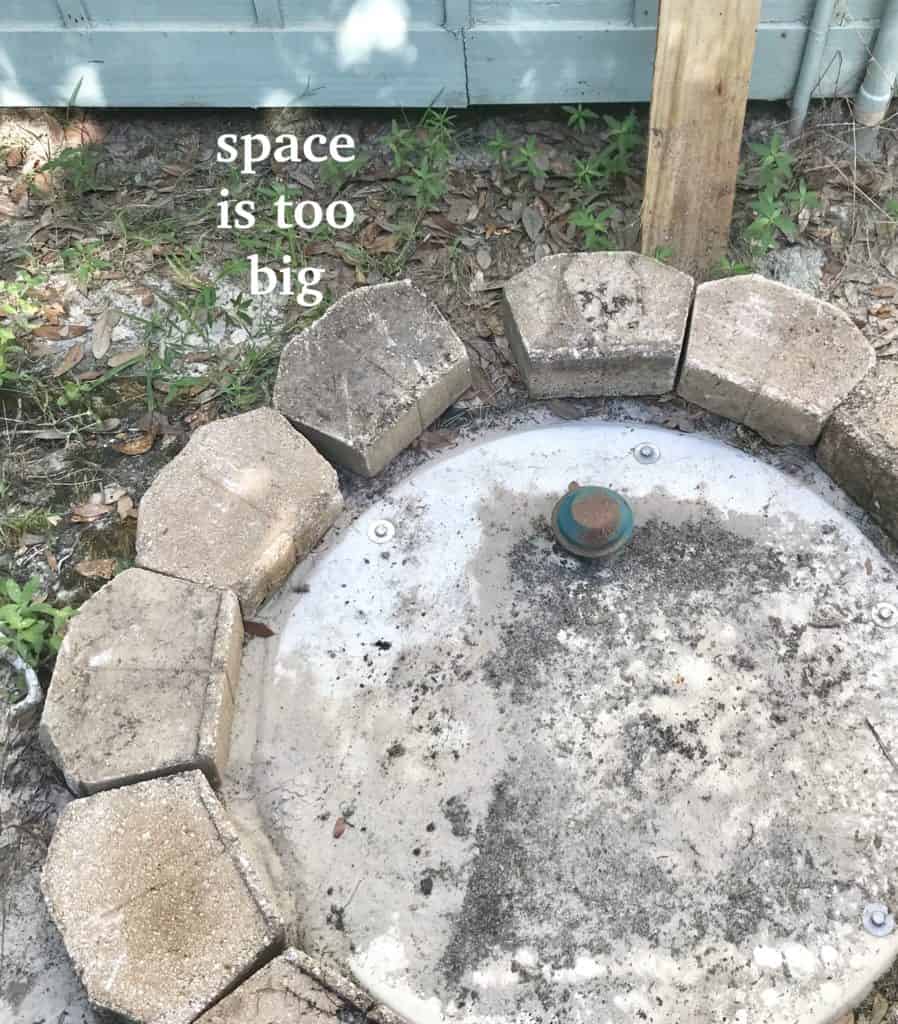
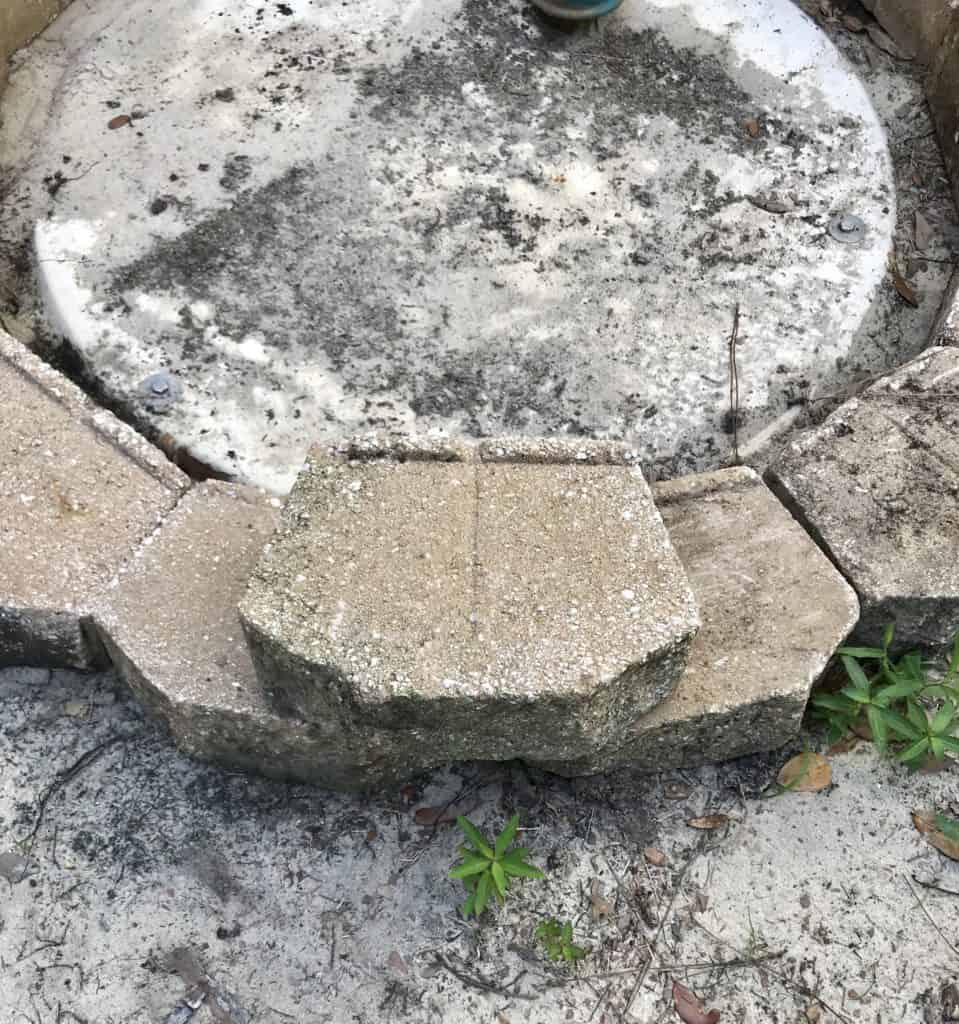
I shuffled the pavers out a few inches to create a large enough area for another paver to fit perfectly.
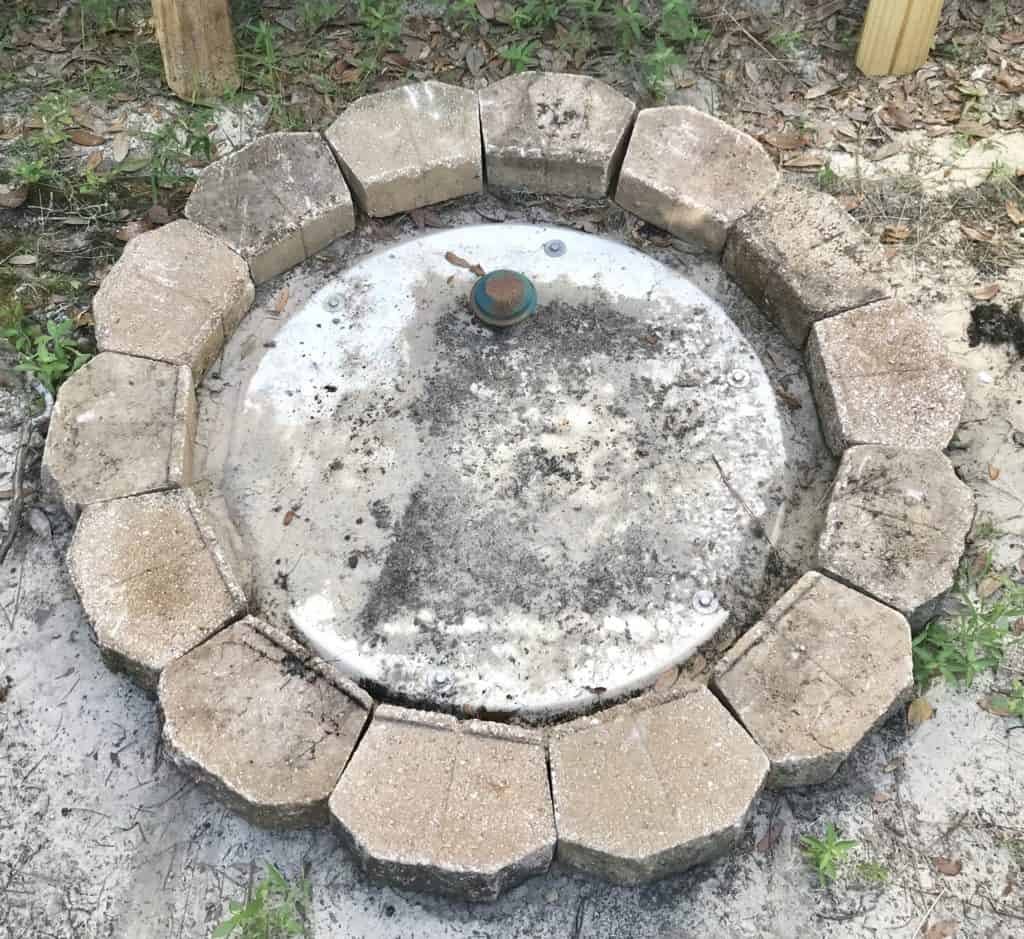
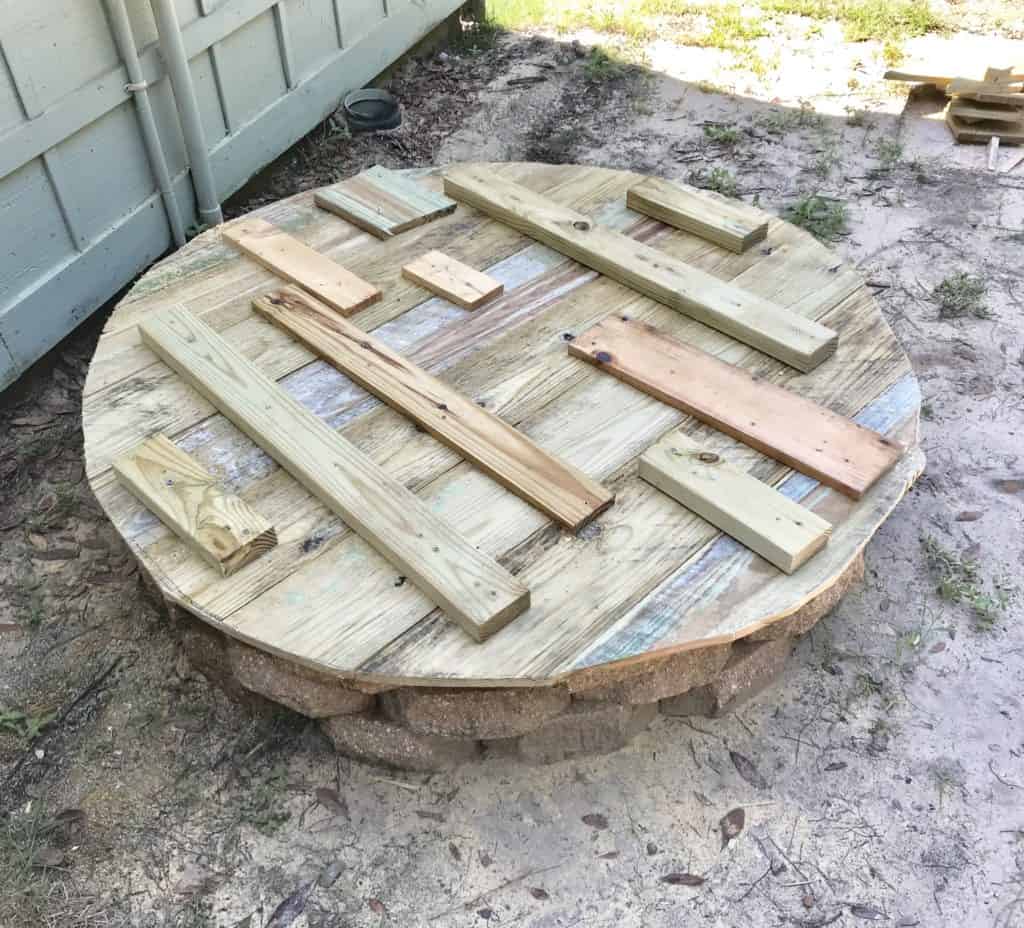
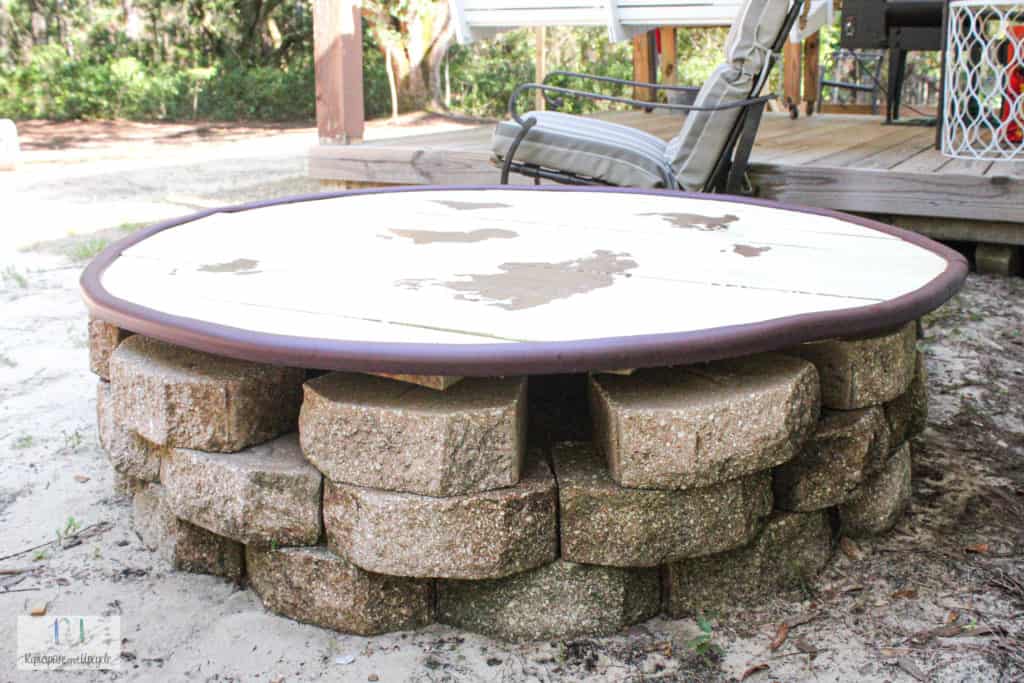
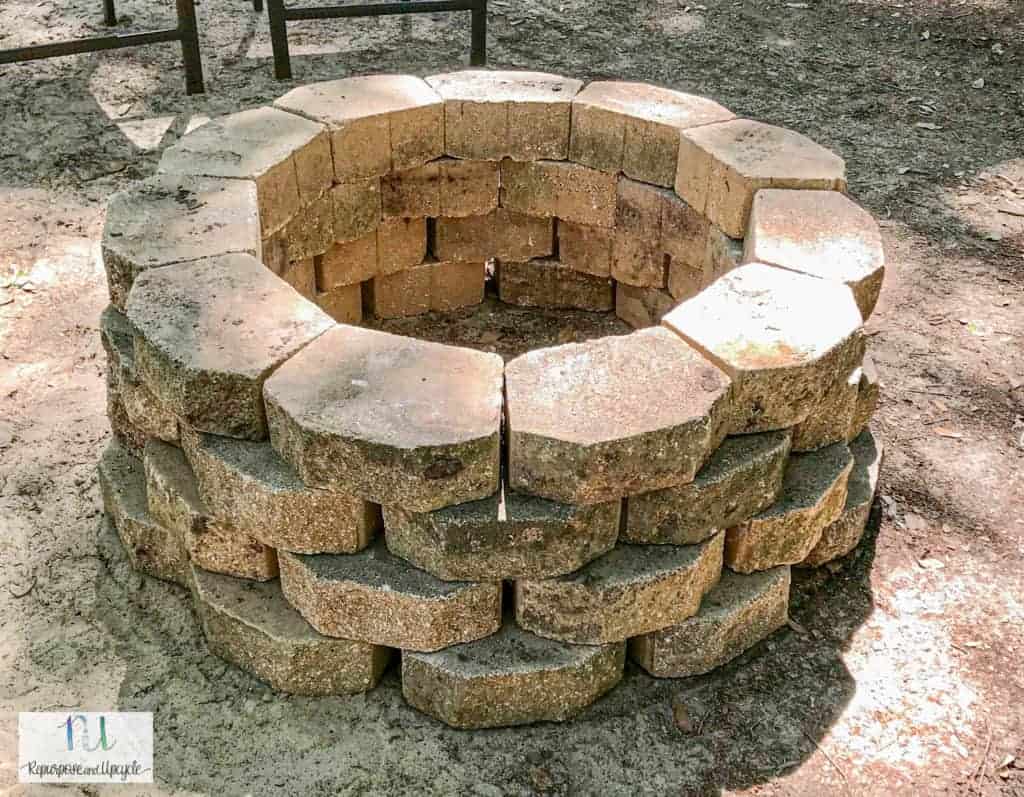
The first layer of pavers is done! I wanted at least two more layers.
You can see in the picture above that each layer of pavers sat behind the lower level of pavers.
I’m getting there!
I called it quits after I had three layers of pavers! About a week later I was laying in the bed and I had a thought…
On the top of the grinder pump well is a green “vent.” I figured if it came with a vent, then the well needed to “breath.”
Although we’ve never noticed a smell coming from the well, the last thing I wanted was the smell of sewage being trapped in there.
Sorry, I know that’s not a pleasant thought.
That’s when I decided to space the top pavers out by removing three of them.
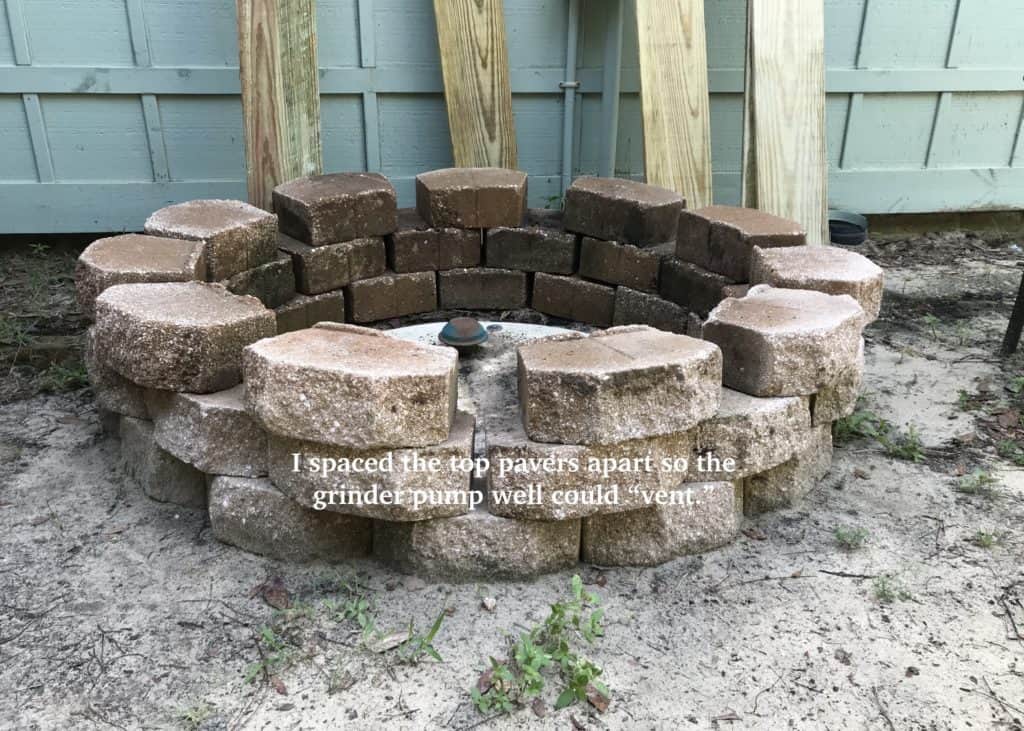
I hope that’s enough ventilation. If not, I can always go back and remove a few more stones.
Disclosure; this post contains affiliate links. As an Amazon Associate I earn from qualifying purchases. This disclosure statement refers to the rest of the amazon links and other affiliate links in this post.
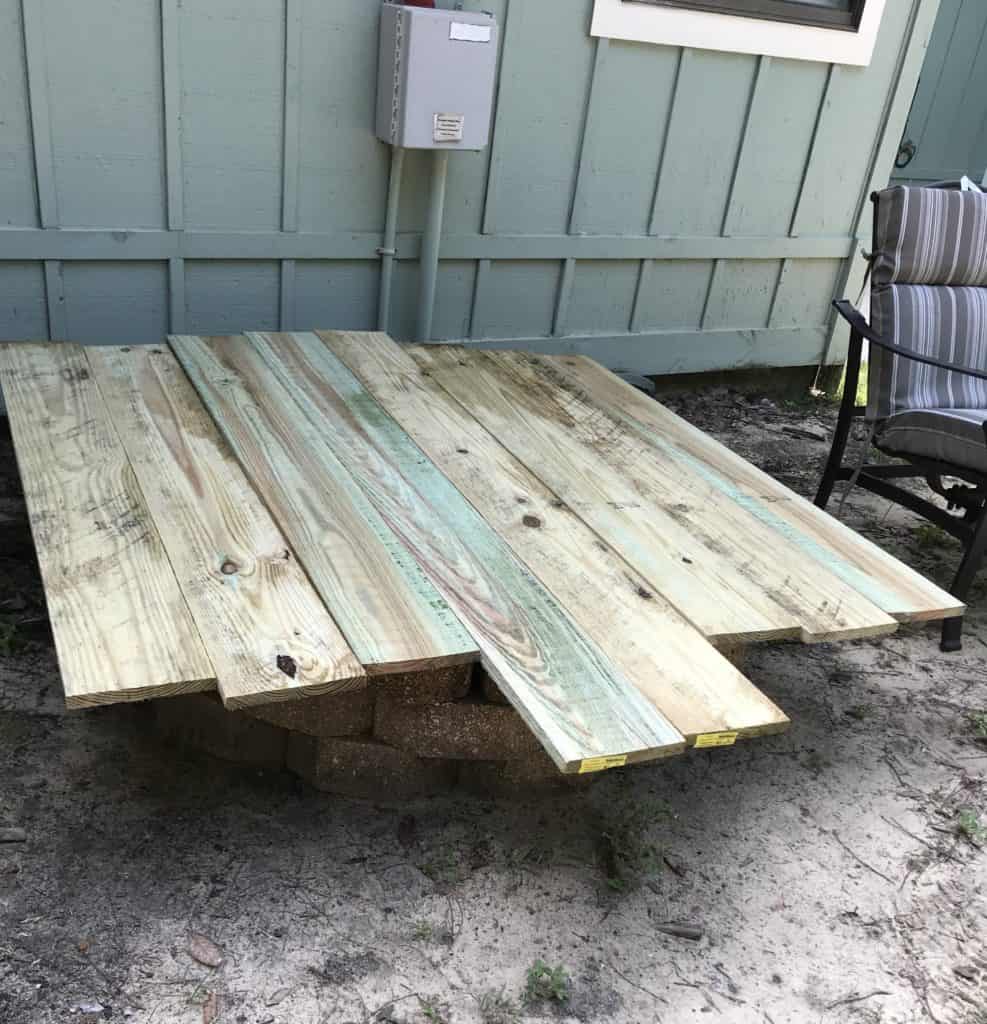
How to create a table top for my DIY outdoor table
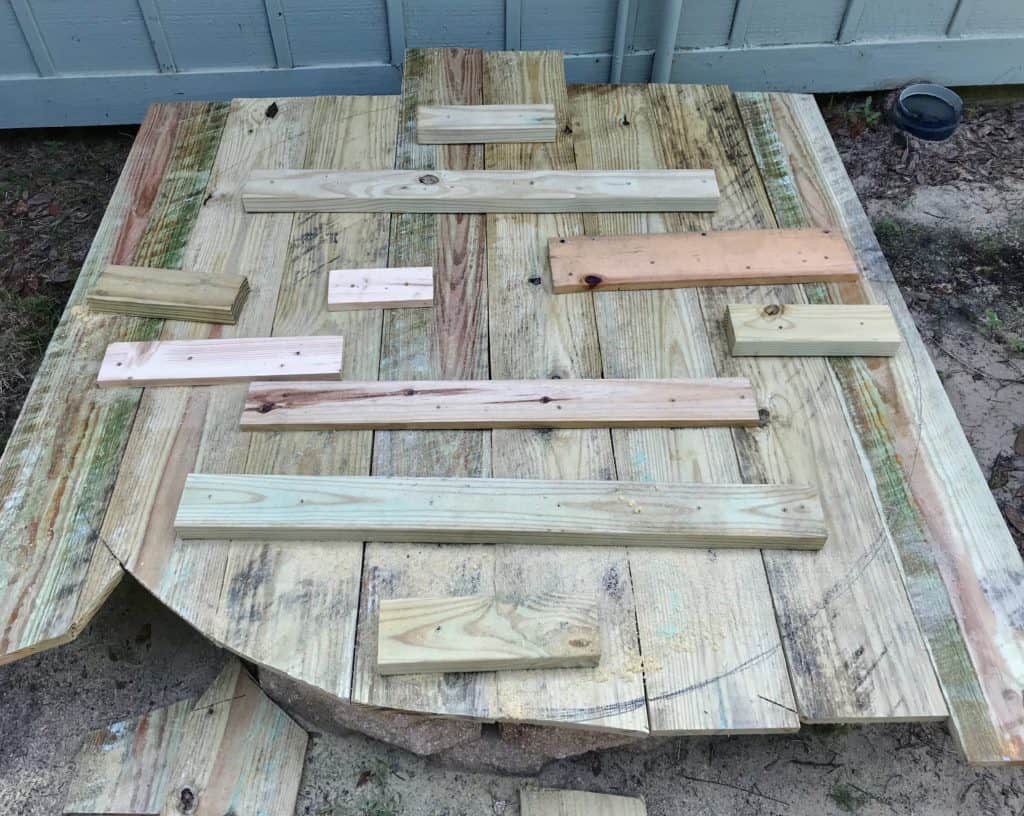
I purchased enough 1 by 8 pressure treated boards to cover the stones with a few extra inches all around.
Next, I measured the dimensions for the circumference of the table top.
I placed a screw in the middle and attached a string with a pen on the end measuring half of the circumference.

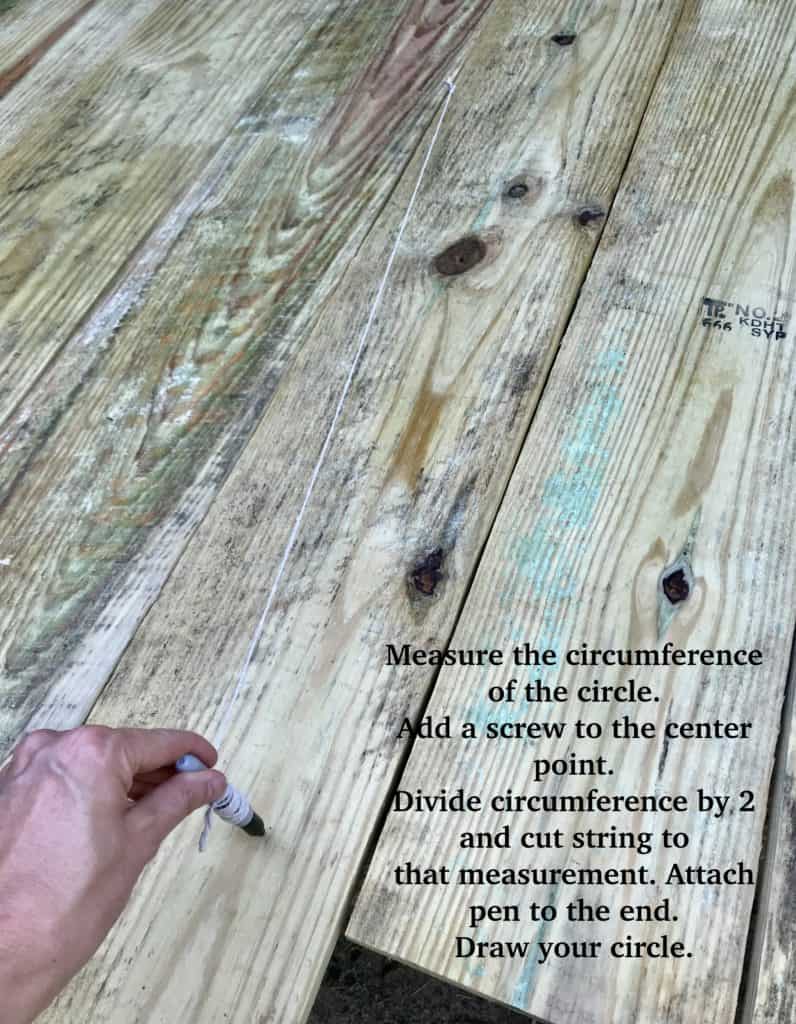
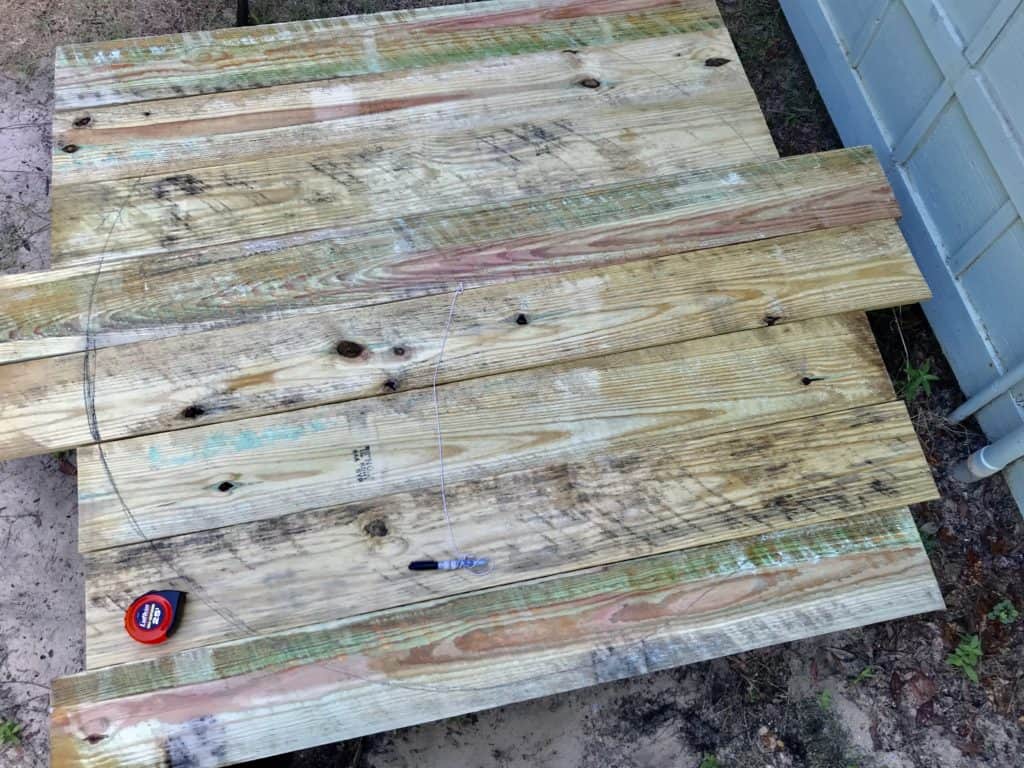
Can you see the faint line of the table top? If you squint you can! My marker didn’t do real well on wet wood. 🙁
Next on the list is to secure them all together with a few pieces of scrap wood.
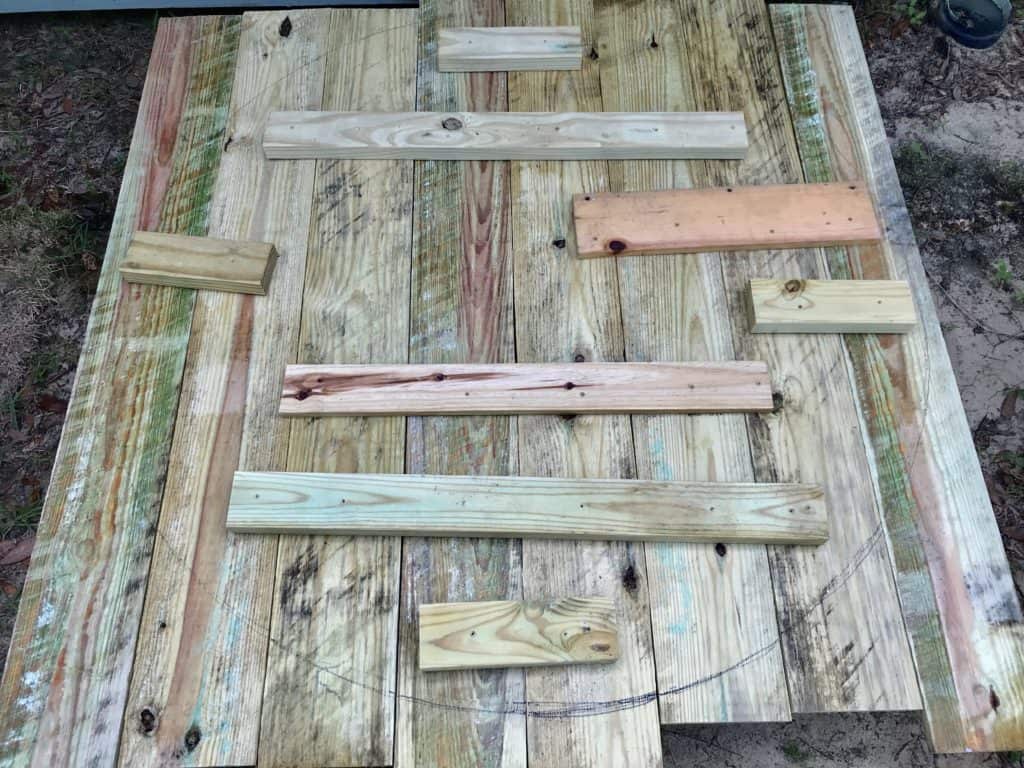
Word of advice; don’t place your wood too close to the edge because you need enough clearance for the radial saw (or jig saw).
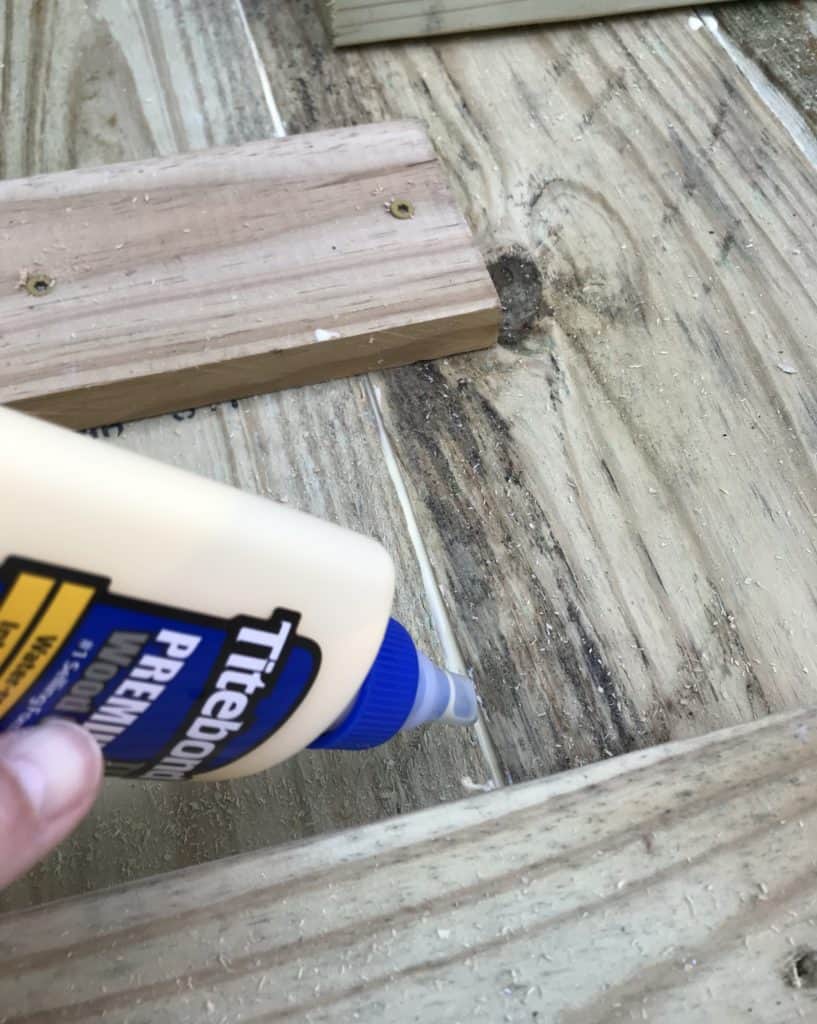
Once you’ve secured the table top together with wood screws, add some wood glue to the seams for extra strength.
Next, grab a radial saw or jig saw (the radial saw works better for a job like this in my opinion) and start cutting the circle.
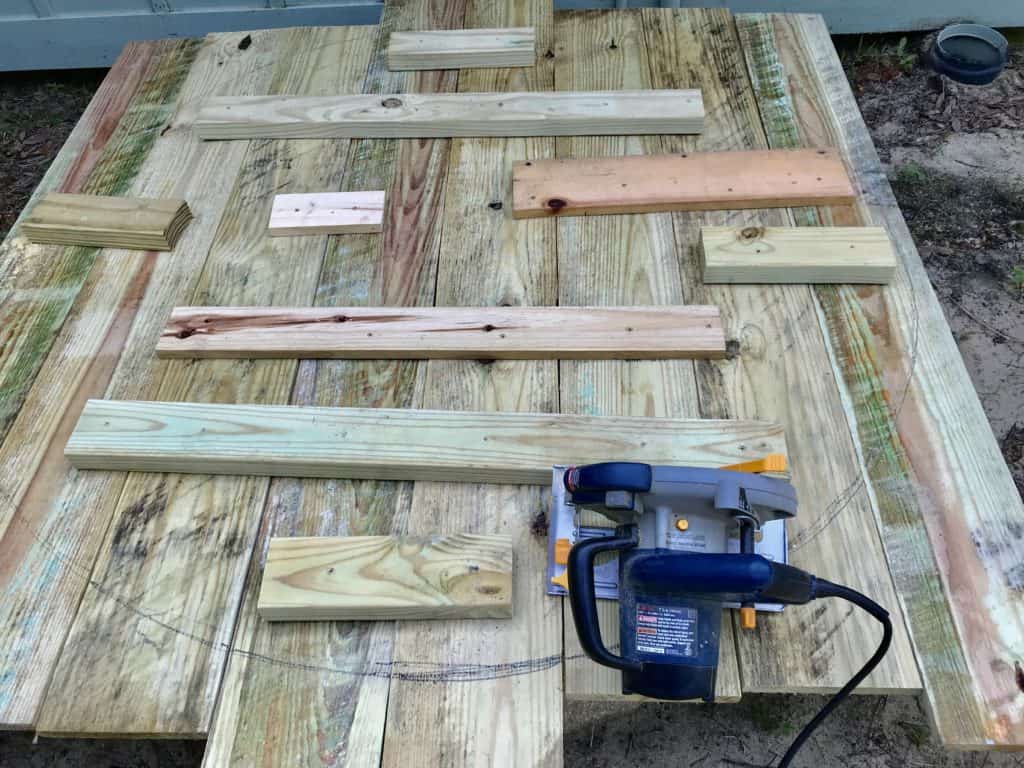
Another note; if I could do this again I would have cut from the top. That way I wouldn’t have had to work around the support wood. DUH!
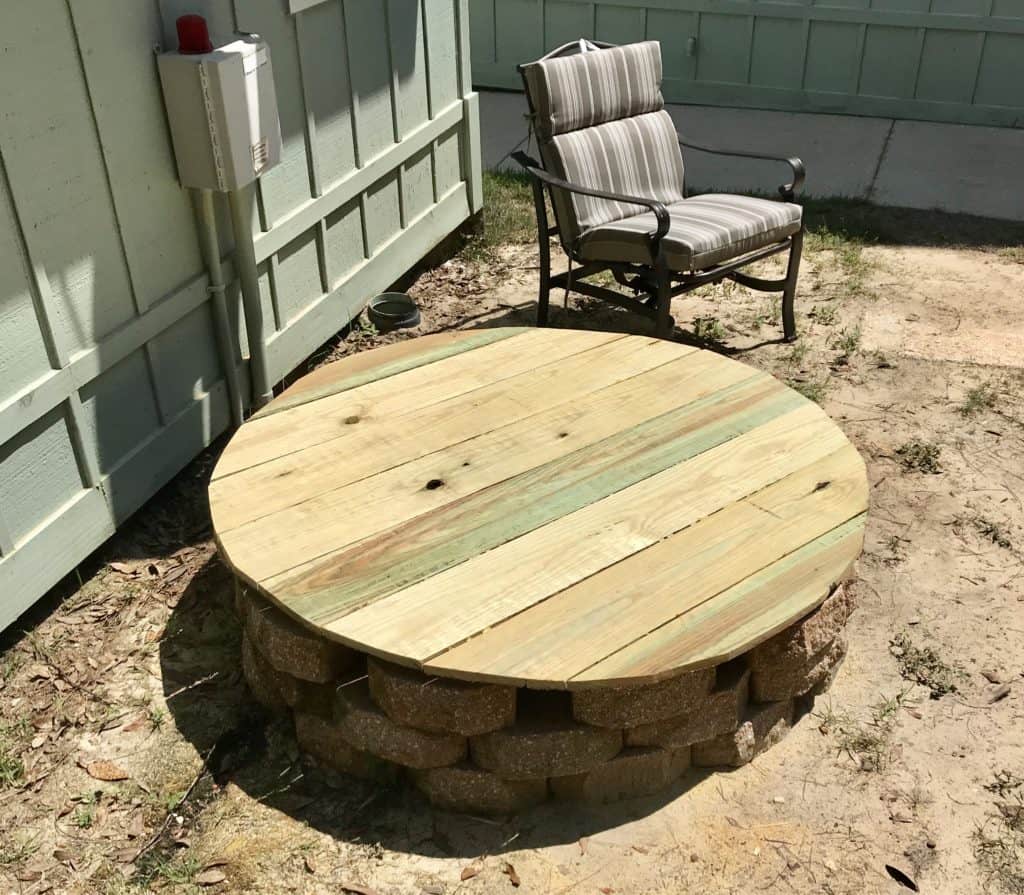
It’s time to flip it over and see what it looks like!
Next on the list; sanding the table top!

Once I rough sanded enough to be happy with it, I pulled out the paint.
I chose a product from DecoArt called Patio Paint. I chose this paint because it comes in a lot of colors and doesn’t require a topcoat!
I wanted the table top for the outdoor table to be a little more decorative than just a wood slab.
I chose to use the color Daisy Creme for the base.
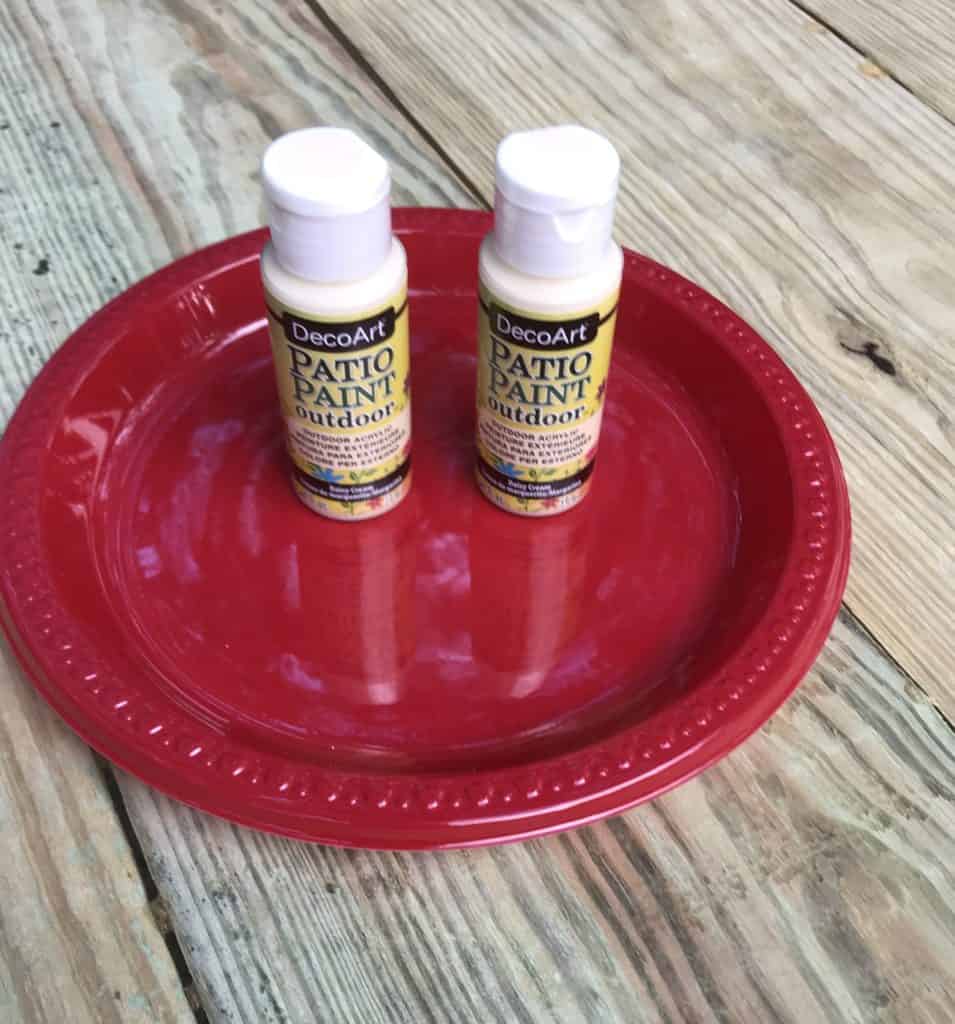

I wanted to keep it neutral without being “white.”
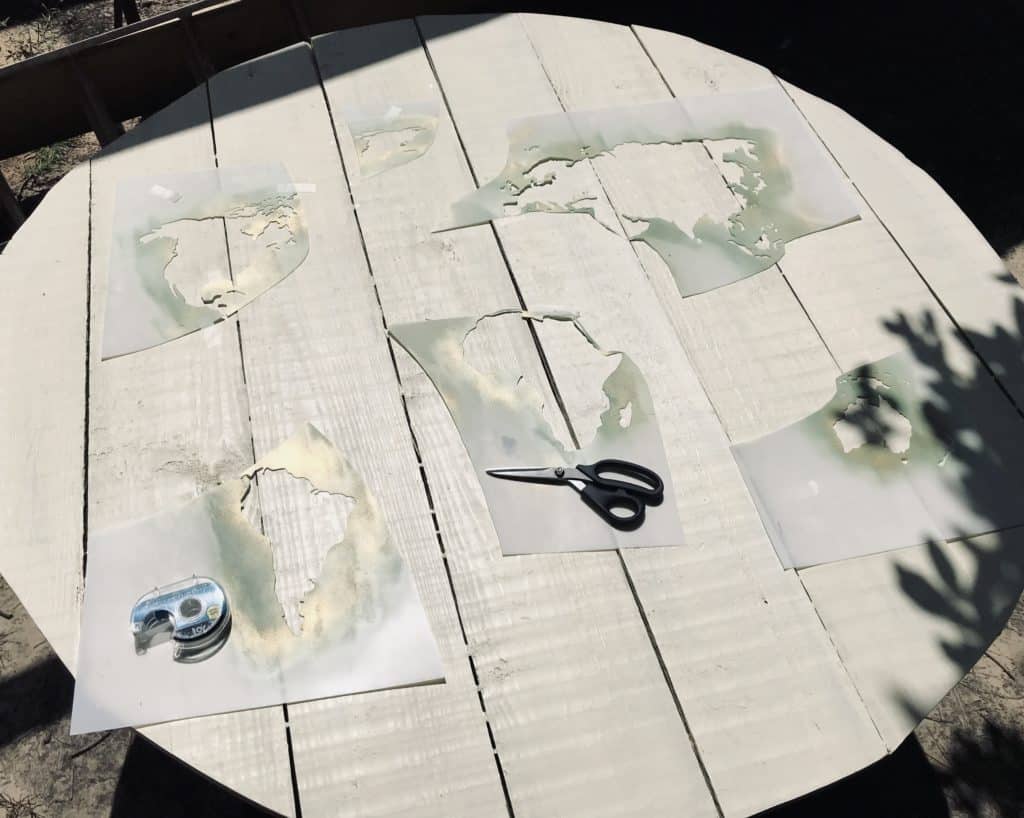
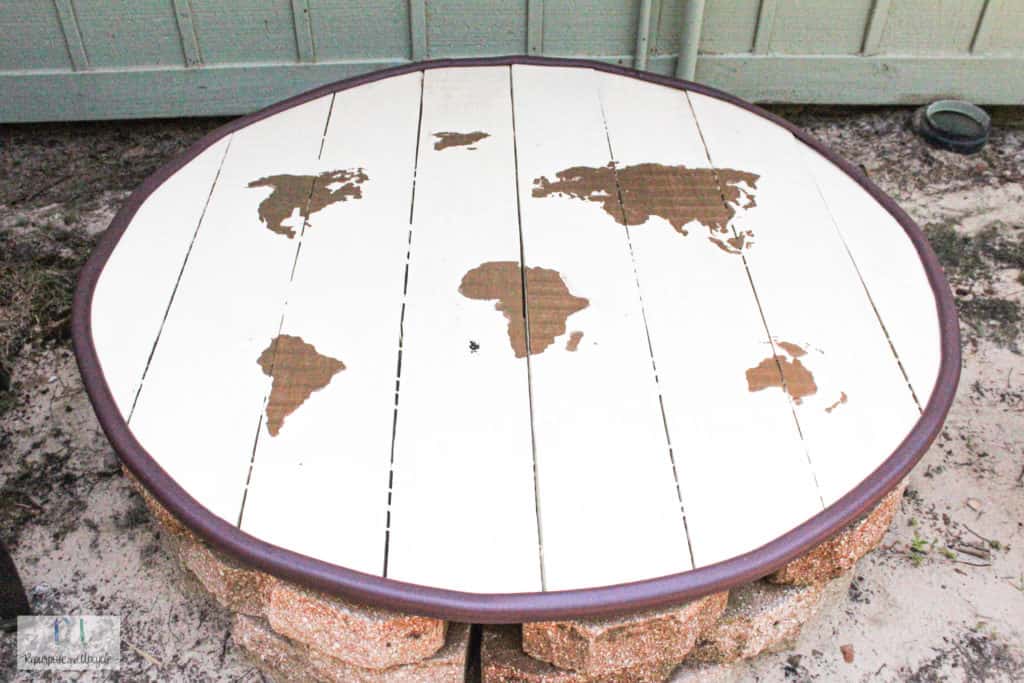
Now for the fun part! Remember this world map project I did a while ago?
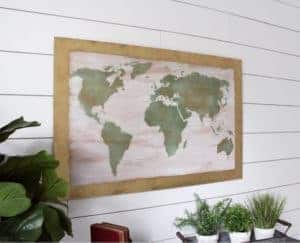
I chose to reuse the stencil for my outdoor table top.
I picked the color Rich Espresso for the stencil. It has a really nice shimmer and I thought it would contrast the light creme color.


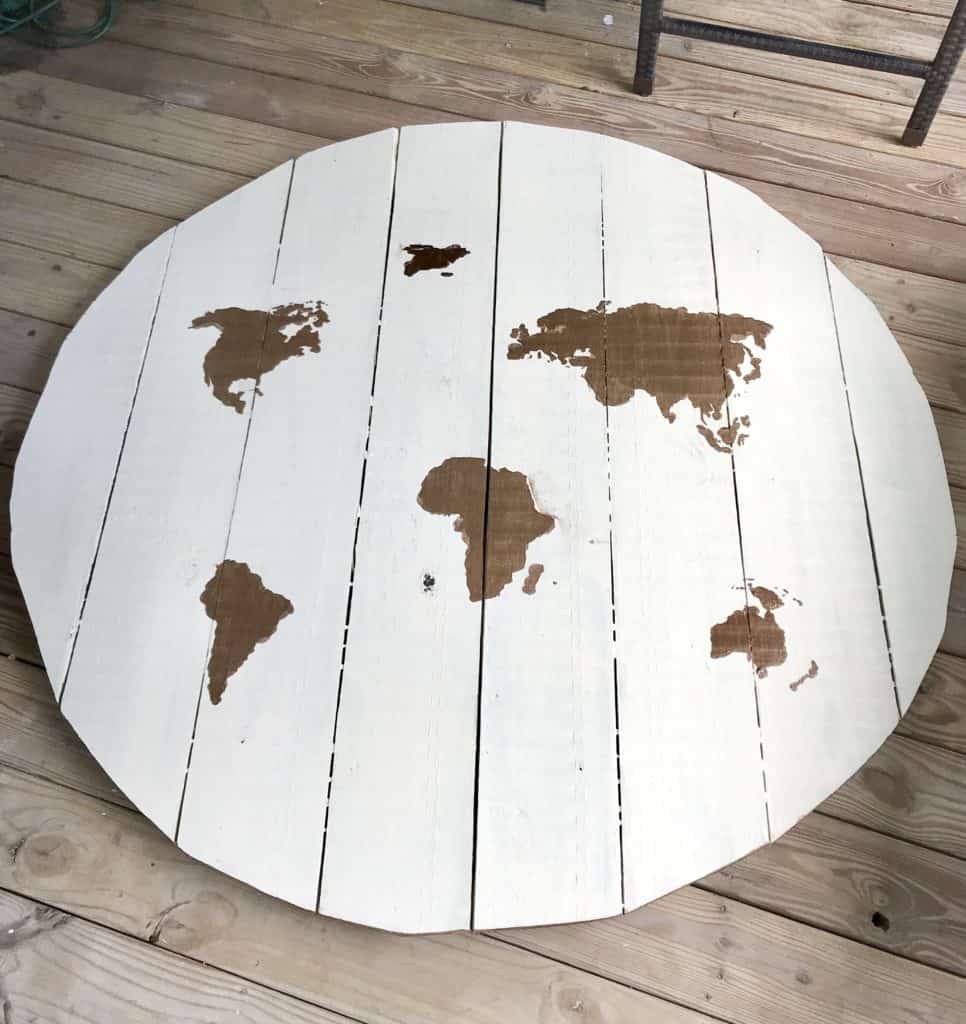
Almost done!
Don’t look too close because it’s not perfect, but I’m pleased for the most part.
I wanted to find a creative way to add a border on the outside edge of the table top because no matter how hard I tried, I just couldn’t get a perfect circle. Ugh.
I had high hopes that the “border edge” would hide any imperfections and make it look a little more “finished.”
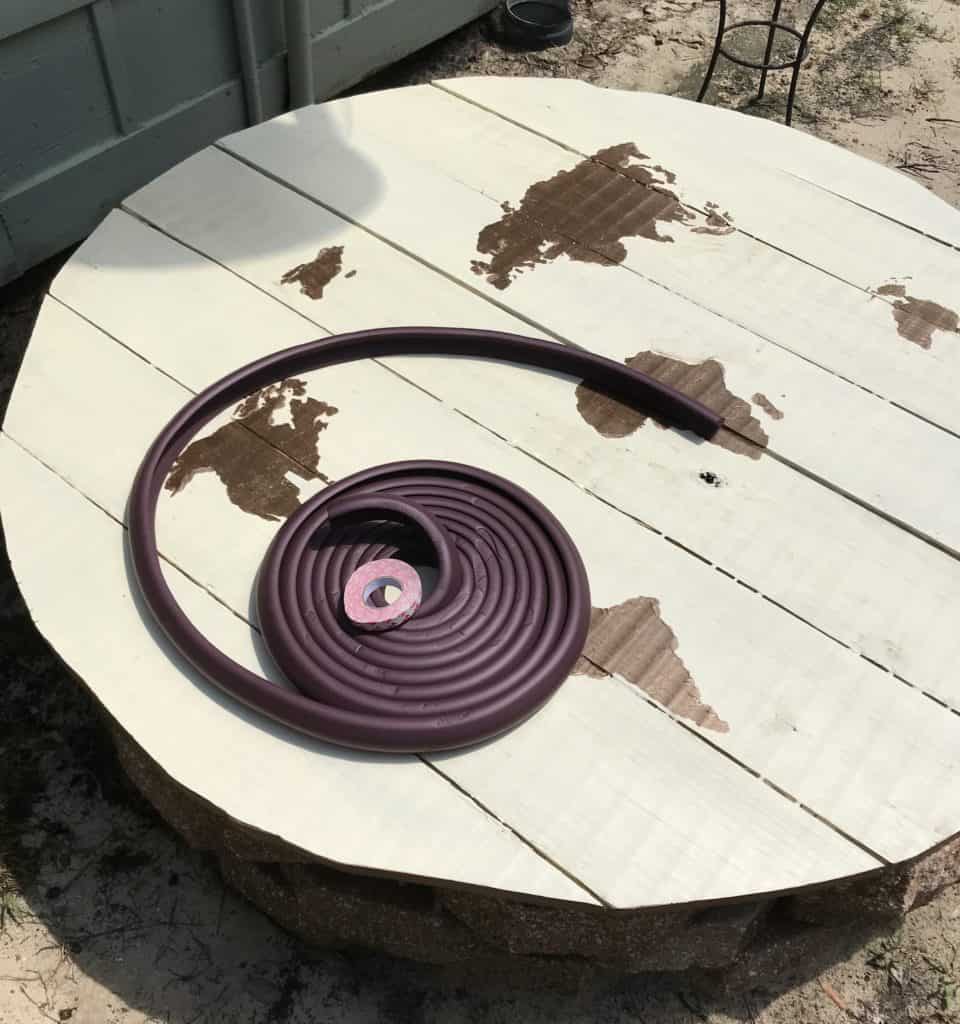
Any guesses what that is?
It’s baby proofing edge!
Now, I know what you’re probably thinking. I know it’s a little crazy….but I strolled through the isles at the hardware store and just couldn’t think of anything else. I know it won’t last forever, but hopefully by the time it needs to be thrown away I’ll be on to another project for this area :).
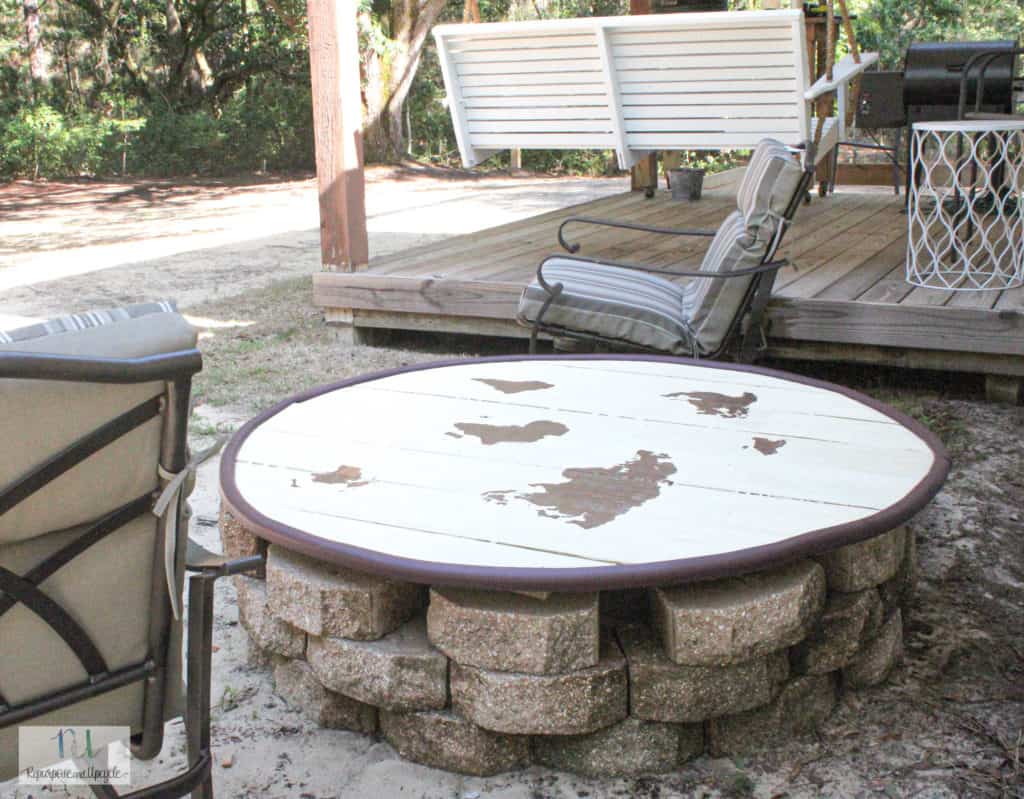
I applied the table “edging” and now I can call it done!
Outdoor table to hide a grinder pump well
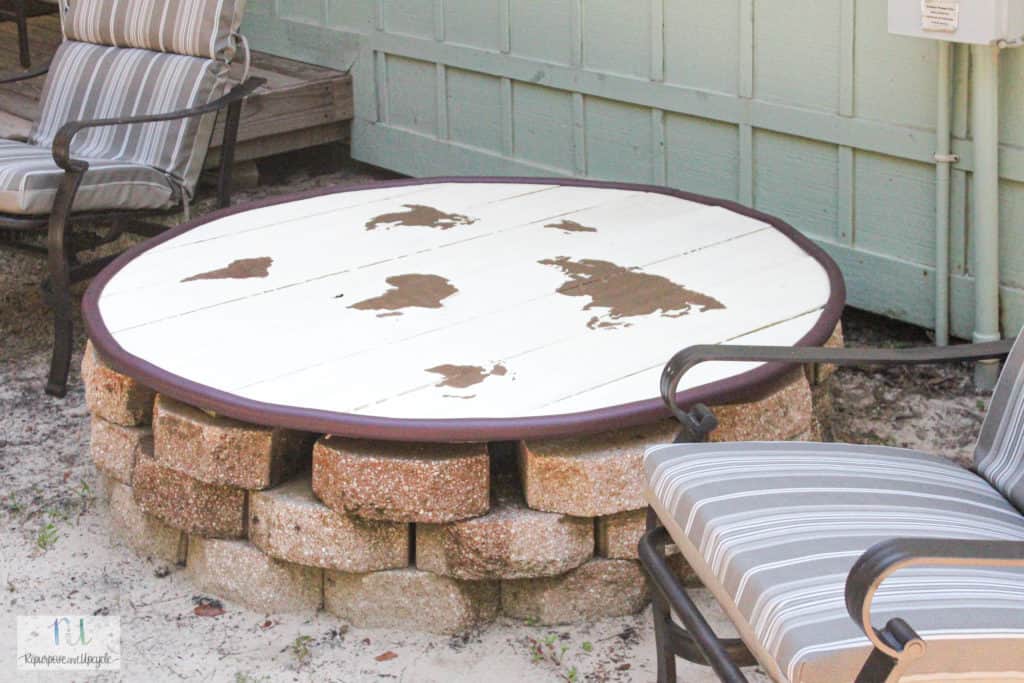
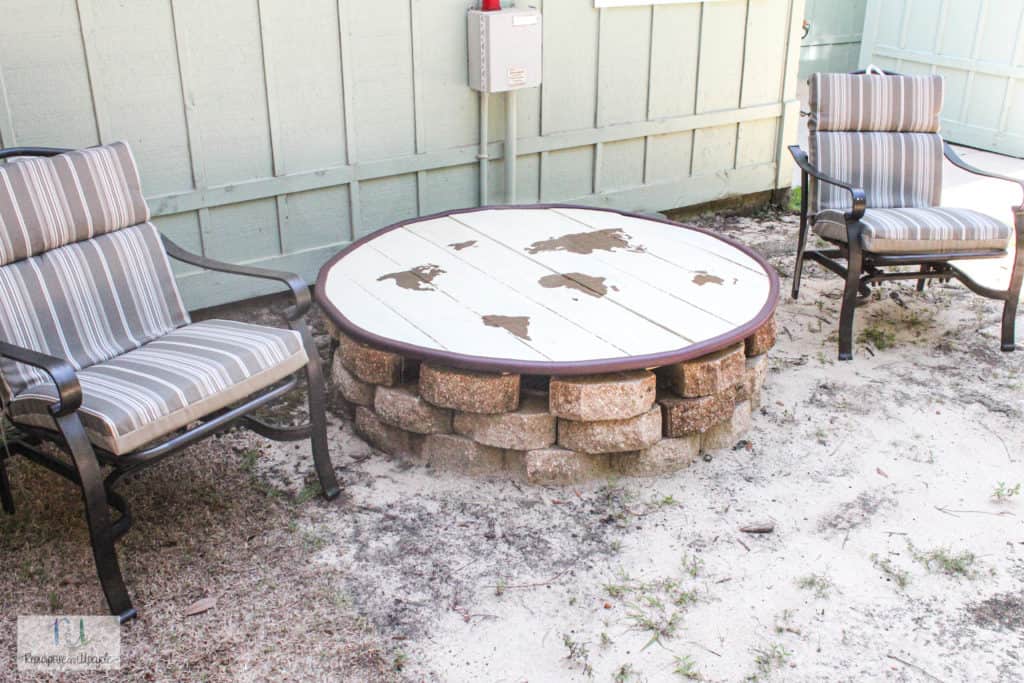
Remember, this space is faaaaar from complete. I can say that I’ve just checked off one more element of this outdoor space.
Now I’m off to DIY an outdoor screen to cover the old grinder pump light. It never ends does it….
We have since moved these pavers to another location to create a simple paver fire pit. P.S. I completed it in about an hour!
Give me your honest thoughts below. Do you like it? Is it tacky? What would YOU do differently? Be nice now:)
Lindsey**


