I knew immediately after I purchased my vintage antique fireplace mantel what I would do with the inside of it. I thought about trying to find a nice electric heater that looked like real wood logs, but I couldn’t find the right size. My next option was a fun DIY. I decided to create a DIY birch wood fireplace cover for a faux wood fireplace insert.
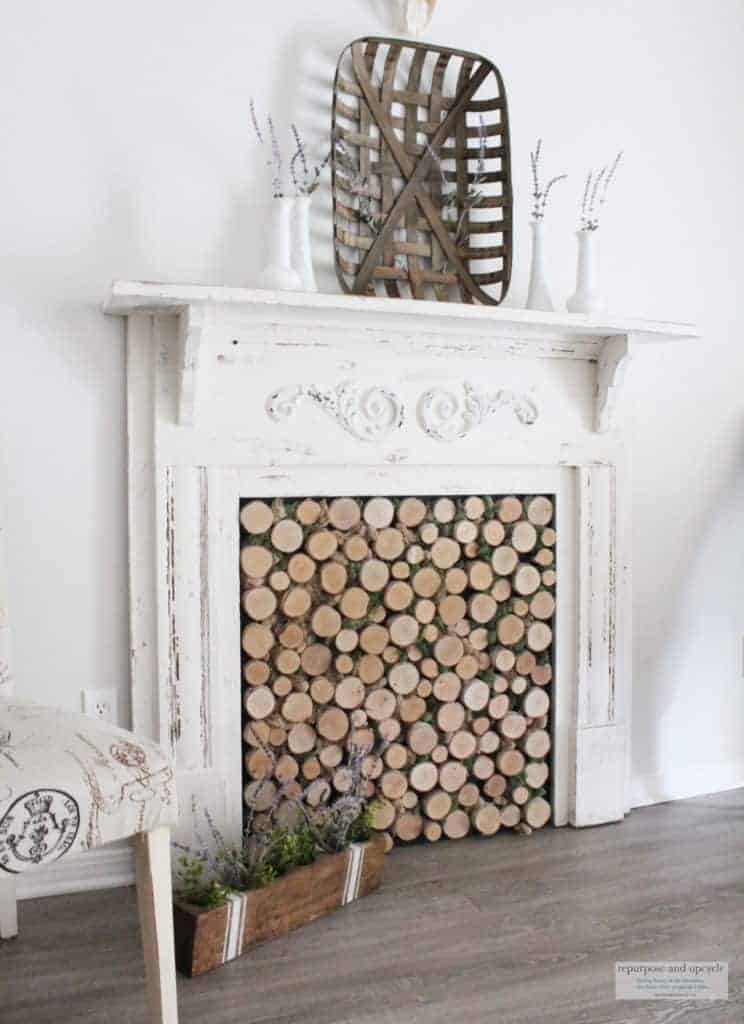
If you’ve been around the blog you know this antique mantel has changed styles quite a few times.
I purchased it when we were living in our builder grade turned modern farmhouse home. Let me show you what it originally looked like.
Below is a picture from the Craigslist listing.
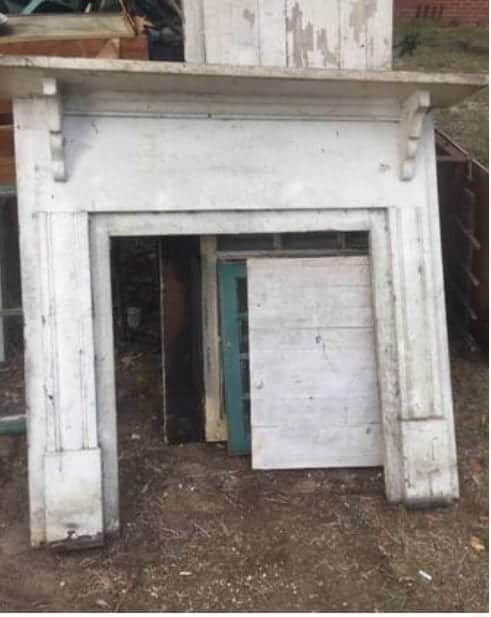
This beauty is from the 1800’s and it had so much potential.
So I stripped the wood down, all 8 layers (LOL!).
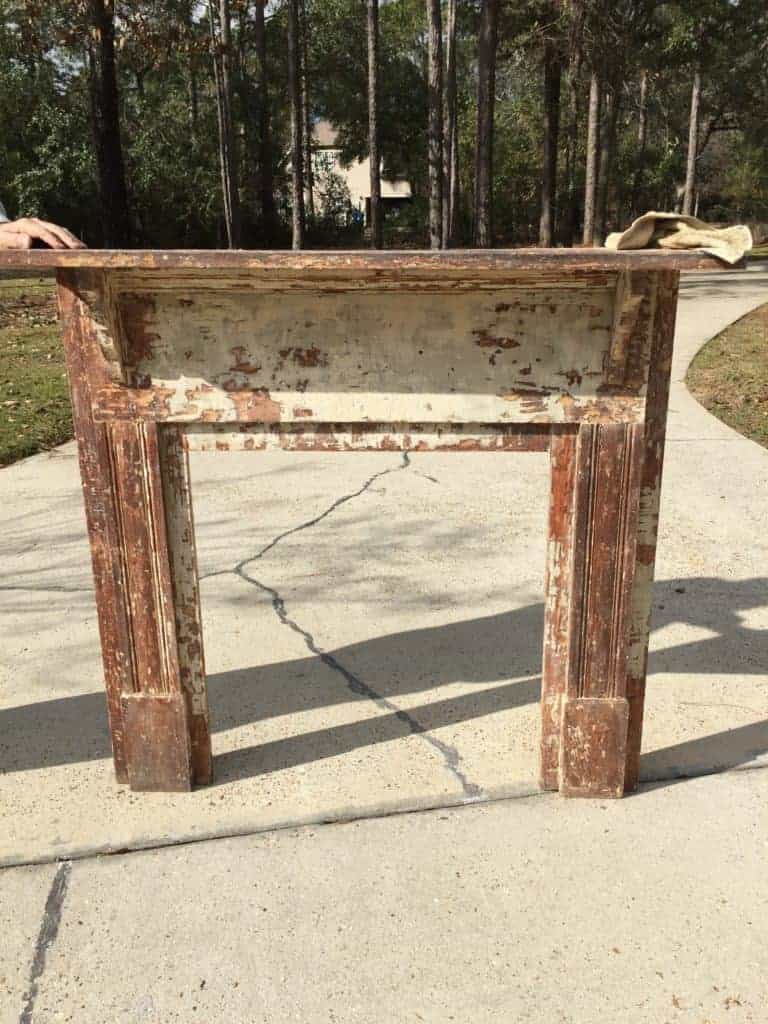
Looking better huh!
Ok enough about how I transformed this vintage mantel. I’ll share more about the finished product later.
Disclosure; this post contains affiliate links. As an Amazon Associate I earn from qualifying purchases. This disclosure statement refers to the rest of the Amazon links in this post. See more on my disclosure page.
SUPPLIES TO CREATE A FAUX BIRCHWOOD FIREPLACE CENTER
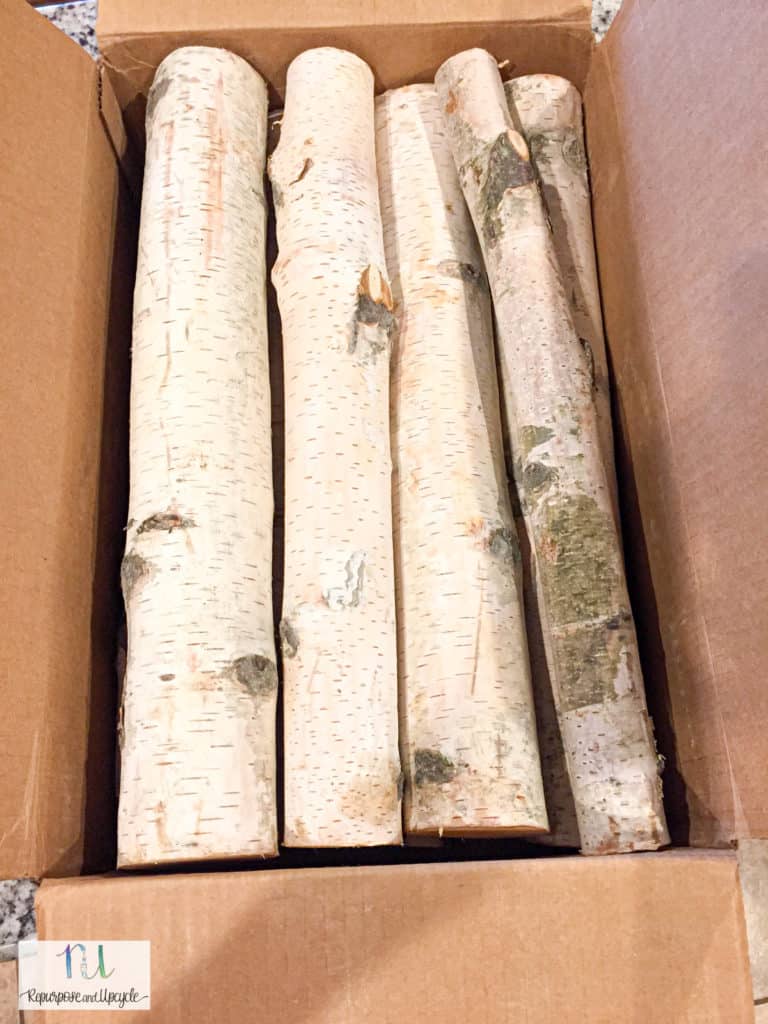
- Birch Wood – I bought 6 logs and cut them with a band saw. If I could do it over, I would have bought them already cut. It’s not too much more money and it saves you time and energy.
- Black Foam Board – I chose to use black, but you can use whatever color you want.
- Green decorative moss – I used a mix of green and brown.
- Brown decorative moss
- Hot glue gun
FYI; the measurements for the middle of my fireplace mantel are 30″ by 32″ and I used about 90 slices of birch wood that measured 1.5″ to 3″ in diameter.
HOW TO CREATE A FAUX BIRCHWOOD INSERT FOR A FIREPLACE MANTEL
- Cut the foam board to fit inside the mantel with a little overhang so you can attach it to the back of the mantel.
- Cut your birchwood logs (if you need to) with a band saw.
- Lay the black foam board flat and arrange the cut pieces of birchwood where you want them. Make sure you like the way it looks with even spacing.
- Hot glue the birchwood to the foam board.
- Hot glue decorative moss around it.
- Once you’re happy with how it looks, fit the foam board inside the mantel and nail it to the back of the mantel.
Let me show you some step by step pictures:
Faux Birch wood logs that I purchased below.
Arranging the birch wood after I cut them with a band saw.
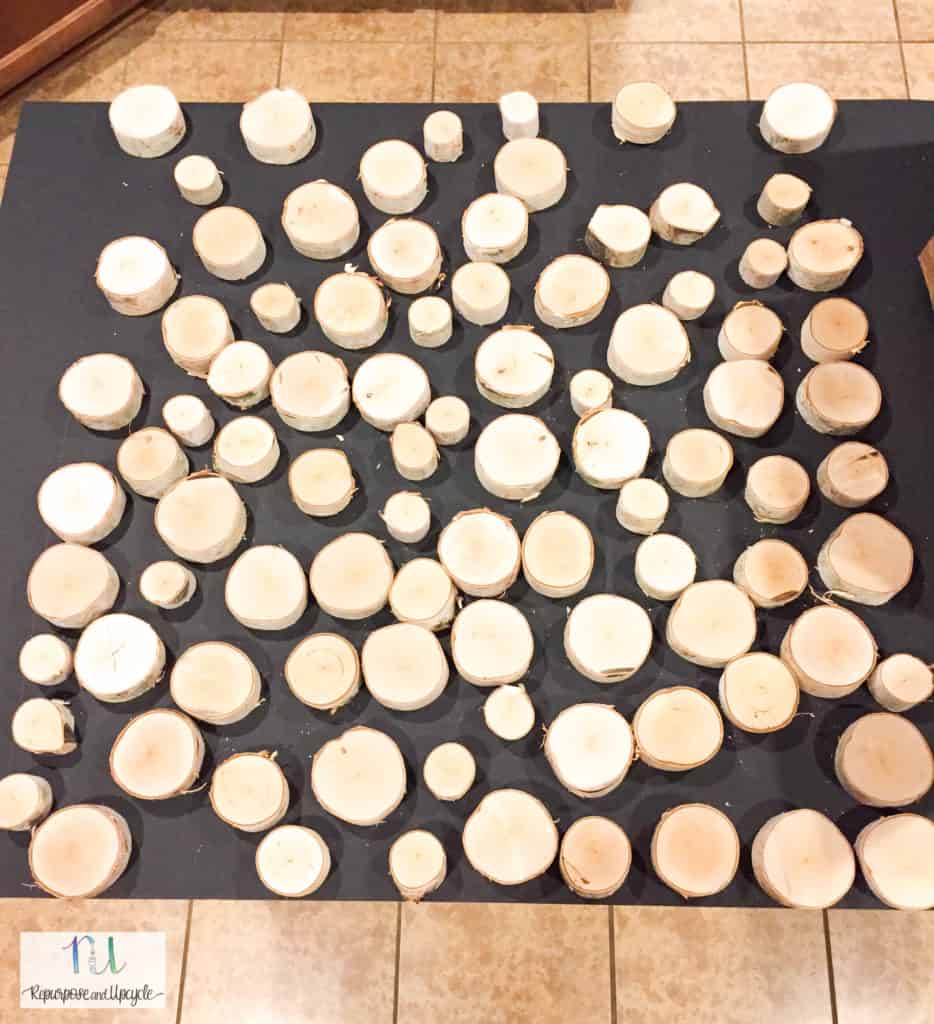
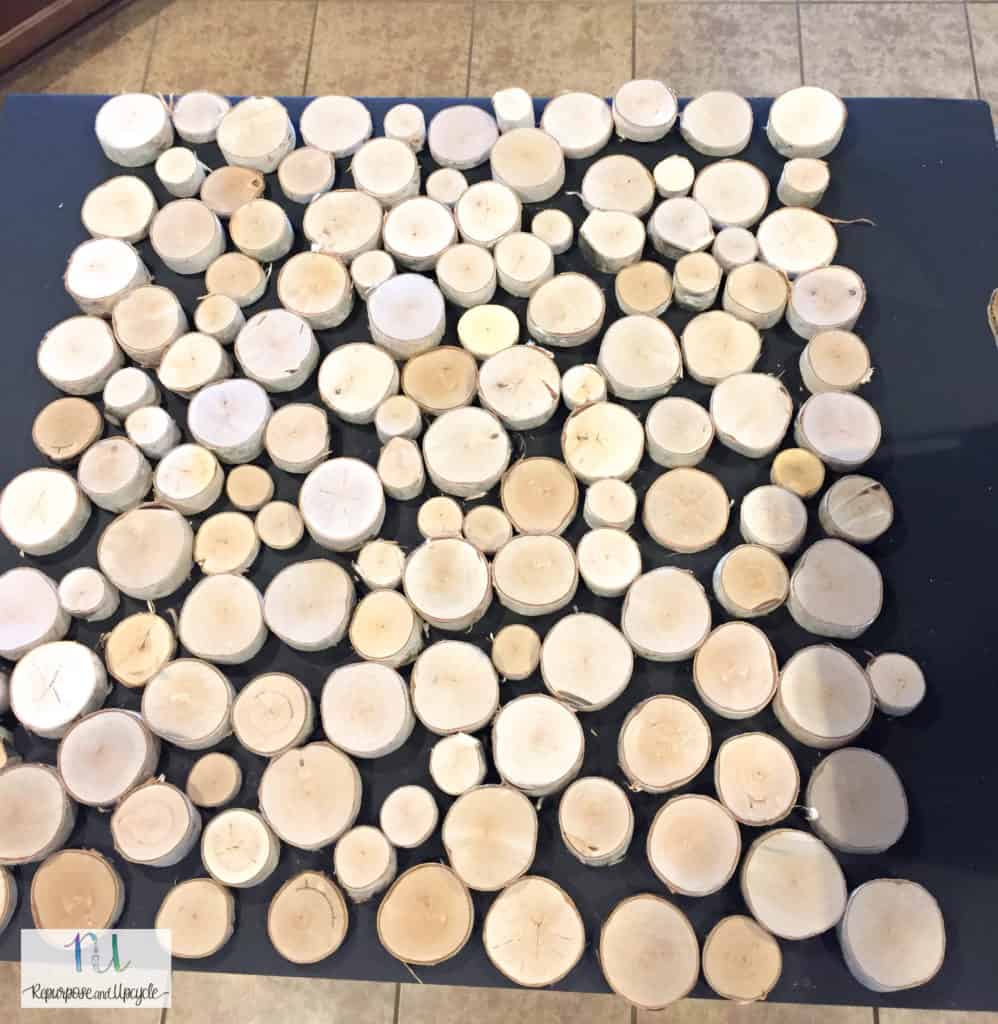
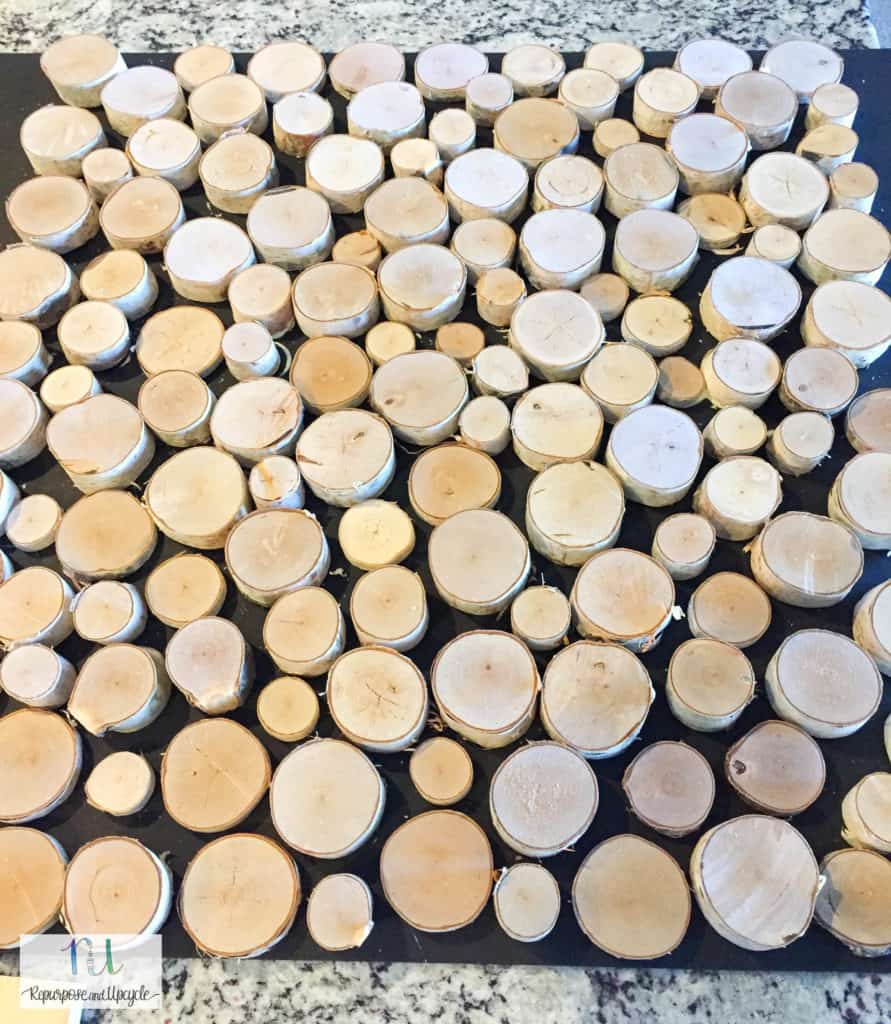
After a little re arranging, I’m finally pleased with the placement of the birch wood logs. Now it’s time to hot glue them to the foam board.
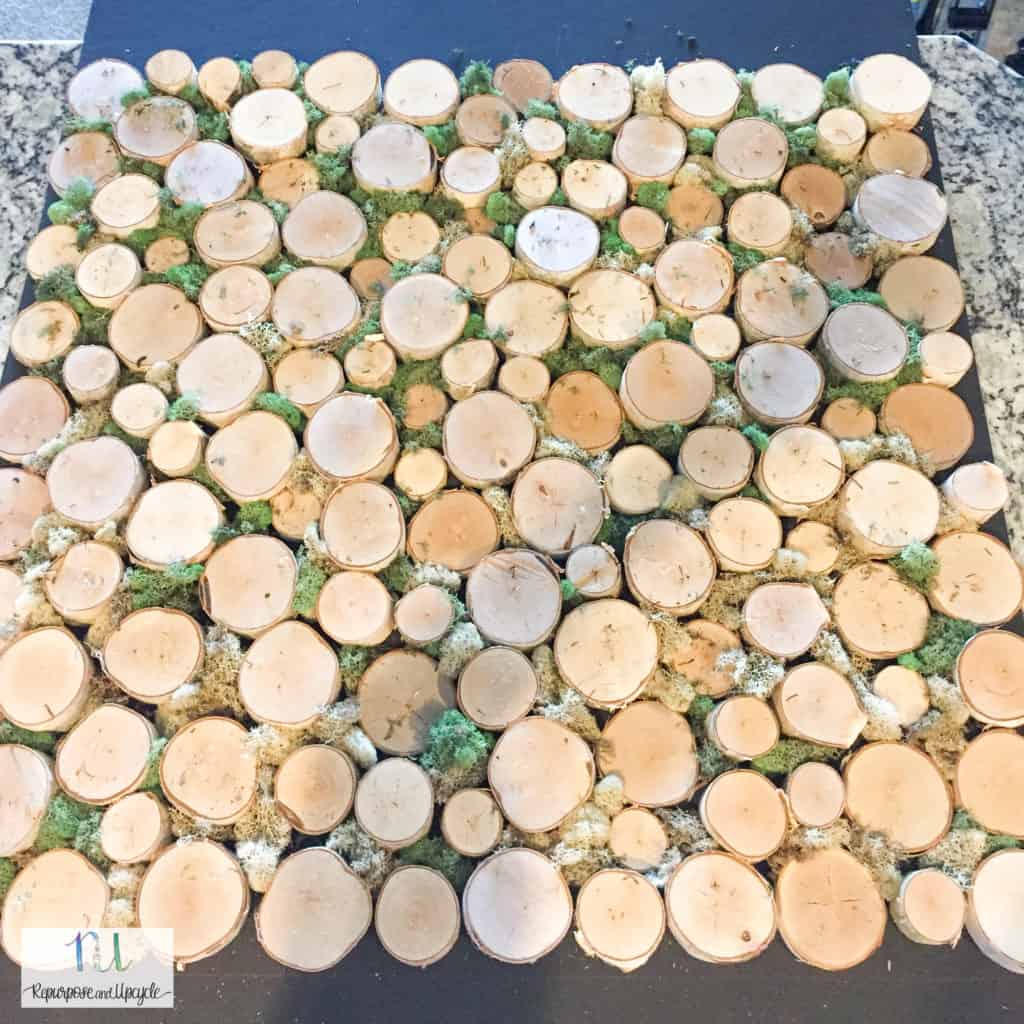
Lastly, hot glue the moss in between the birch wood.
LOOK AT MY ANTIQUE FIREPLACE MANTEL NOW!
This was what it looked like immediately after I added the faux wood insert and displayed it on the wall.
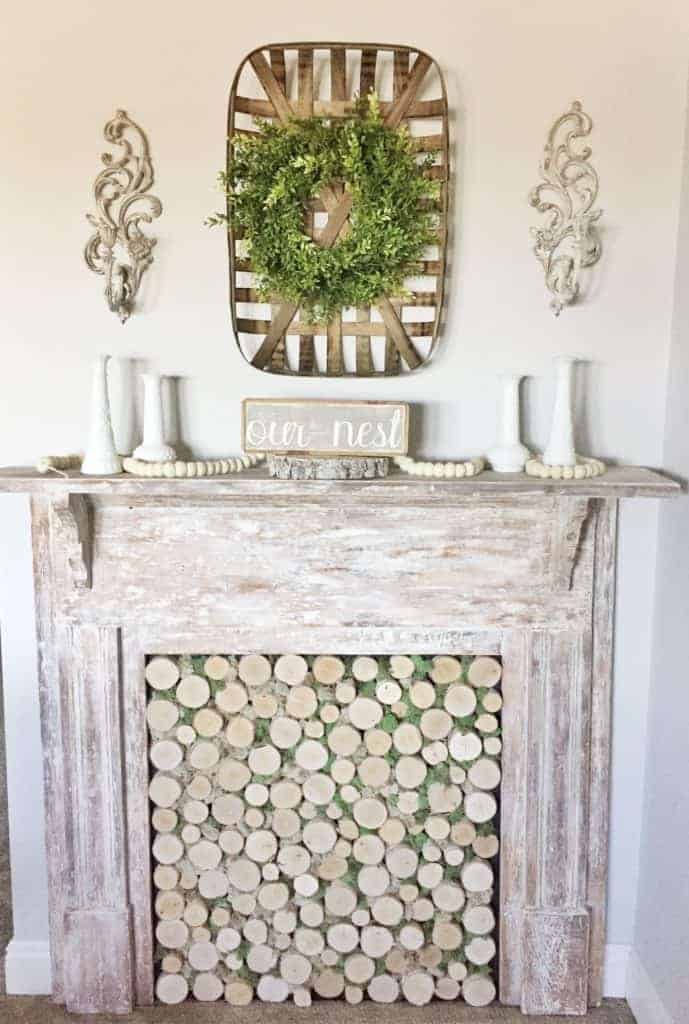
Like I said earlier, this mantel has had quite a few different looks.
Not too long after I finished this shabby white wash finish on the mantel, I decided to give it a chippy white paint look.

I love the look of the white chippy paint, but I ultimately decided to create an entire DIY Tone on Tone Feature Wall with Built In Bookshelves.
This is what my mantel with a faux wood insert looks like today.
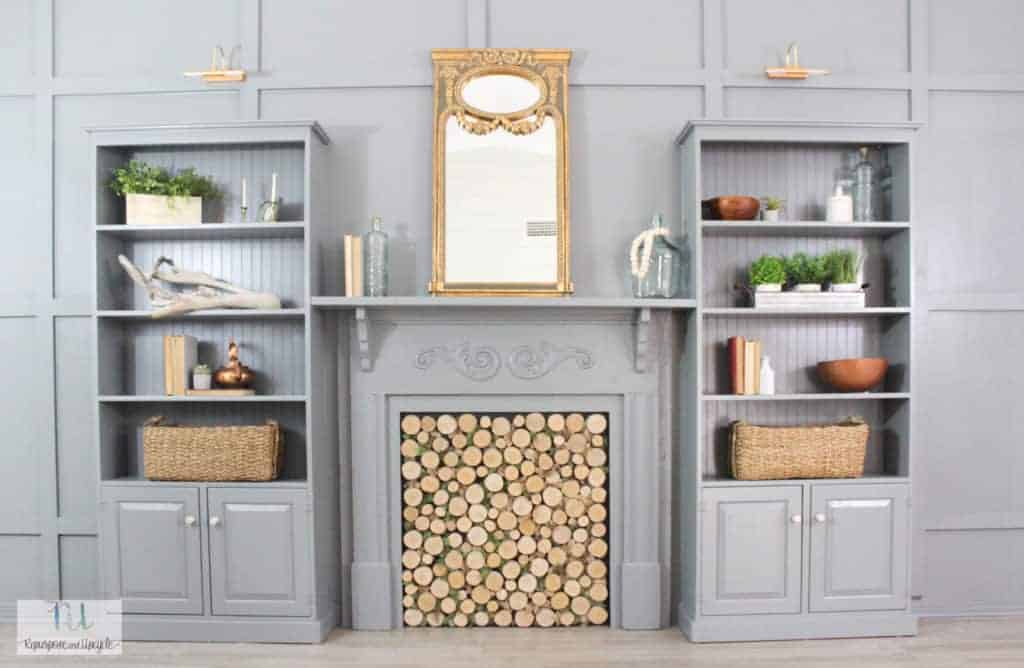
What do you think?
I love how the natural wood tones blend well with the woven fabrics I’ve used to decorate with.
Do you think you could easily create one of these inserts yourself?
Let me know if you do!
Lindsey**


