Why didn’t I purchase one of these pumpkin carving kits years ago? I could have saved myself so much time. I guess I thought a kitchen knife would have been just as easy. NOPE. I guess you can say this post is sort of a review, but not really. I just had to share my excitement over the best carved pumpkin I’ve ever done! With this pumpkin carving kit, it was so easy (not to mention less than $4).

Did I mention this kit was less than four dollars? Well, there it is. If you pass one of these kits in Walmart, GET IT!
Disclosure; this post contains affiliate links. As an Amazon Associate I earn from qualifying purchases. This disclosure statement refers to the rest of the Amazon links in this post.
Let me show you this fabulous pumpkin masters kit. I purchased ours at Walmart, but but can also get it from Amazon HERE.

I’ve always thought, “why would I spend money on a pumpkin carving kit when I can use the knives I already have?”
That was dumb, just dumb.
My daughter insisted on purchasing this from Walmart, and I thought, well, it’s probably a waste but it’s just $4.
That’s where I’ve been pleasantly surprised.
Full disclosure; we didn’t follow all the directions. 🙁
In my kids normal excitement, they broke apart the package before I could even read it.

That being said, it still worked fabulously.
Look at all the great pumpkin stencils too!
Let me share how easy it is to carve a great looking pumpkin with this carving kit.
How to carve a pumpkin using a pumpkin carving kit
- Pick out your pumpkin and pumpkin stencil
- Carve a hole in the bottom and pull out all of the pumpkin seeds (and mess). You can use the scraper tool, it works great.
- Wet your pumpkin stencil and lay it as flat as you can on the pumpkin.
- Either tape the stencil to the pumpkin or wrap it with saran wrap.
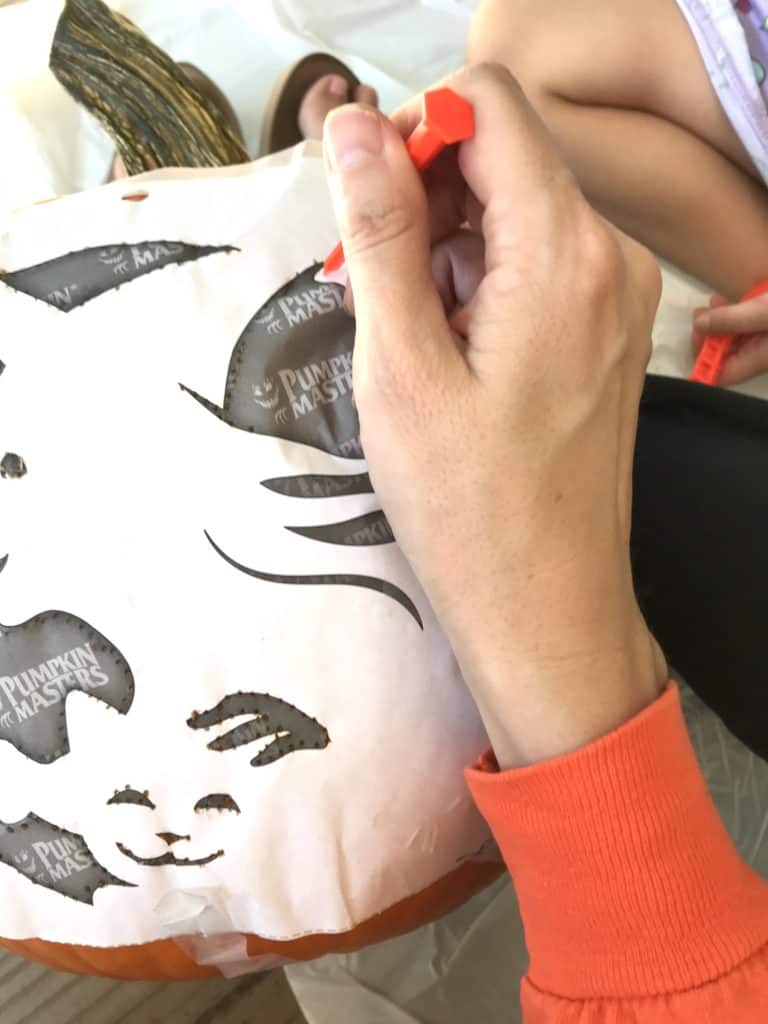
- Use the “drill” to poke holes around the outline of the stencil
- Use the saws to cut out the outline.
- Once the carving is done, insert a flameless candle in the pumpkin and enjoy!

You can see where I started to poke holes around the outside of the stencil.


It’s coming to life!
After you poke holes around the outline of the stencil, you can either remove the paper or leave it. We chose to leave it.
After only 20 minutes of carving, here it is!

Add a flameless candle, and ta-dah!
Carved pumpkin with the best pumpkin carving kit


This has been the best pumpkin carving experience I’ve had.
Like I said before, I wish I would have tried this pumpkin carving kit years ago. No more carving with kitchen knives again!
Do you use kitchen utensils or pumpkin carving kits to carve your pumpkin? If you’ve found another great carving kit, let me know below!
Happy Halloween friends!
Lindsey**


