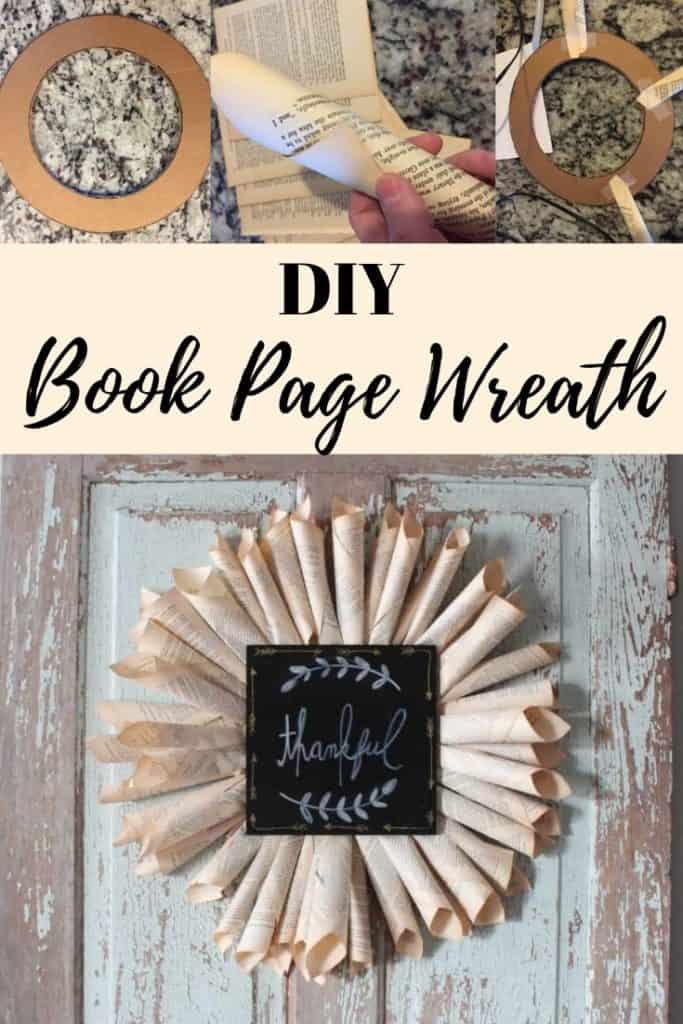
Learn how to create an easy DIY book wreath with old book pages and a little tape! I’ve also decorated it with a custom sign in the middle.
Since I’ve taken down our Christmas decor, our front entryway just seemed bare. Sometimes, that’s a really good feeling, like when you’re decluttering and you feel like you’ve simplified. This space, however, just seemed like it was missing something. I took down our Christmas wreath off of the old chippy door and it just didn’t look right without anything. I did not want to spend any money, so I had to create something with materials I already had. I thought about adding a sign, but I wanted something a little different. That’s when I decided I would create an easy DIY book wreath with a custom sign I created years ago.
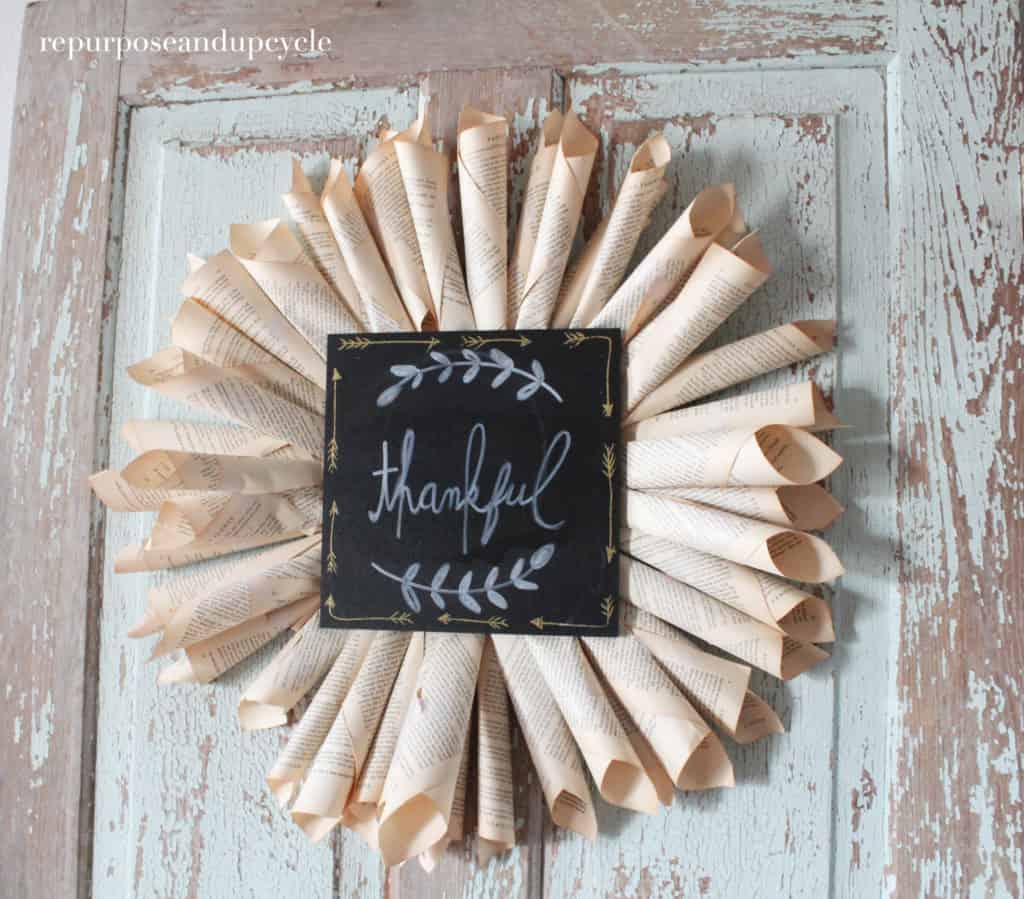
I love creating decor pieces out of unusual objects (obviously). When I first decided on this project I thought I would make a full book page wreath. I found a really great tutorial from Pinterest, but as I started to create my own, I decided I would do things a little differently.
How to make a book page wreath
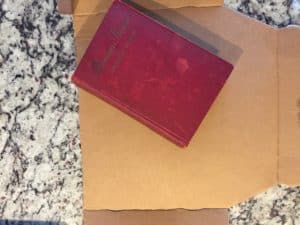
First I needed a base for the book page wreath.
What did I have on hand that I could use to create a base?
I had old boxes, and I did have a pizza box I was about to throw away. I figured the pizza box would work the best (it was the top of the box so it was in good condition, errr, not too much grease).
Pictured above is the book I chose (a vintage copy of Passion Flowers) and the top of the pizza box I would use as the base.
After gathering the box and the book, I needed to decide how big I wanted the book wreath. Keep in mind that the base is going to be the smallest part of the book wreath because the book pages will span out of it. What I’m saying is that you don’t have to have a big circle base.
Let’s start with materials:
- a box (or pizza box) to use as the base of the wreath
- pen
- hot glue
- hot glue gun
- book
- pot lids
- a picture frame hanger
- clothes pins
- a sign of your choice
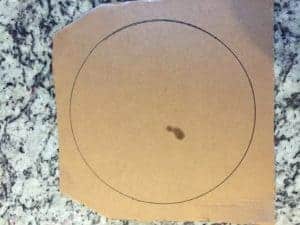
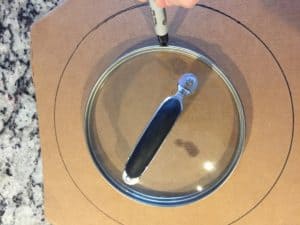
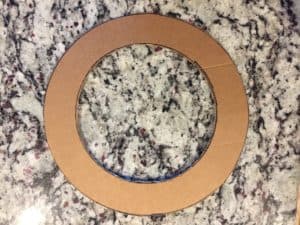
You can see below that I used a pot lid to create the outline for the outer part of the circle, and then a smaller lid for the inside of it.
Don’t mind a little grease spot because it will be cut out.
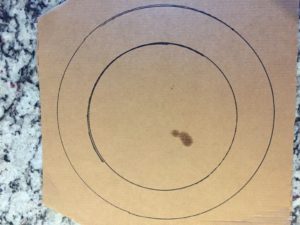
Here are some measurements just in case you’re wondering how big I created my book wreath base.
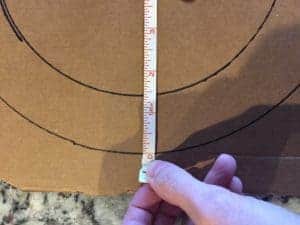
The actual width of the circle is about 1.25 inches. The total width of the entire base is about 9 inches. Now it’s time to cut!
The next step is the most time consuming part; rolling the book pages into fans. I’m going to try to explain this through pictures.
How to roll book pages into fans for a book page wreath
Start by rolling the page at the corner and create a cone or fan this is wider at the top
Tape the corner well to make sure it won’t unroll
After the glue is dry, turn it back over and start to tape the book page fans or cones around the base
First layer is done!
Now add shorter and wider cones in between the first layer to give it dimension.
Next turn the base over and add a picture hanger. I hot glued mine.
At this point in the DIY book wreath project is when I decided to add a sign in the middle.
I had an old custom thankful sign I created years back that I thought would fit well.
In order to secure the sign to the book page wreath, I needed something substantial to glue it on. Here’s what I did next;
- Gather clothes pins and pin them in a circle around the base
- Add hot glue on the clothes pins and place your sign carefully on the top and hold the sign steady until the glue is dry
- Next, turn the book page wreath over and hot glue around the clothes pins to make sure everything is secure
DIY book page wreath
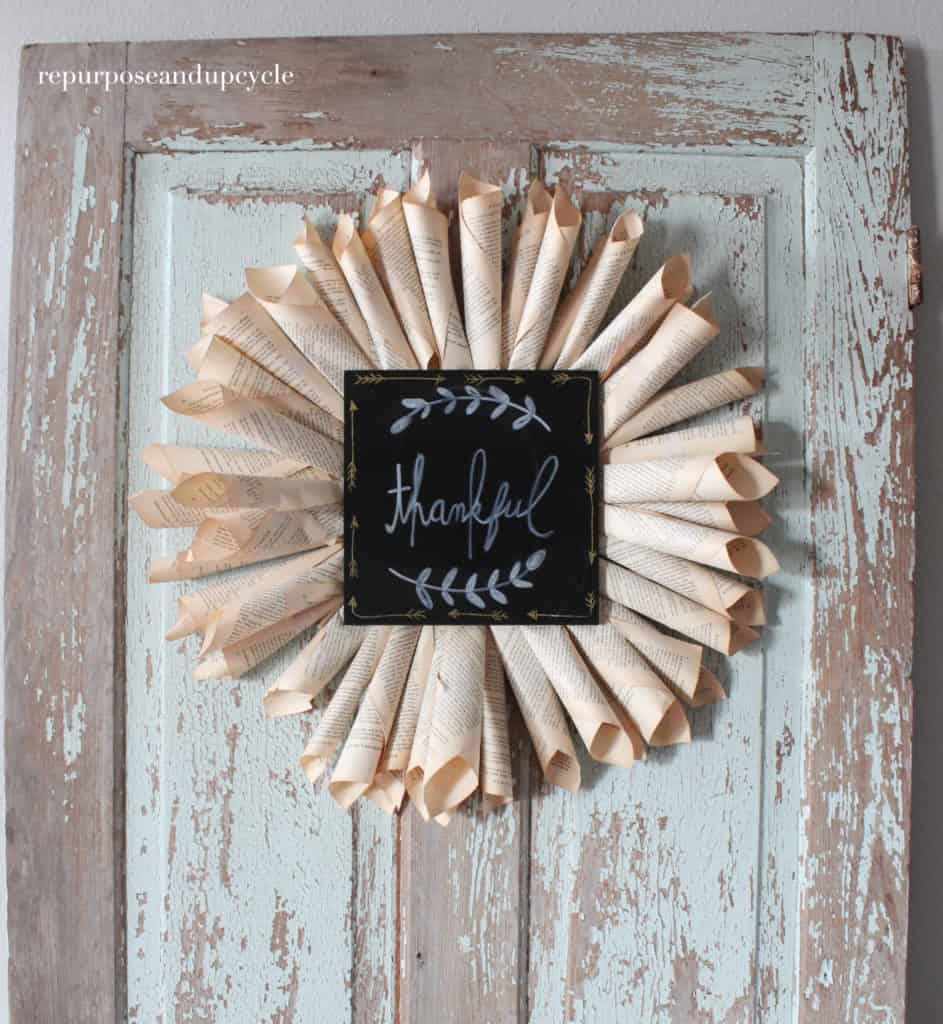


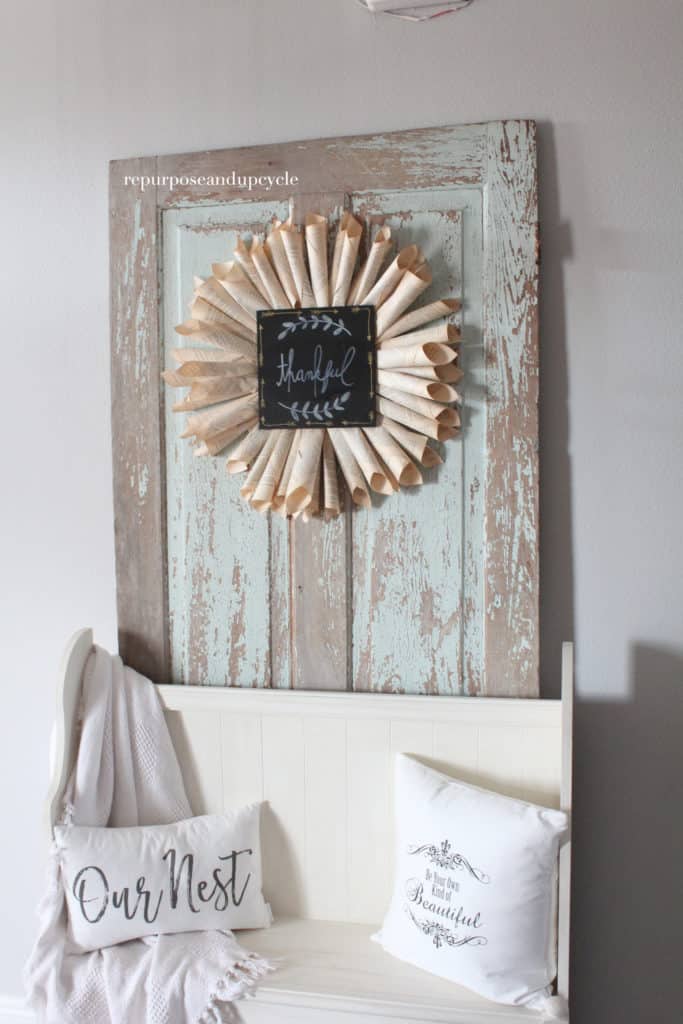
I’m hoping this little tutorial was easy and helpful for anyone wanting to create this easy DIY book page wreath with a custom sign. I think it looks great as an entryway piece and my space doesn’t feel bare anymore.
As always, thank you for stopping by and I hope you’ve been inspired to repurpose or up cycle something of your own! If you have any questions, please don’t hesitate to drop a comment below.
Lindsey**


