Want to learn how to create your own simple DIY sofa table? I’ve created mine out of scrap wood. I’ve shared a quick tutorial on how to make a simple X Style table with 2 by 4’s and a large piece of scrap wood for the table top.
Do you let your kids eat in front of the TV? Or should I ask, do YOU eat in front of the TV? Some folks might call me a bad mom but I do! Since our living room is detached from the dining area, this means that in order to eat in the living room you have to sit directly on the couch. We don’t have a TV view from the kitchen table. This was actually a plus for me when we purchased our home.
That being said, every now and then it’s nice to have somewhere to sit my plate and eat. This is why I decided to create my own DIY sofa table from scrap wood.
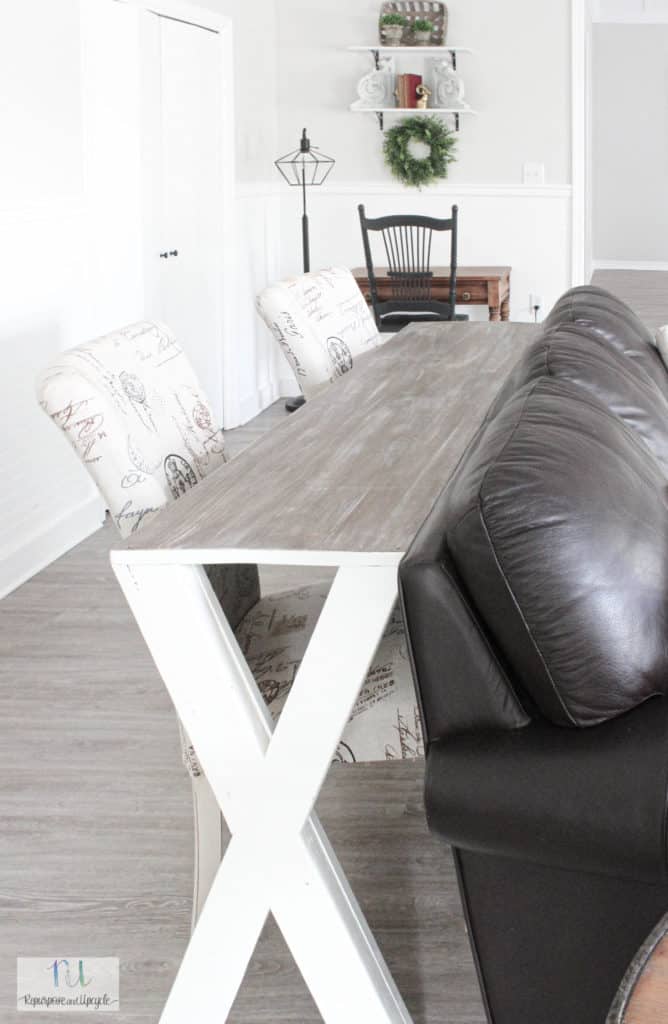
My inspiration for this sofa table project came from Facebook. I saw a picture of a sofa table and thought I needed one! And everyone has a little scrap wood lying around right? When you are done with a project, don’t throw the left overs away! I promise you can find use that wood somehow even with a small project like a scrap wood vase.
Back to the project at hand; I love the idea of being able to hang out in the living room AND have a small flat surface to put something like a plate! I looked around online to see if I could find a few affordable sofa tables to purchase. I noticed when I searched sofa tables, console tables also showed up. Since they are similar sizes, you could use a console table for a sofa table too! Ultimately, it all depends on the size of your sofa and your specific measurements.
Disclosure; this post contains affiliate links. As an Amazon Associate I earn from qualifying purchases. This disclosure statement refers to the rest of the Amazon links in this post.
As usual, when I can’t find a piece of furniture I want, then I realize it’s time to create my own furniture piece. If you decide not to build your own X style table, this post might give you a few more ideas as far as table legs- creative DIY table legs.
Materials for the DIY X Style Sofa Table
- Large slab of wood – I happened to have a piece left over from the DIY hairpin leg table.
- Inside corner braces
- Miter Saw
- Drill
- Wood screws
- 2 by 4 by 8′ long – the height of your table will determine how many you need
- Paint
- Wood filler or Spackling
How to build a DIY Sofa Table
- Measure the height of your sofa to determine how tall you want the sofa table.
- Cut the table top slab of wood to the desired dimensions. My table top slab is 16″ deep by 6′ wide.
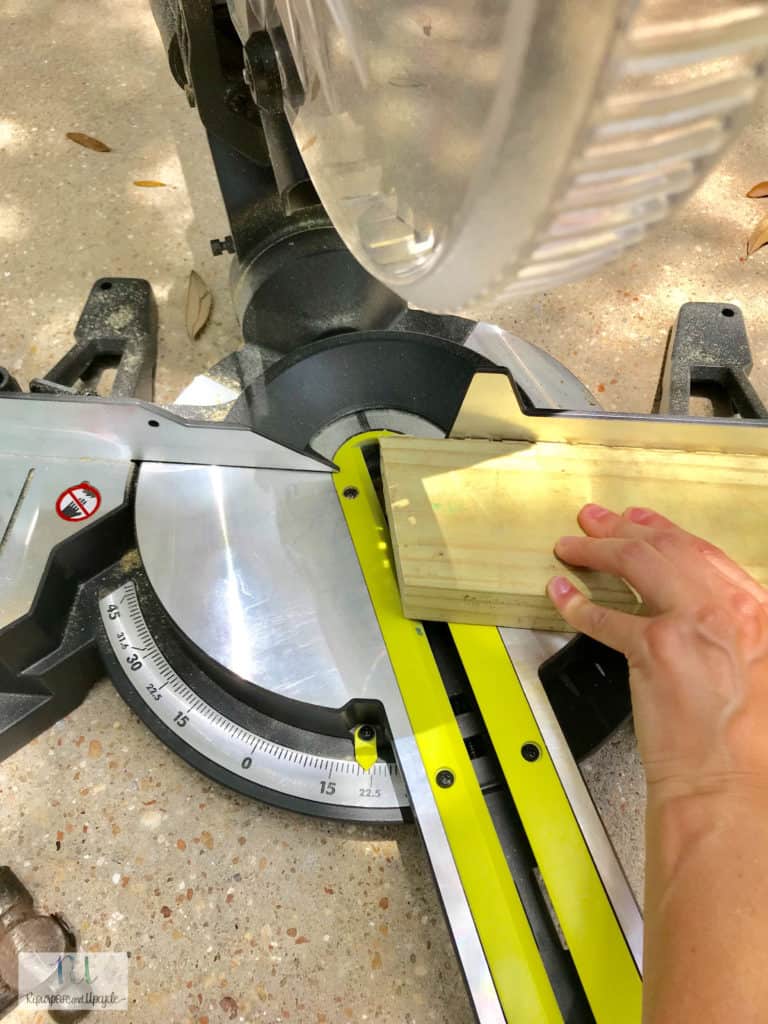
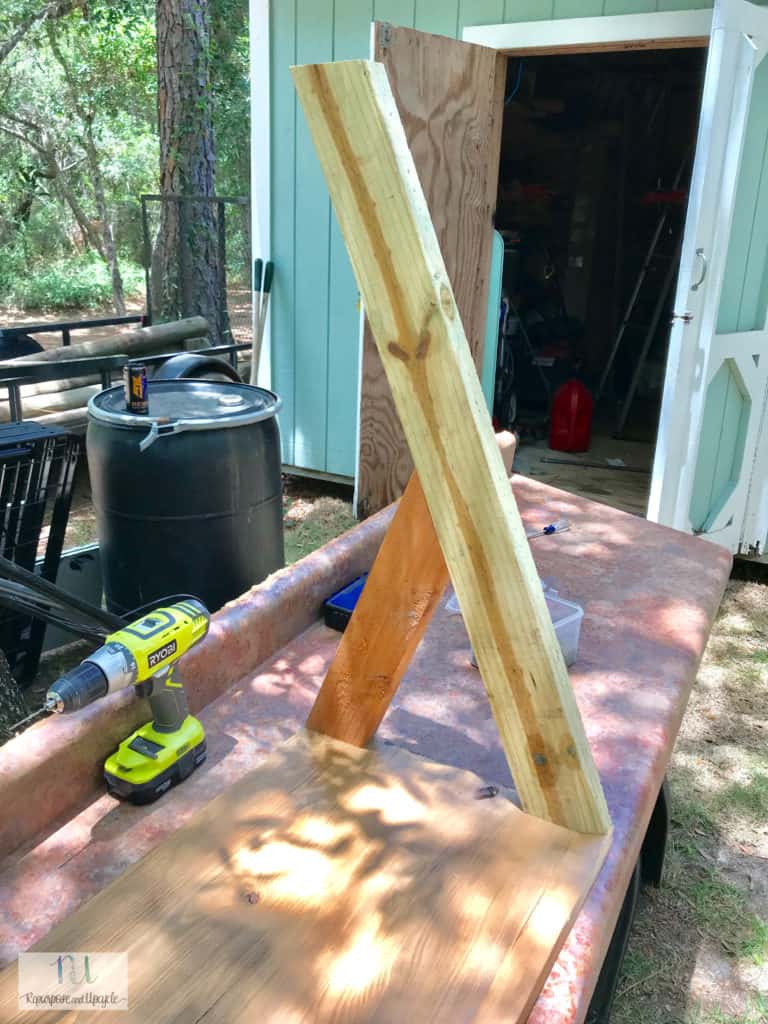
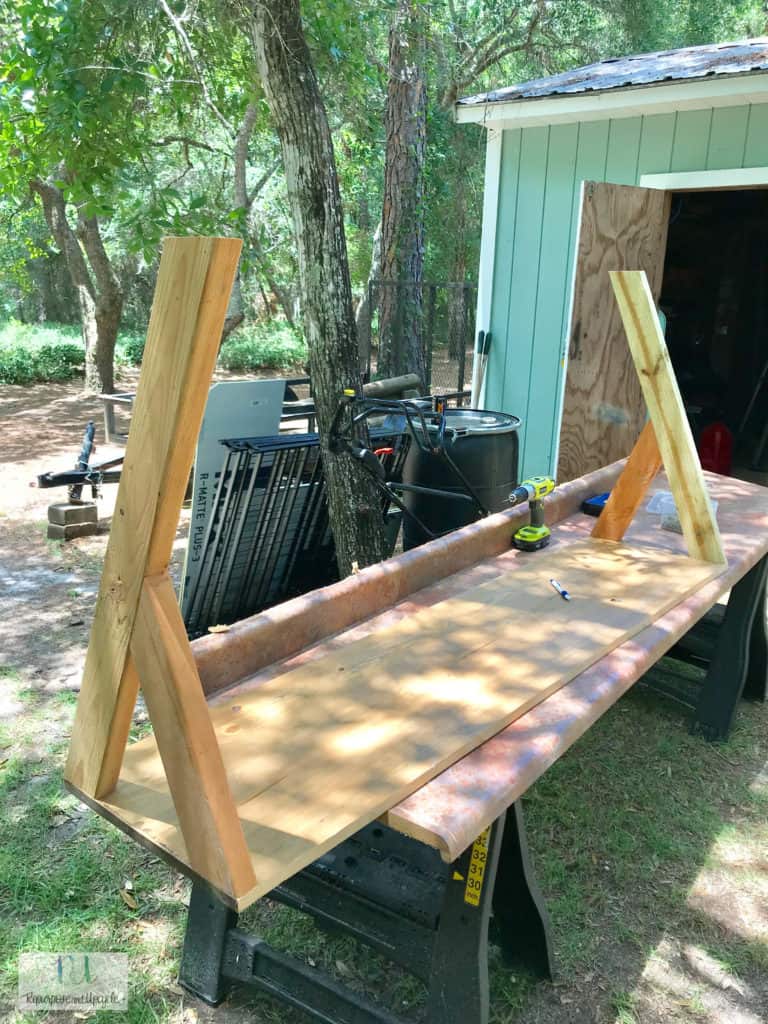
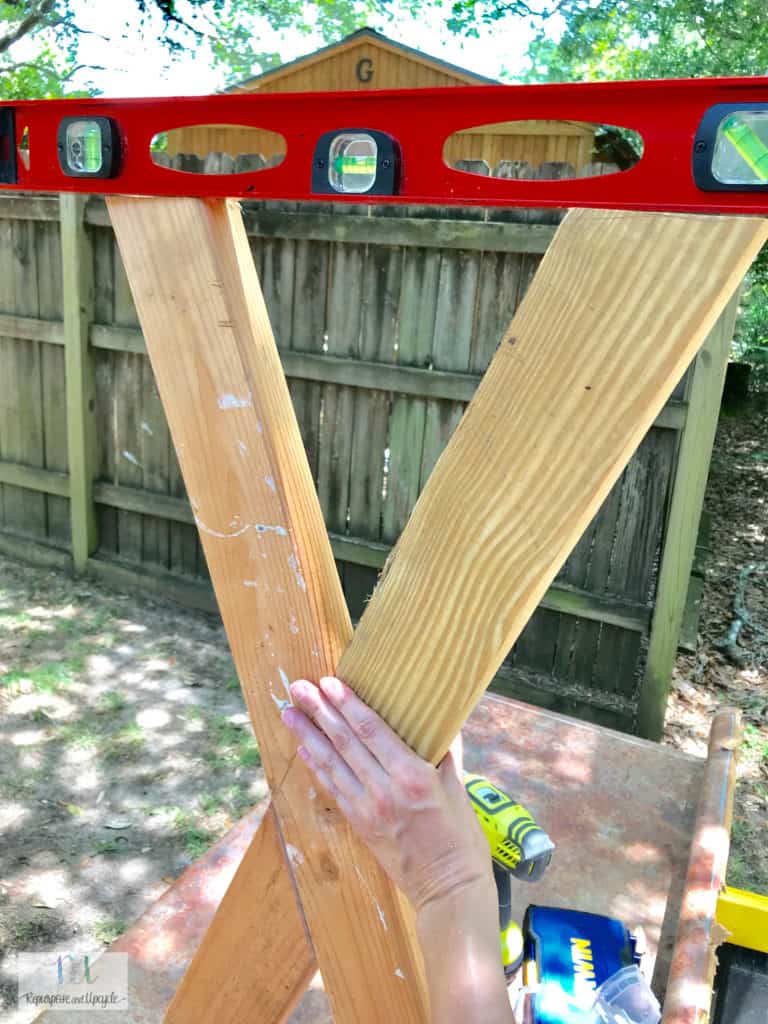
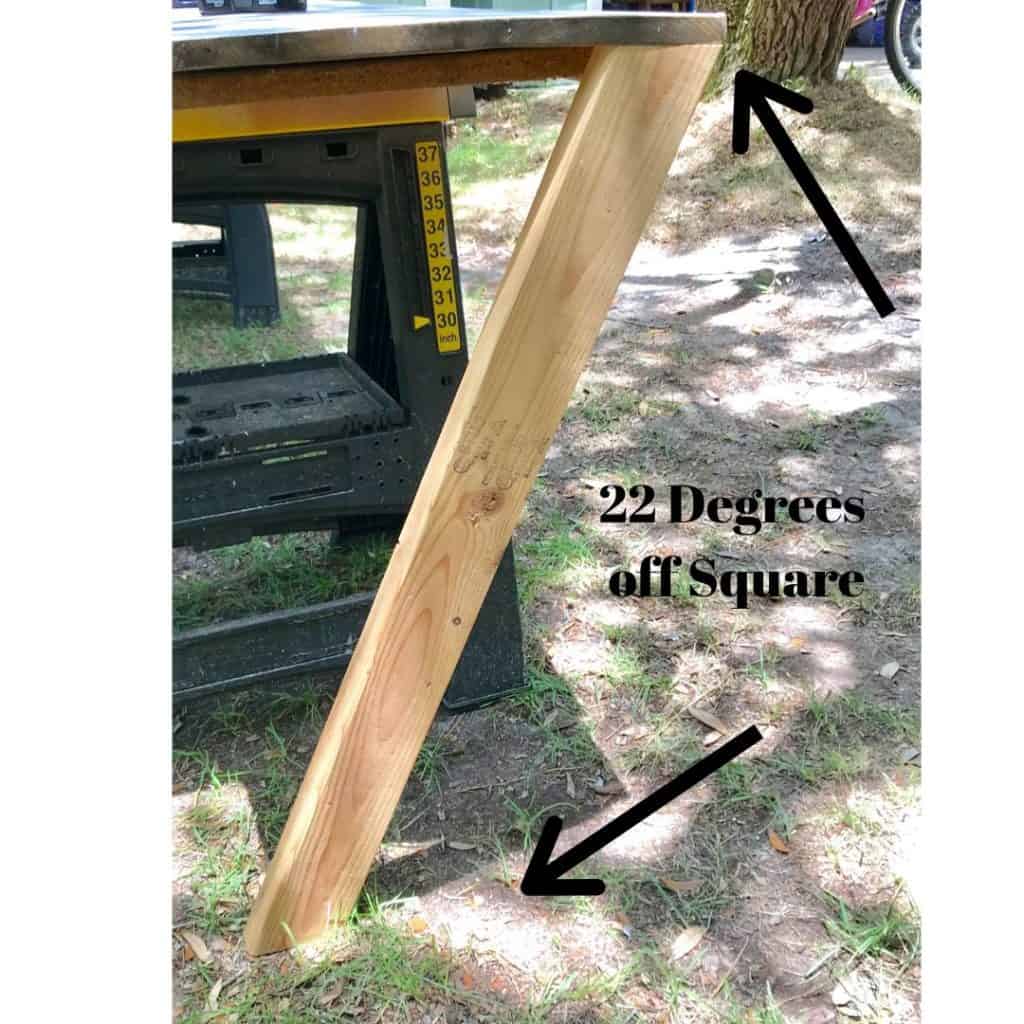
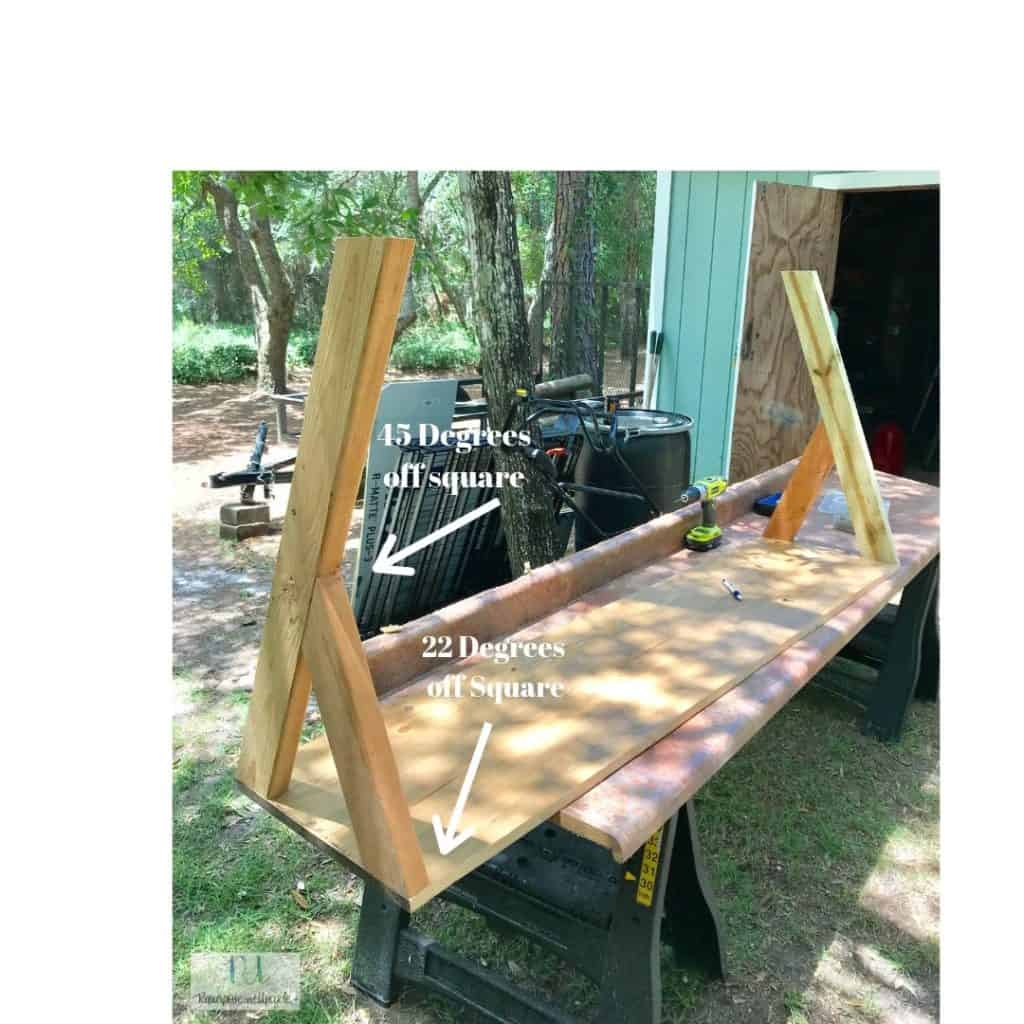
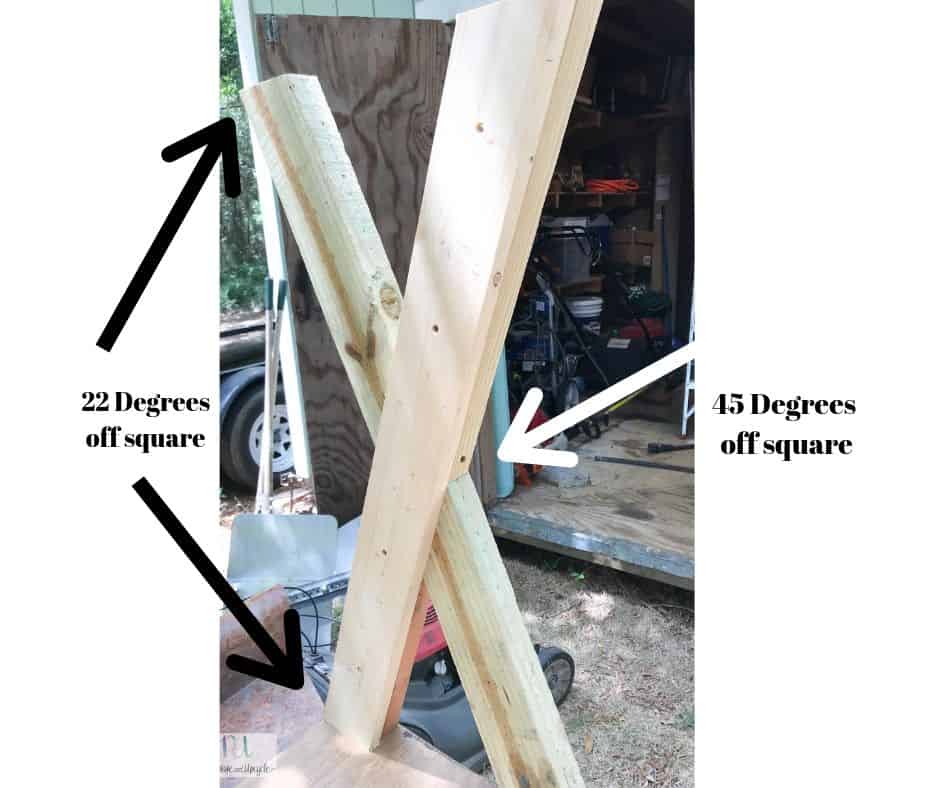
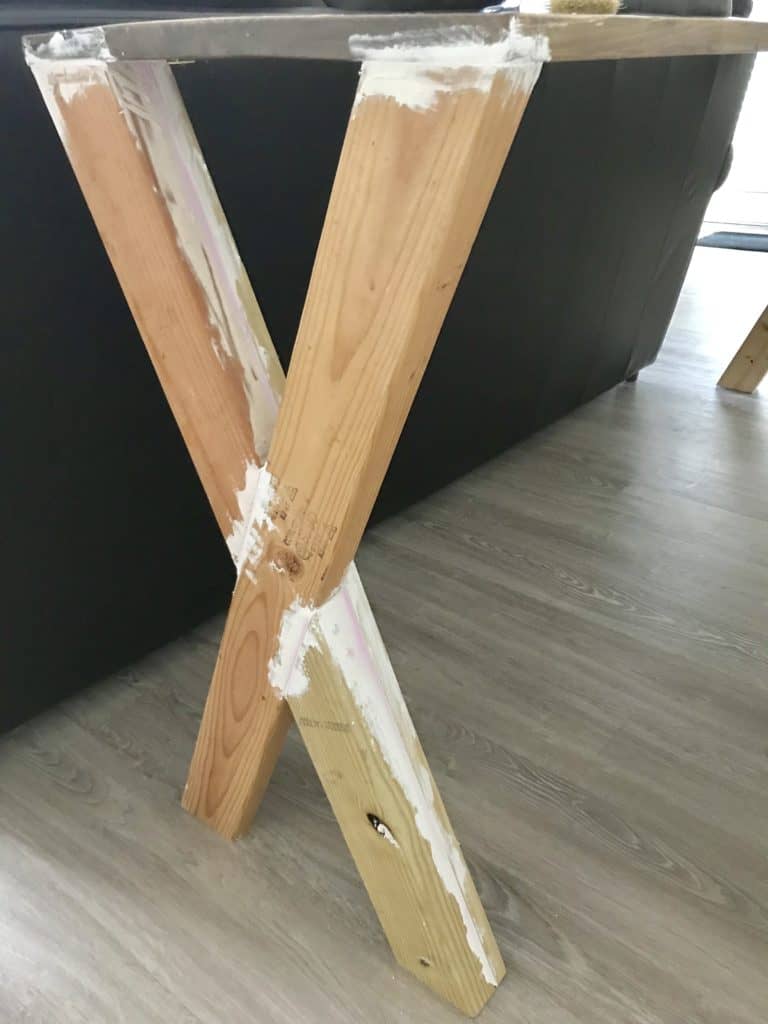
- Make angled cuts on miter saw for the first cross hair on the X. This was a trial and error process for me until I figured out the right angle I wanted. The easiest way for me to explain this is to show you below.
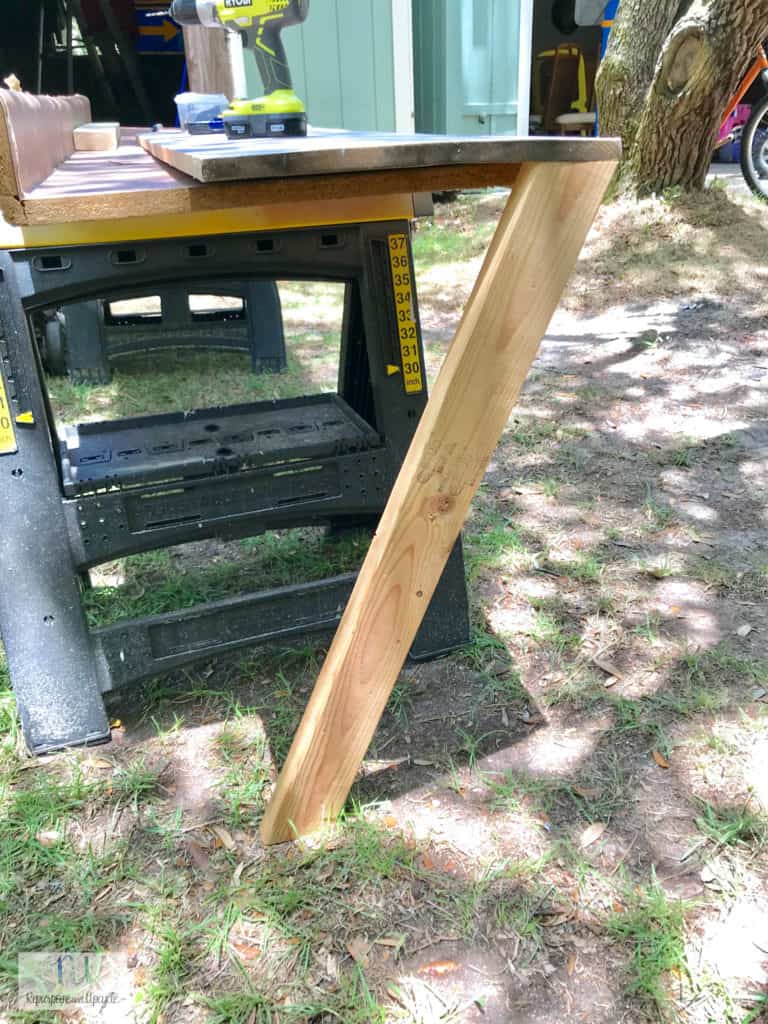
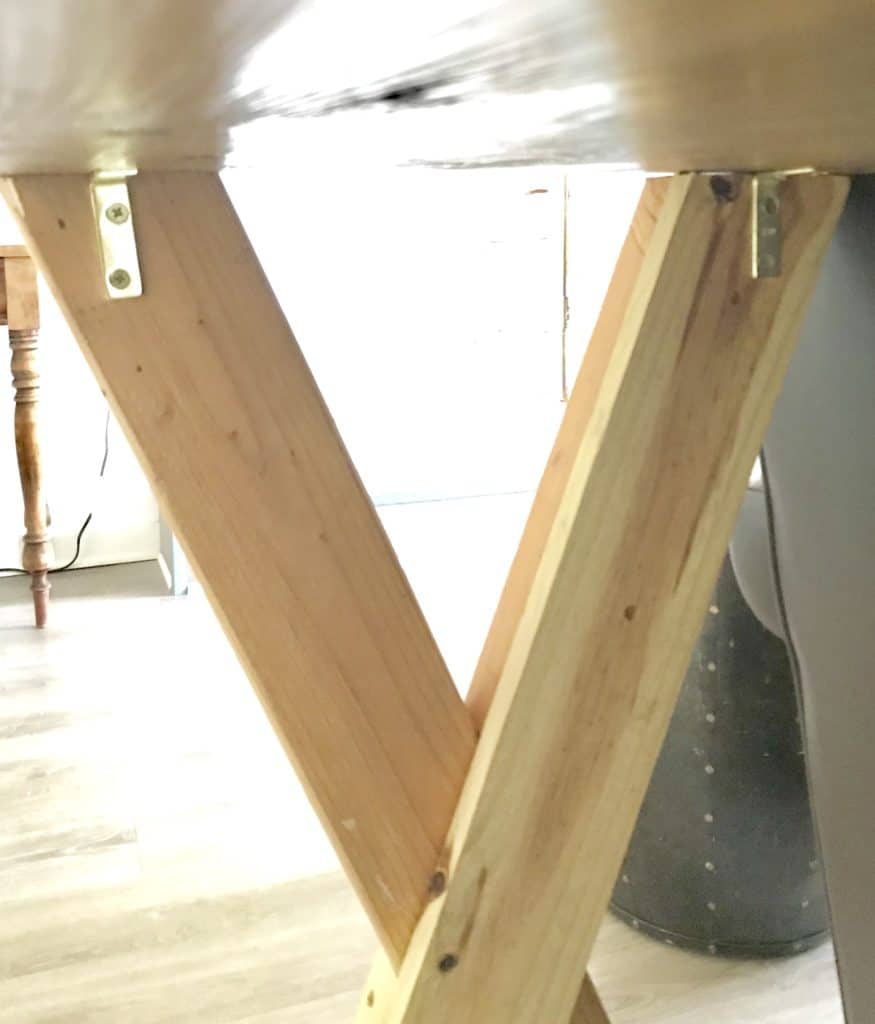
- I used wood screws to drill them into the table top.
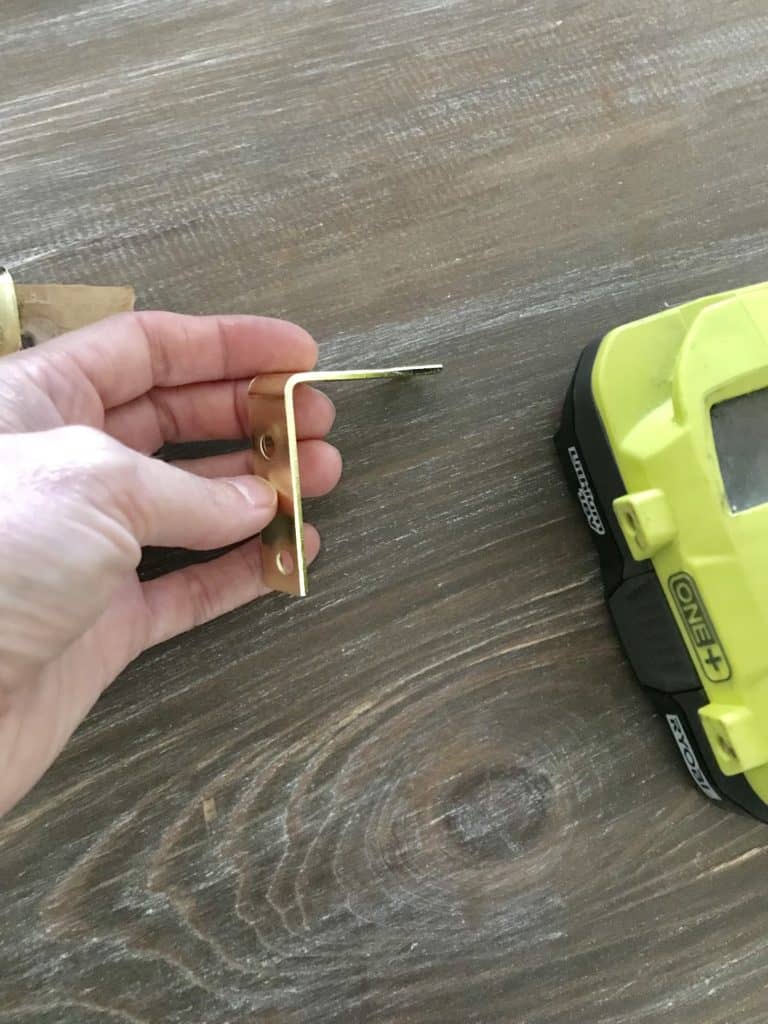
- The last thing I did for stability was to add 4 corner braces to each of the legs.
- Add wood filler or spackling. I used THIS product. It’s not wood filler per se, but I like the dry time indicator and I find it easier to work with for larger holes (than wood filler).
- Sand the table down so it’s smooth.
- Paint
Now it’s time to add wood putty and paint!
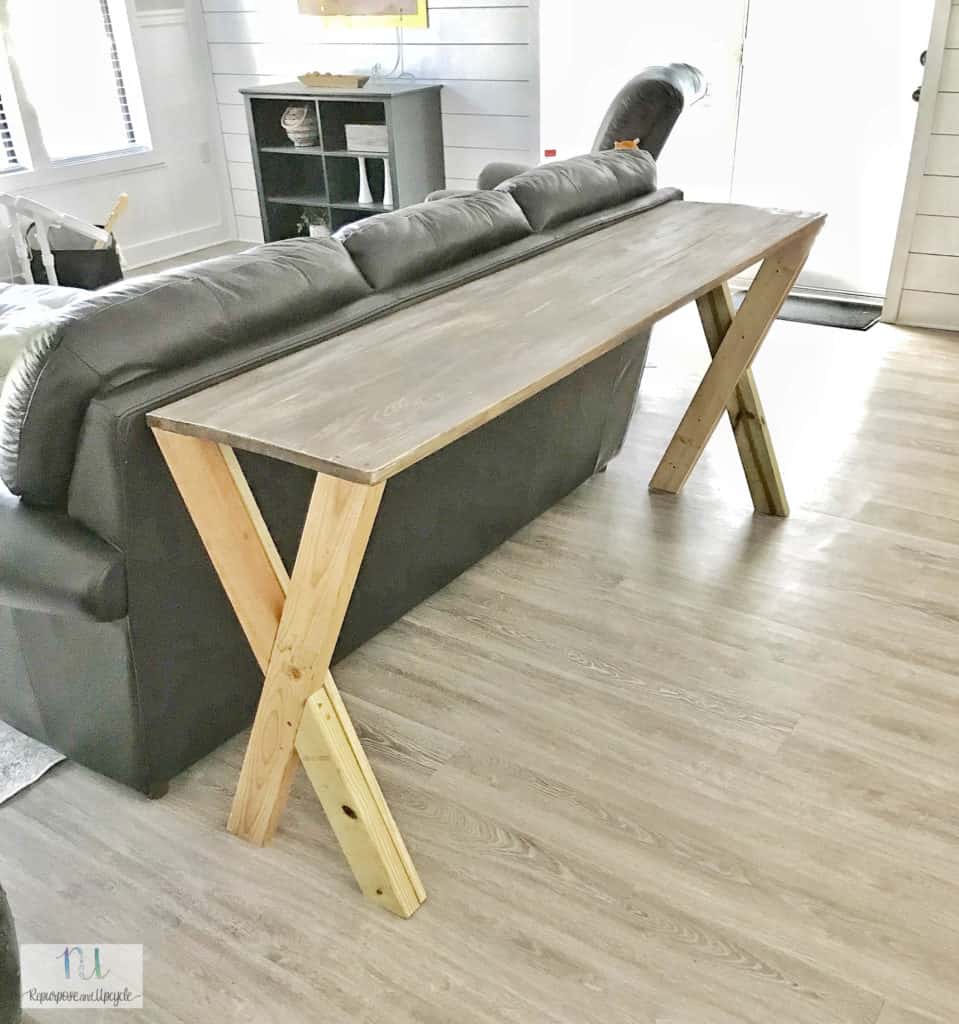
I’ve always loved the look of an X style Console table. I still can’t believe I have my very own!
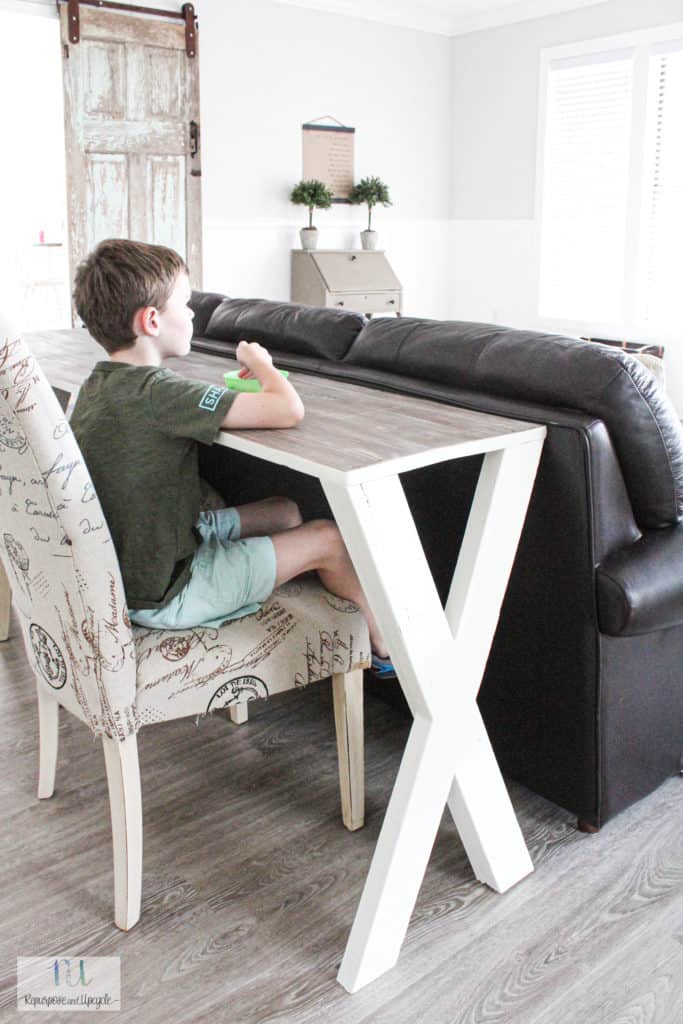
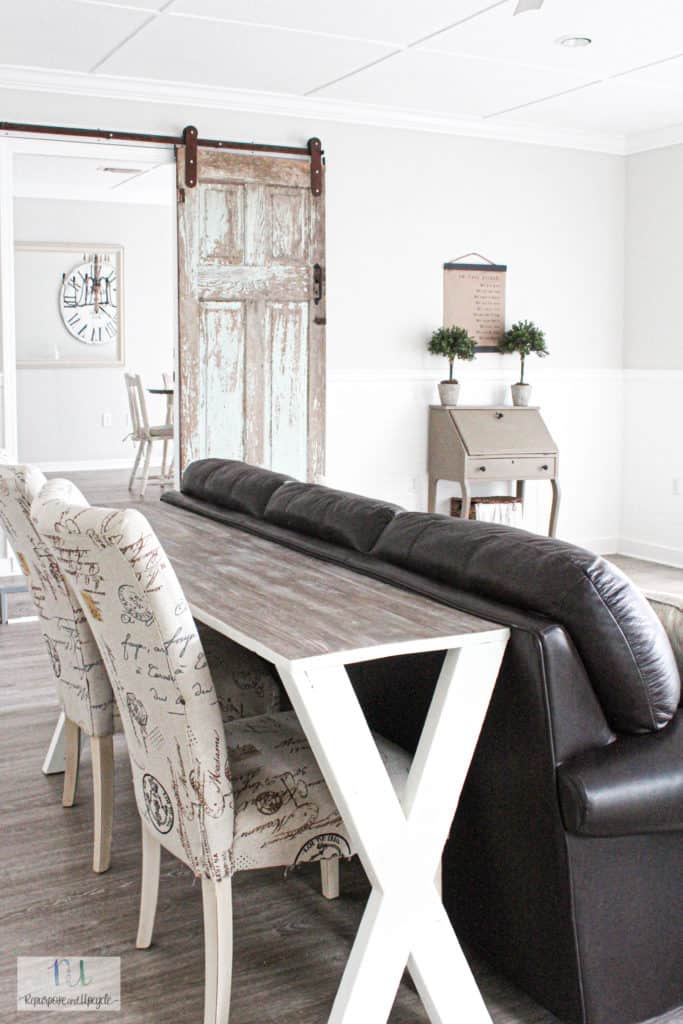
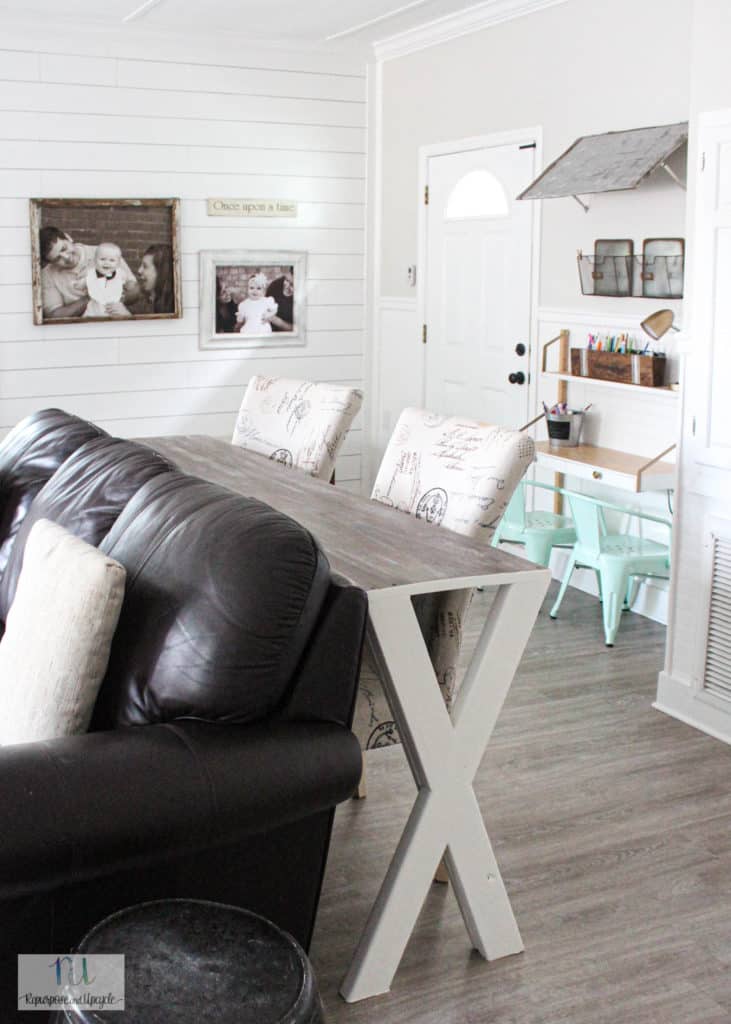
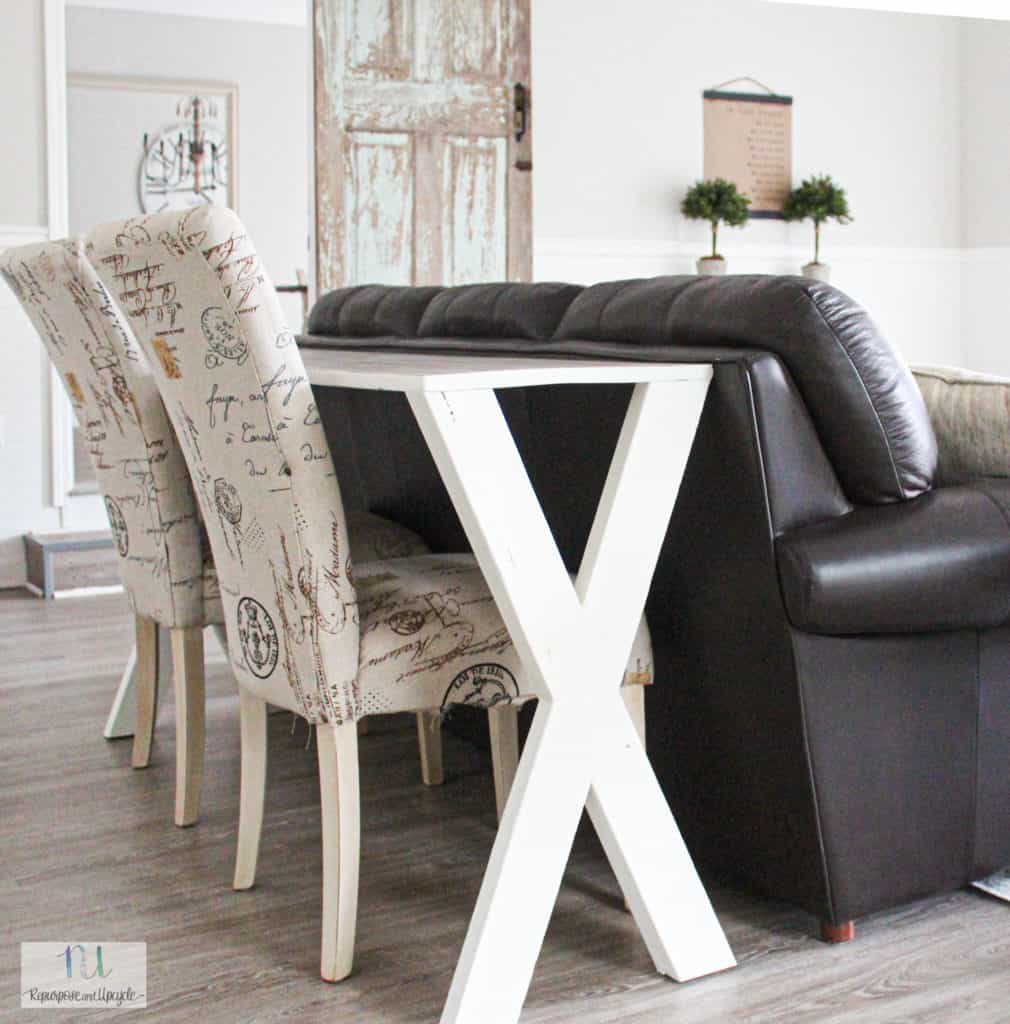
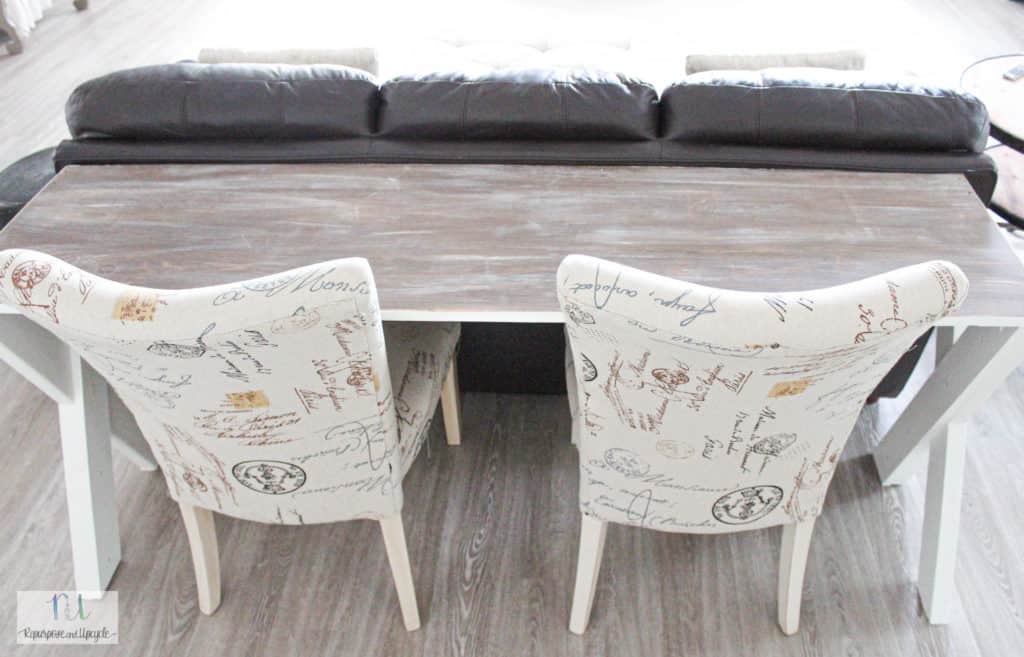
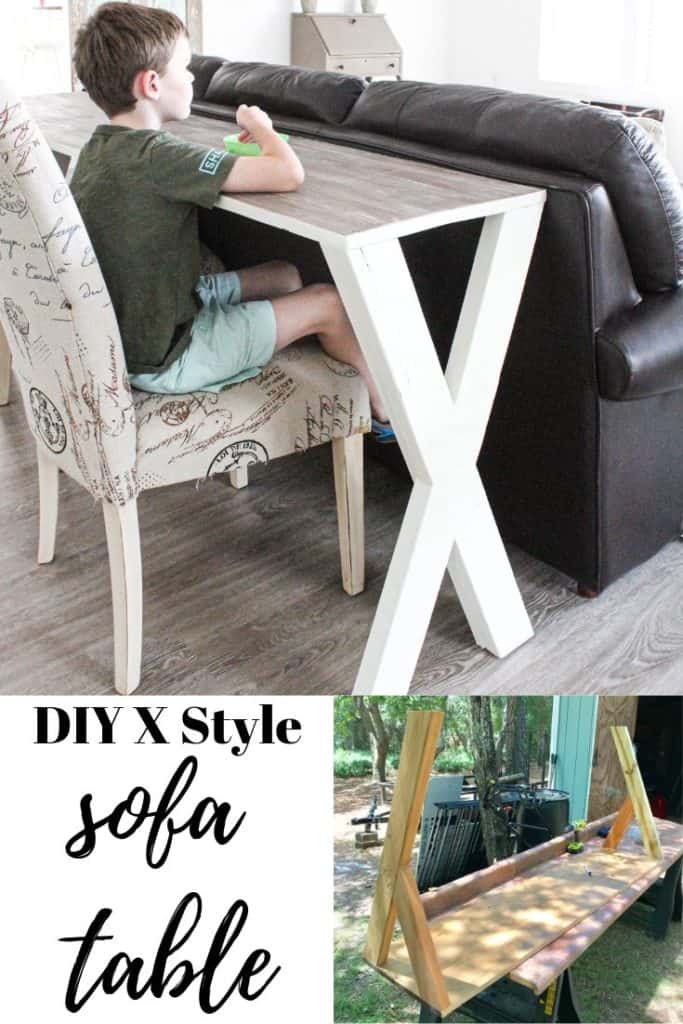
Don’t you think any X Style console has a real rustic farmhouse feel?
Either way I love the look and mostly the functionality of it! Best part, it didn’t cost me a thing.
SCORE!
I hope you enjoyed this easy DIY table! Thanks for stopping by.
Lindsey**


