Y’all, Pinterest is dangerous to me. When I spend more than 30 minutes a day on it, I find myself starting too many new projects. That being said, I was inspired by all the people on Pinterest who have “recreated” the BAKERY SIGN similar to the one that Joanna uses on Fixer Upper. I wanted one, but I didn’t want to pay the $70-$150 to purchase one from other home decor stores. This is where I decided it was time to create my own DIY VINTAGE BAKERY SIGN
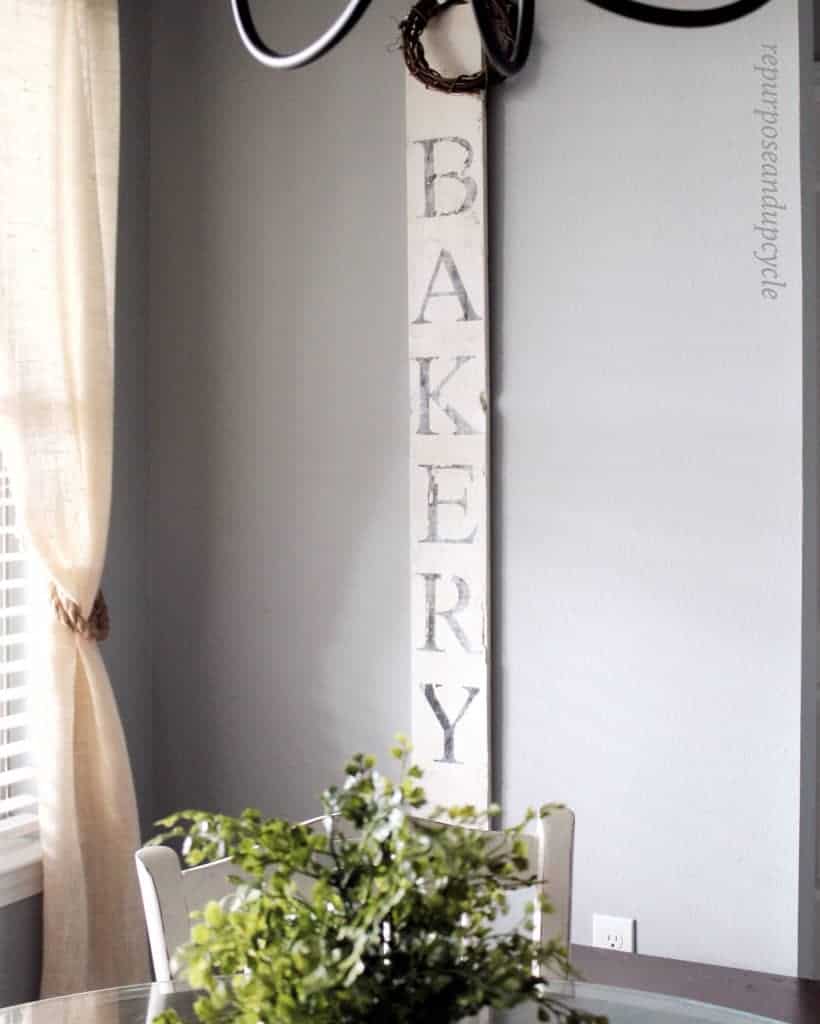
I was excited about this picture transfer to wood project because I’ve been wanting a vintage wall saying for a while now to add to my modern farmhouse decor.
Disclosure: this post contains affiliate links. This means that if you purchase from one of these links I will receive a small commission, but rest assured you won’t pay any more for the product.
Let’s start with the materials list:
- 1 by 6
- white paint– it doesn’t really matter what type of paint you use. I’ve shared a link to what I used.
- sand paper
- bakery sign printout from a laser printer Modern #20 Font (see more details below).
- Mod Podge
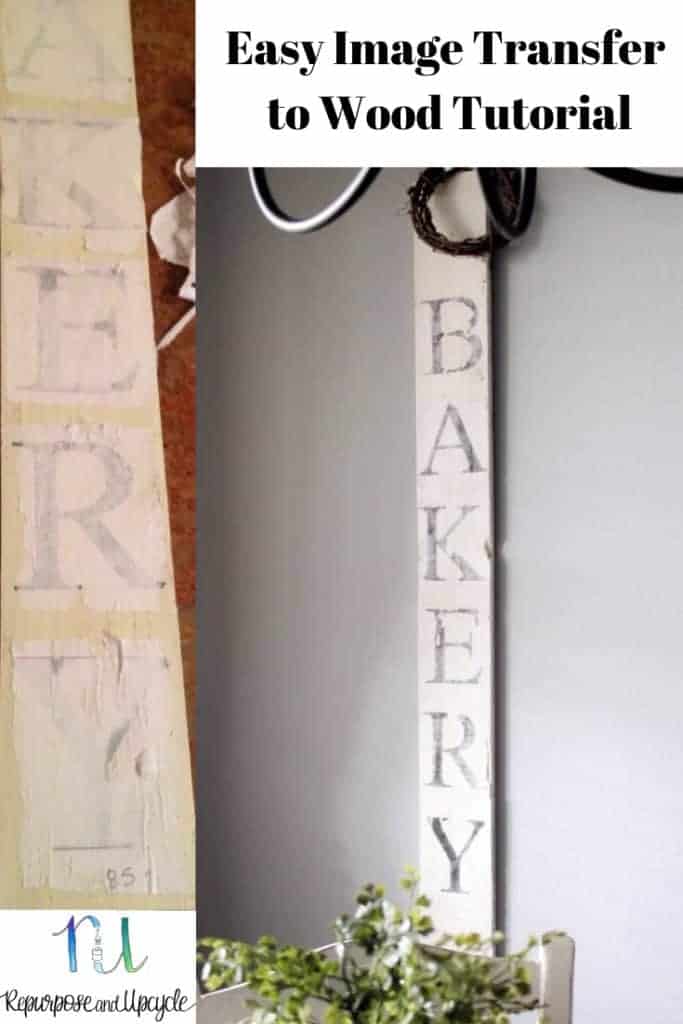
DIY VINTAGE BAKERY SIGN with an image transfer to wood
First, pick up a 1 by 6 from your local hardware store. It was only $4.95.
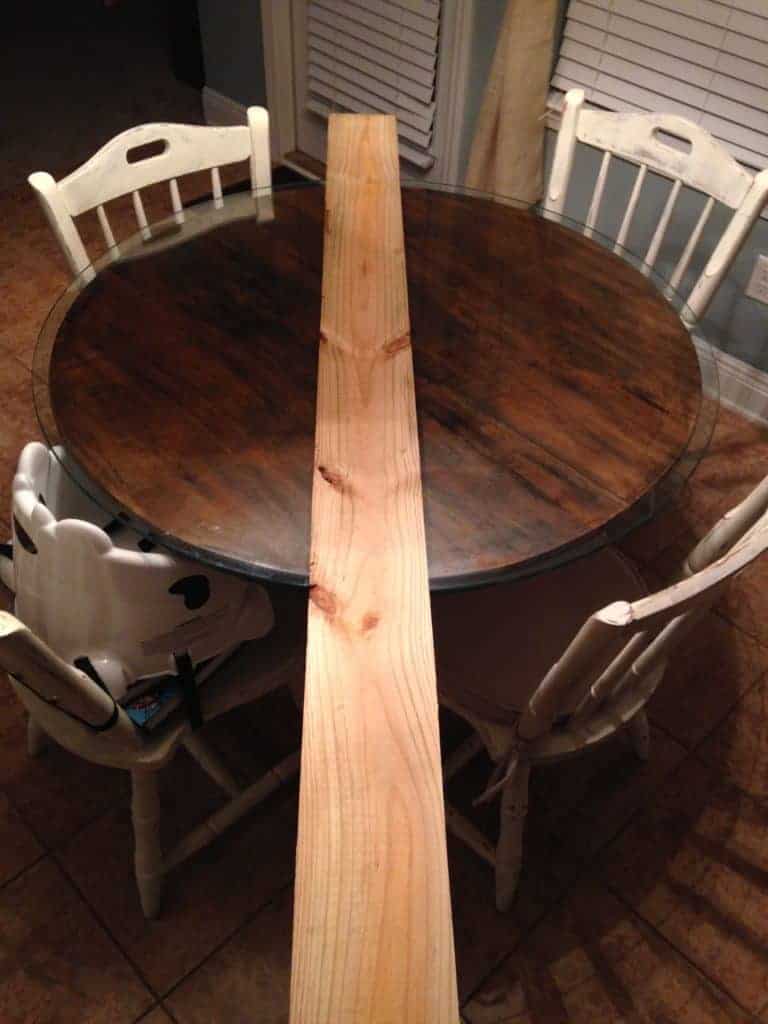
Next, paint the board with a layer of white paint. I did sand and “distress” it a little.
The next step involves having the letters printed for the DIY bakery sign.
NOTE: for this transfer method to work, the letters need to be printed from a LASER printer, not inkjet. Most home printers are inkjet.
I went to our local Office Depot and had them print INVERTED (very important) BAKERY letters in Modern #20 Font.
I measured the wood and told them to print the letters no larger than 5.5 inches wide. This came out to be 550 font size. They printed each letter on a separate 8 1/2 by 11 piece of paper.
Next, I took the letters and arranged them on the wood as I saw fit. Word of advice; cut the paper down as small as you can around the letters. This makes it easier when you have to “rub off” the excess paper after it’s been transferred.
Next, take the Mod Podge and coat the letters. Then lay them face down on the wood.
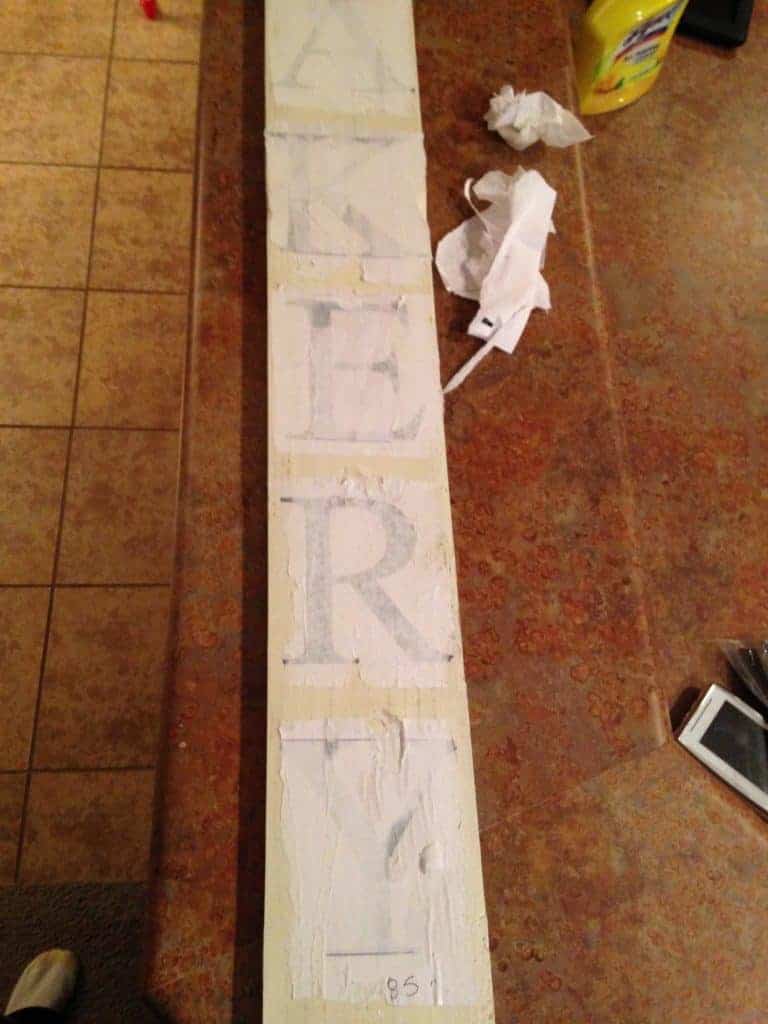
I also covered the top of the DIY farmhouse sign with one coat of Mod Podge as well. Now for the waiting game.
I waited about 3 hours (wait until its completely dry) and then I took a damp washcloth and lightly scrubbed the top layer of paper away. The idea is that the paper will peel off and leave the black letters on the wood.
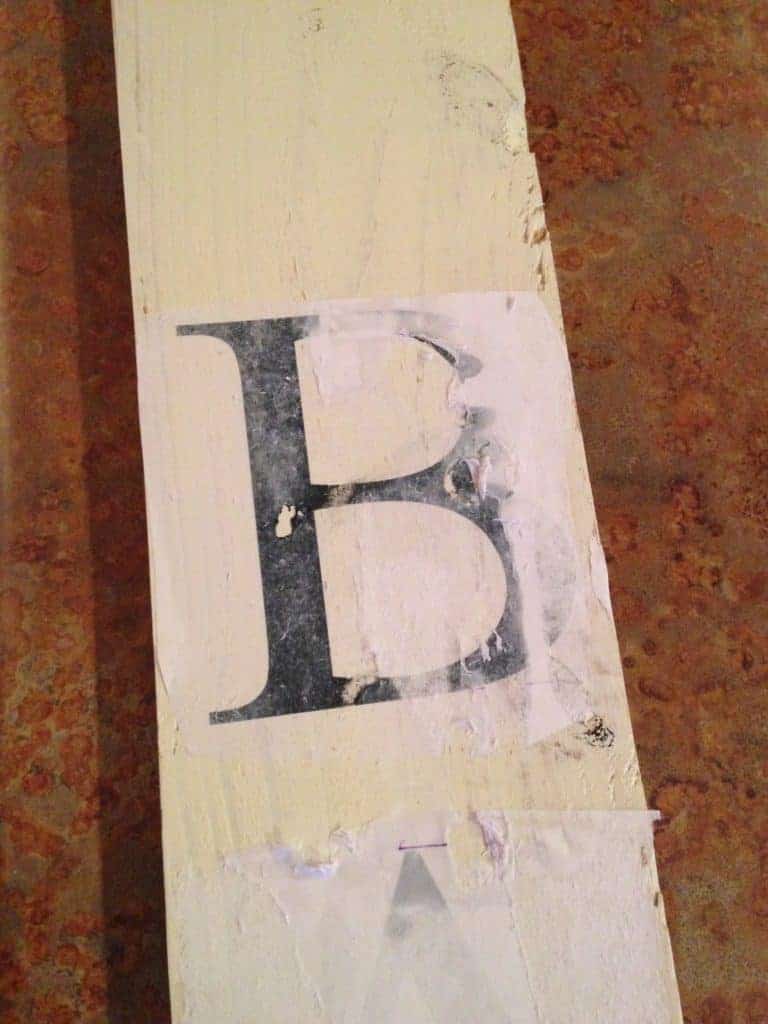
You can tell I am going for a more “distressed, vintage look.”
After I scrubbed as much off as I could, I painted one more layer of mod podge on the top to seal the letters on my vintage bakery sign. I love the way my new farmhouse decor sign was turning out!
How easy is that! With a little time and effort and not much money you can recreate the “DIY vintage Bakery Sign” look for under $10!
I love this image transfer to wood method because it’s so easy!
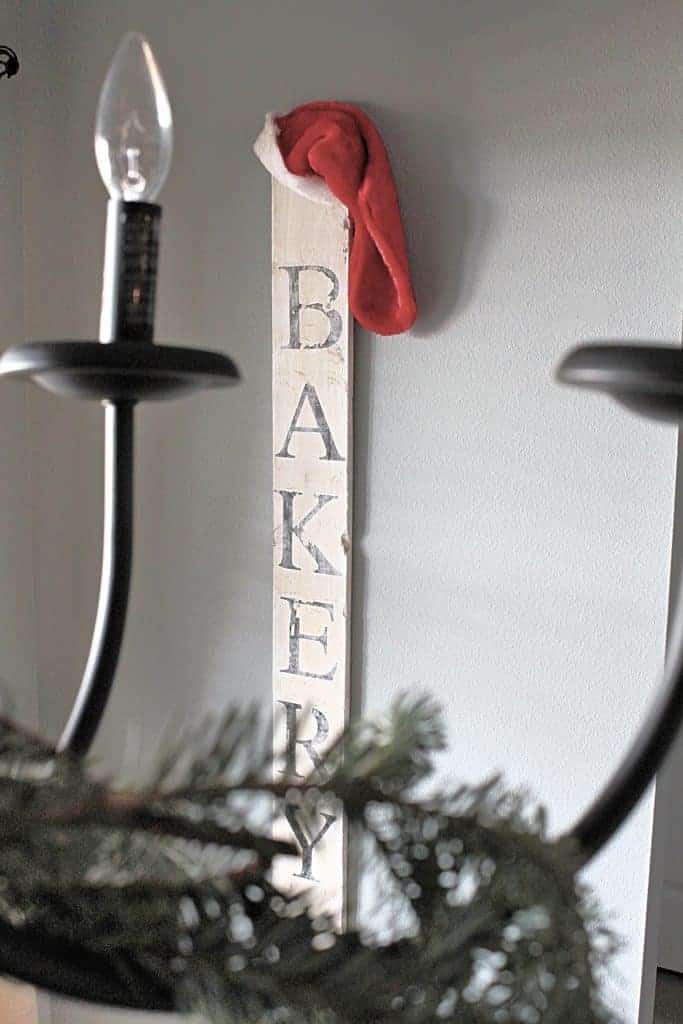
Here is a view of the DIY Bakery Sign styled for Christmas.
I hope this helps you create a few of your own farmhouse vintage style signs to add to your own decor!
Lindsey **


