Who loves to look at topiary trees? Who doesn’t love to pay the high price for them? ME! Some of my favorite bloggers use these topiaries around their home and I just loved the warmth they add to a space! It looks like a great way to bring the outdoors in, even if they are fake. Could I make some of my own? Well guess what, you’re in for an easy budget friendly project friends. I can’t wait to share the easiest way to create DIY Topiary Trees with boxwood sprays.
As a child I can remember spending countless hours in the craft store with my mom. For me, it was grueling. I used to think “why does she want to look at flowers and paint all the time? Why would she want to spend her time here and not at the mall looking for clothes?”
What goes around comes around right? Now look at me. I care nothing about clothes and could spend countless hours at hobby lobby or Michaels. Wonder if my daughter will think the same? 🙂
Enough of my walk down memory lane….
When I first thought of making these topiary trees I figured I would buy a floral foam ball and glue some sort of faux greenery to it and then attach it to a wooden dowel. That’s what I’ve seen most other crafters do at least. I knew there had to be an easier way to make topiary trees.
Disclosure; this post contains affiliate links. As an Amazon Associate I earn from qualifying purchases. This disclosure statement refers to the rest of the Amazon links in this post. See more on my disclosure page.
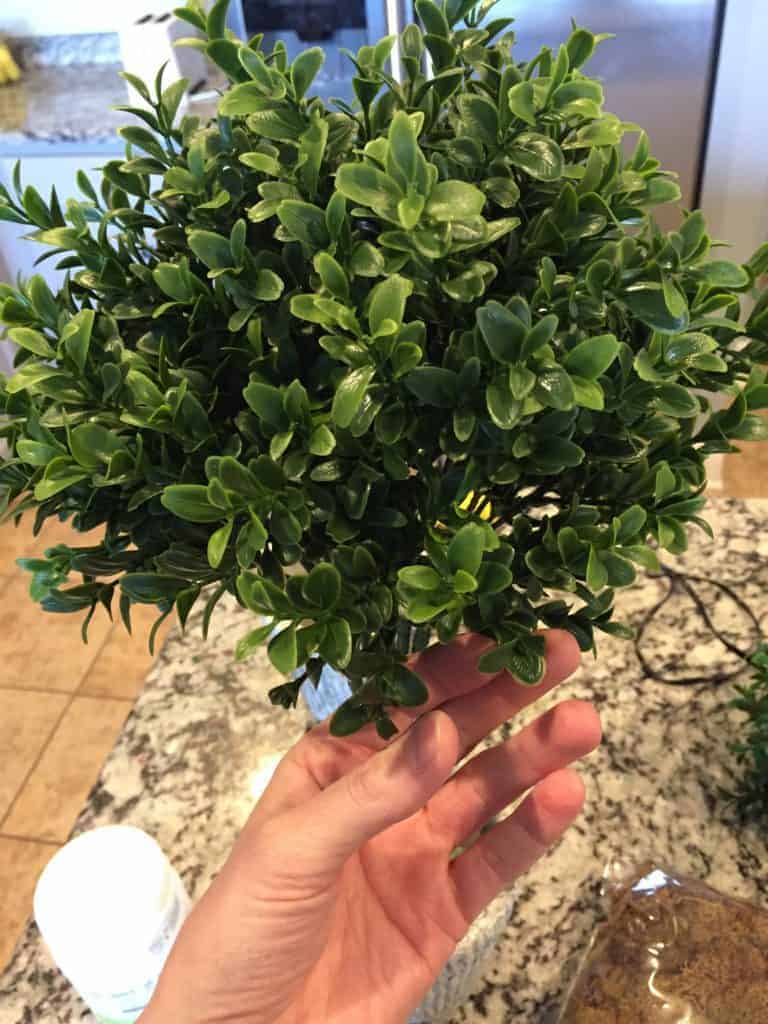
That’s when I got the brilliant idea to clump five boxwood sprays together and create the “topiary tree” look.
Video tutorial on how to create a DIY topiary tree with boxwood sprays
Materials:
- Boxwood sprays – not the same product but similar
- clay pots – not the same product
- floral foam
- hot glue gun
- twine (if you choose)
- floral moss
DIY topiary trees with boxwood sprays

This is what it looked like below when I “clumped” the boxwood sprays together.
This is what the base looked like with the floral foam. I used a rubber band to keep them together temporarily.


I decided to add a little yarn to the top of the boxwood to make sure individual sprays held together.
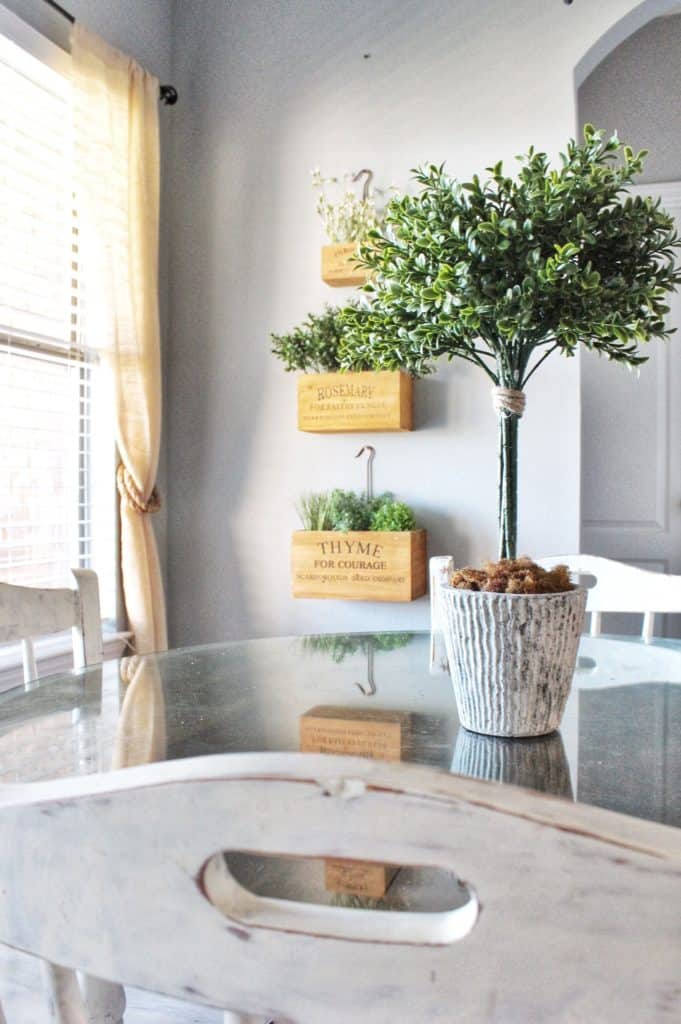
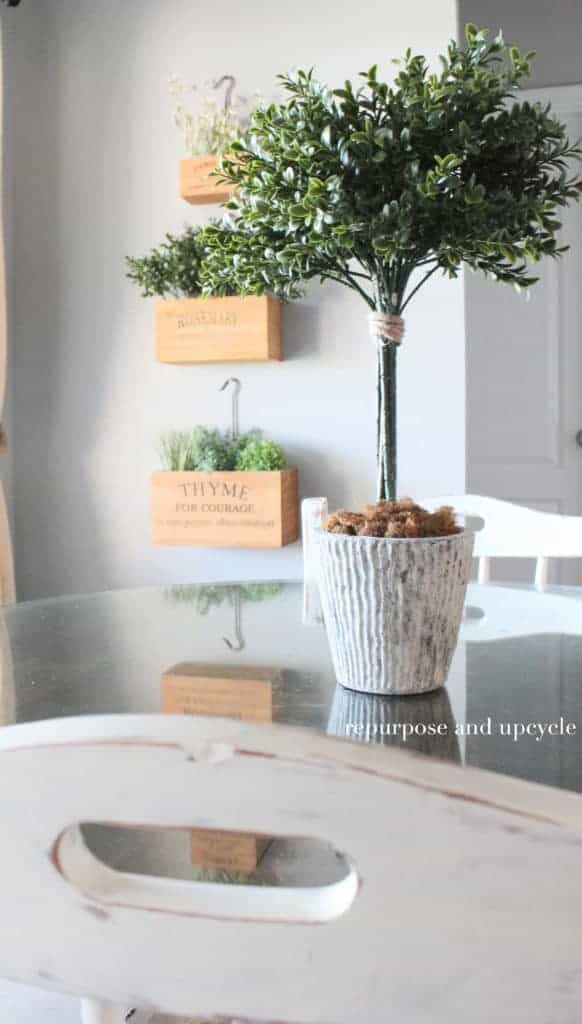
The next step is to add the floral moss and that’s it!
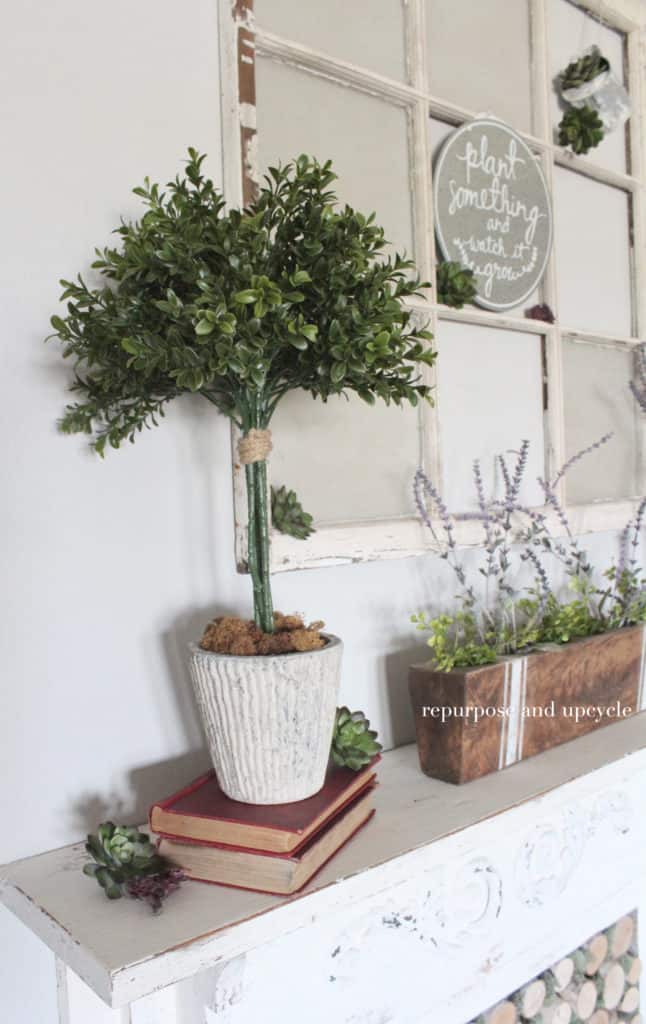
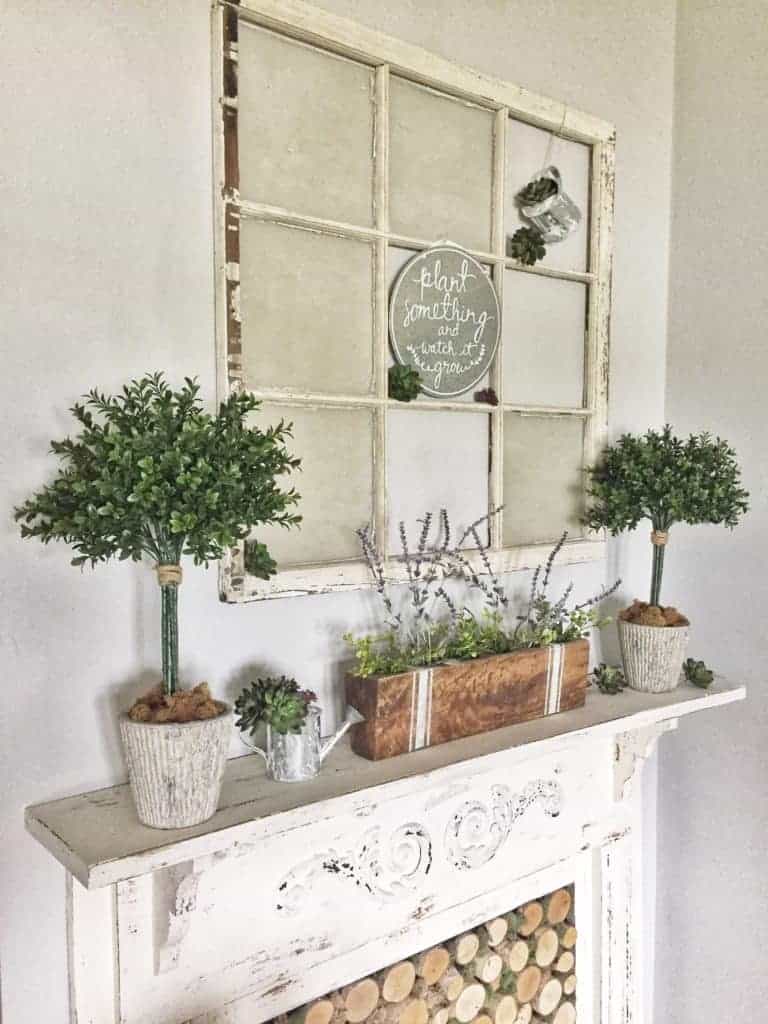
I love how a few simple DIY Topiary trees add lots of greenery and warmth around the house.
What is it about a boxwood wreath or garland that gives a home that farmhouse vibe? I don’t know but I sure do love it!


I think I enjoy my topiaries the best on my spring inspired mantel.
What is your favorite faux greenery or plant to decorate with?

Thanks for stopping by friends,
Lindsey**


