Do you ever create an “accidental project?” What I mean is, do you ever buy craft supplies intending to create one thing but end up creating something entirely different? That’s what happened with these DIY rope pumpkins I made for the fall season.
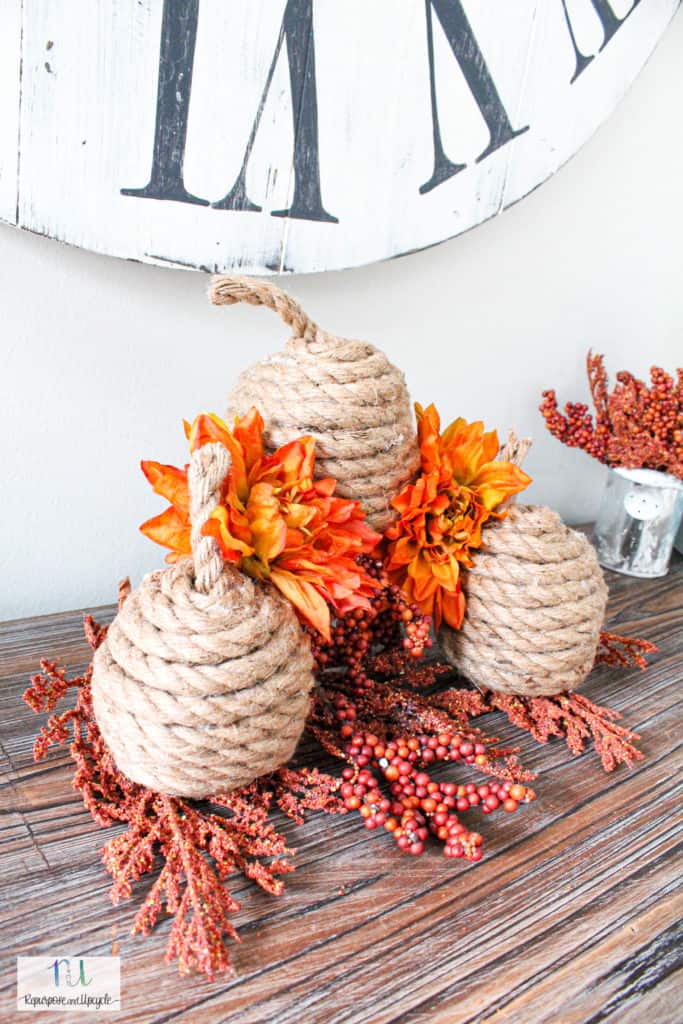
I purchased a good bit of sisal rope to make some shelves, but once I started looking at the rope I thought it would be neat to try to make something festive out of it. You probably guessed what; DIY rope pumpkins! I had a few doubts along the way as I was creating it, but it ended up looking ok. Check out how cute they look with my fall decor.
You can get away with a lot of crazy decor around the holidays and especially Halloween.
You can throw crazy colors all around your home, you can hang goblins and spiders and cobwebs!
Might as well throw some good ole’ sisal rope pumpkins in the mix for a fun fall craft, right?
This little holiday project doesn’t take ANY skill to complete. As a matter of fact I almost didn’t write this post because it seemed so silly. Then I thought at least I can share some final pics of my lovely DIY twine pumpkins. If anything maybe my simple project will inspire someone else! You can get these supplies at any box store, Hobby Lobby or even the Dollar Tree.
Disclosure; this post contains affiliate links. As an Amazon Associate I earn from qualifying purchases. This disclosure statement refers to the rest of the amazon links and other affiliate links in this post.
Material list for DIY sisal Rope Pumpkins:
- 1/2″ twisted sisal rope or jute twine. You can use whatever color or whatever size rope you want, but this is the size I’ve used. You can use all different colors like white rope, brown rope, even black rope that would look great for Halloween!
- Scissors
- Heavy brown packing paper. Again, you can use whatever you want to create the “inside,” but this is what I’ve used.
- Rubber bands
- Hot glue gun
How to make DIY rope pumpkins;
- Start by crumpling up your paper into a ball. You can also use a foam ball, but I chose to use paper because I didn’t want it to look perfect. After all, pumpkins aren’t perfect either. This can heavy packing paper or even just newspaper.
- Wrap a few rubber bands around the ball to hold its shape.
- Slide the end of the rope under one of the rubber bands.
- Start by hot glueing the rope in a circle.
- Continue wrapping the rope while hot glueing.
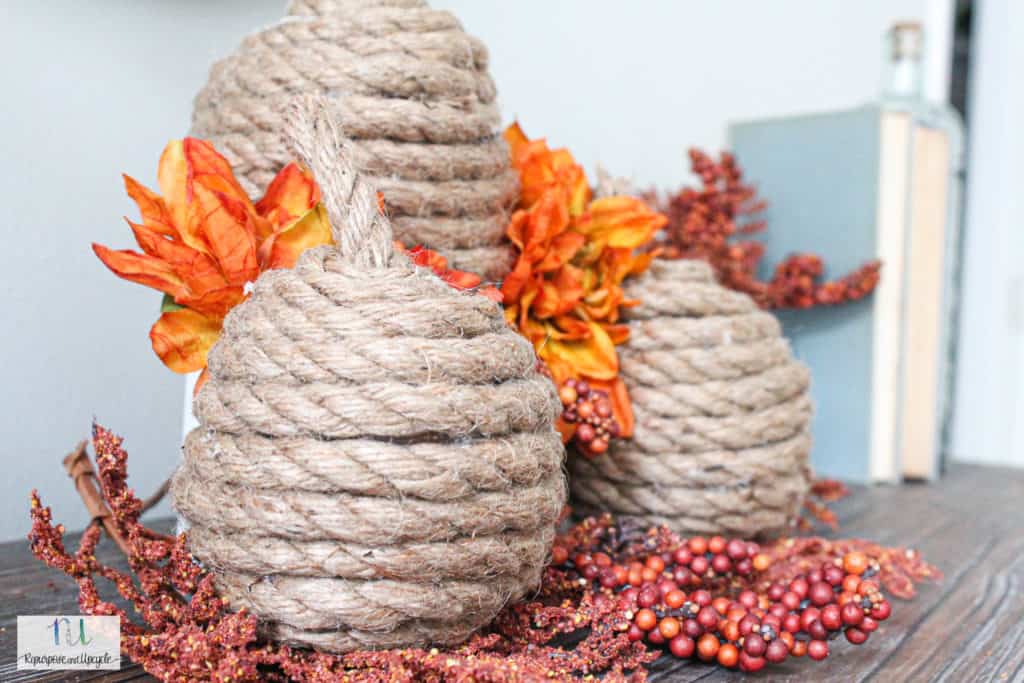
- Once you reach the top of the pumpkin and have glued as far in as you can, leave a little piece of rope sticking up at the top and create the “stem.”
- Final step, cut the end of the yarn and display your new rope pumpkins!
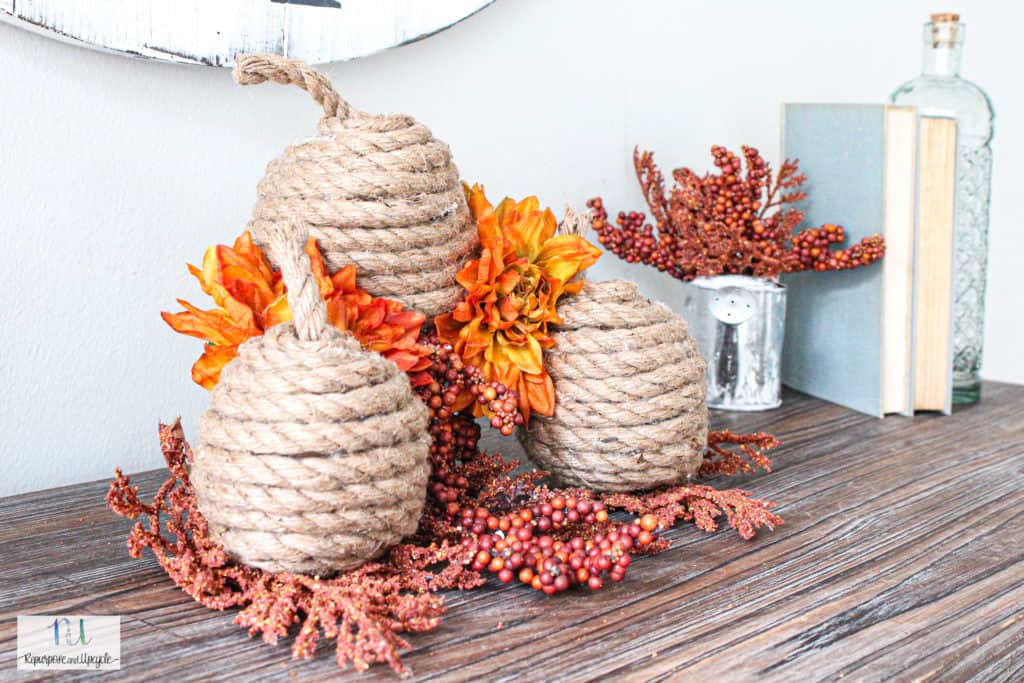
Sometimes the simplest and most fun holiday crafts can be made with good old household items. If you do plan to make these amazing pumpkins, a good idea would be to make a few different sizes because it brings visual interest. When I make these again, I plan to make one large pumpkin and a few smaller pumpkins.
Have you made anything fun out of sisal rope? Or any rope?

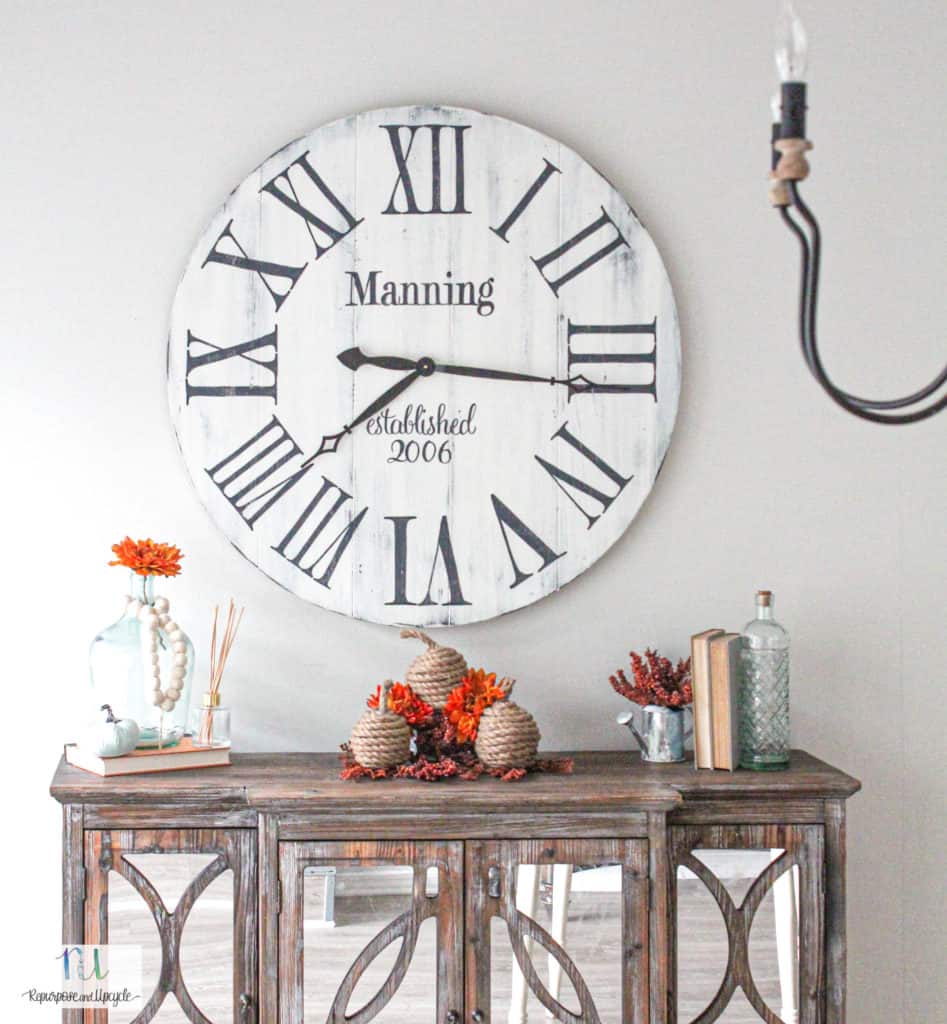

I’m so pleased I pressed on with completing a few of these pumpkins. I can’t believe how adding a little rope over a piece of paper can really add holiday cheer to a room! They look so cute on a coffee table!
Until next time,
Lindsey*


