Technology. It’s a blessing and a curse. I love that my kids know a lot about computers (they are only 3 and 6) but I hate that they would rather use an iPad than read a book.
My other biggest frustration is the cords that come along with anything electronic. Also, most of our devices have different chargers. Ugh, another thing to keep up with. I finally decided to create a DIY family charging station to organize cords and devices so everything would be kept in one central space. No more searching for cords and devices! Let me show you how.
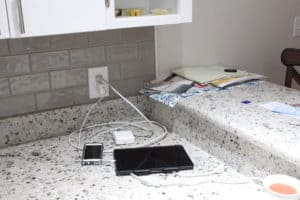
This is what my kitchen looked like on a daily basis (warning; it’s not pretty).
That little corner of our kitchen seemed to be the “technology hub” where most tablet’s are found.
Conversations in my home went something like this;
“Mom, have you seen the iPad?”
“Nope, where did you put it last?”
“I don’t know I can’t remember.”
(He finds the iPad)
“I found it but the battery is dead. Where is the charger?”
“I still don’t know.”
Does this sound familiar to any of you?
In an effort to end these conversations I decided to create my own DIY charging station.
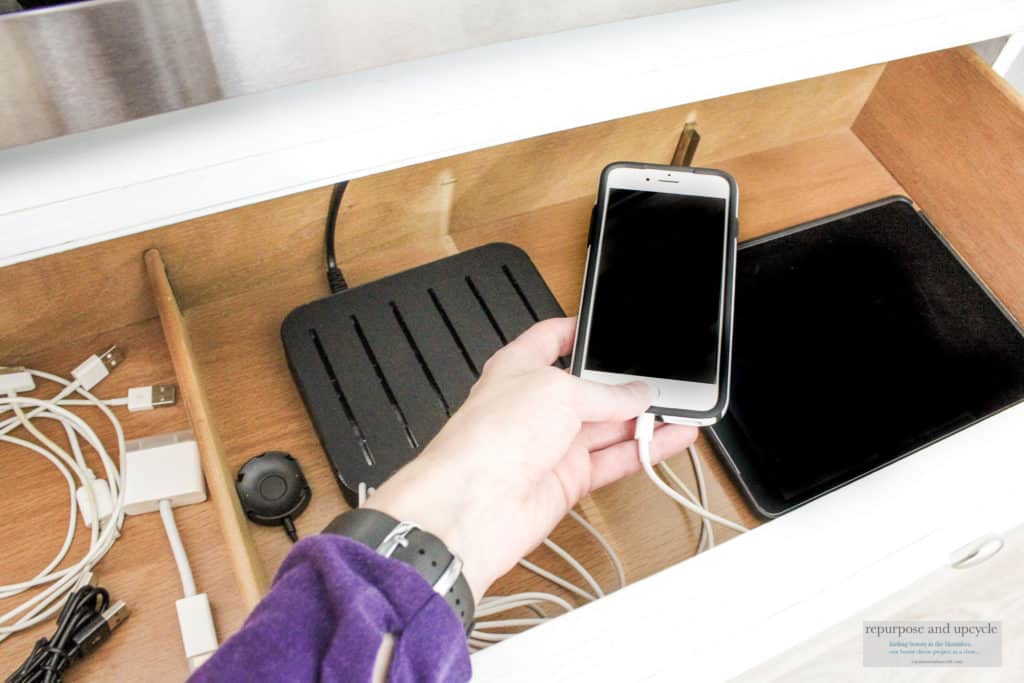
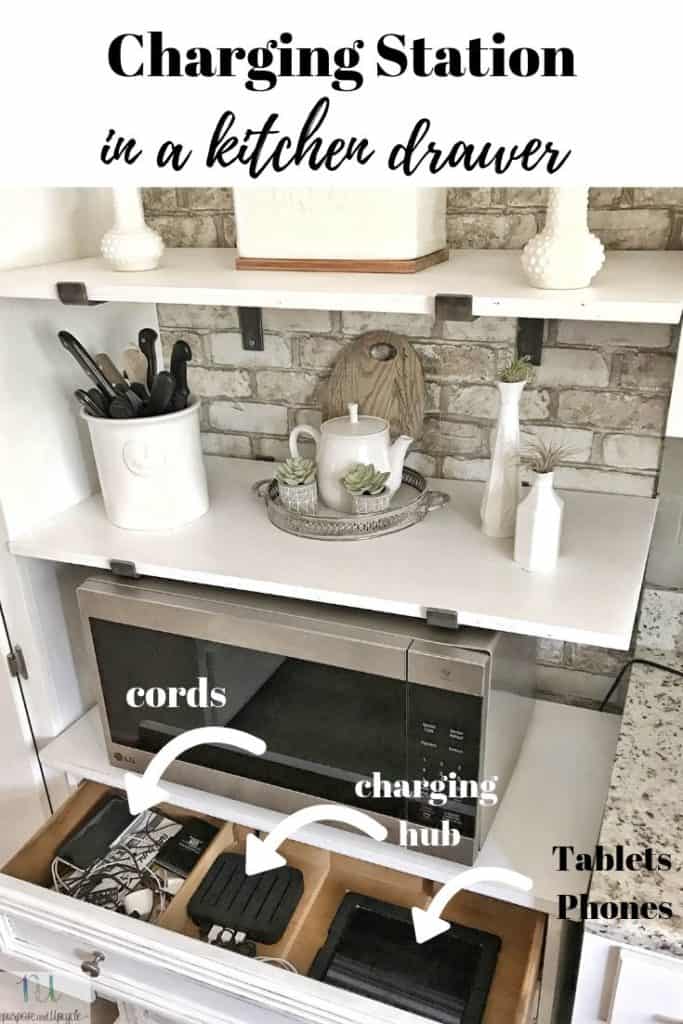
In my opinion, the easiest way to create your own in-home charging station is to dedicate a drawer (central location preferred) to keep all the tablets, phones and cords in one place.
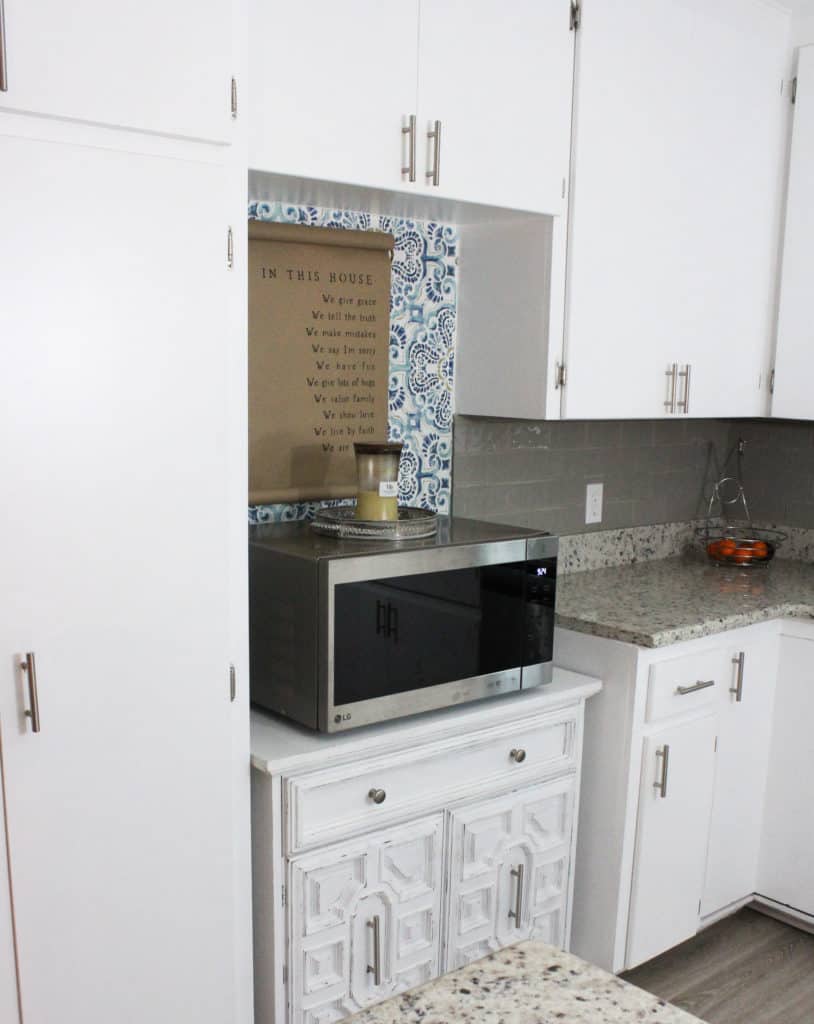
I decided on a drawer in my kitchen.
It was the perfect place for a “technology drawer” because;
- It’s a central location
- there is a plug behind the cabinet
- the drawer is the perfect size to organize cords and tablets
Disclosure; this post contains affiliate links. As an Amazon Associate I earn from qualifying purchases. This disclosure statement refers to the rest of the Amazon links in this post. See more on my disclosure page.
Materials for the DIY charging station
- drill
- Woodboring spade drill bits
- charging station – this is optional BUT makes things a lot easier than using an extension cord
Once you’ve gathered your supplies, you need to drill a hole in the back of the area where you’re going to string your extension cord through.
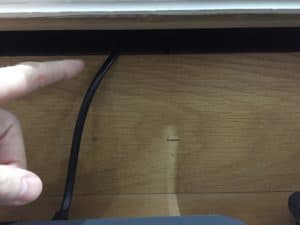
Luckily, I didn’t have to drill into the drawer because there was a small space that allowed the cord to fit through.
I did have to drill in the back of our cabinet in the kitchen. It’s not a pretty hole, but no one will see it so I didn’t take too much effort making it look good. Since I did not have a spade drill bit, I used a large drill bit instead.
Once I plugged the charging station to the wall, I was ready to organize!
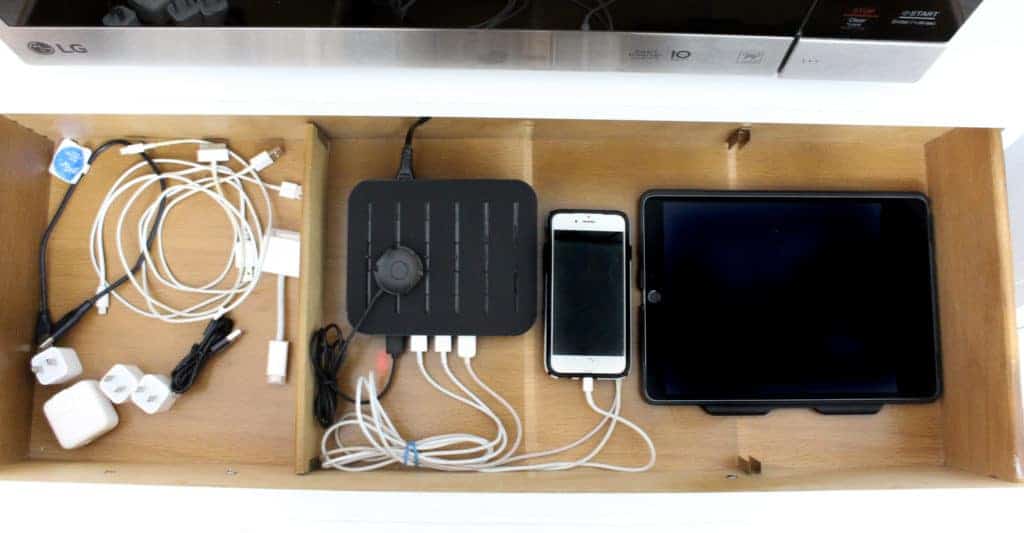
I love having once central hub for all the tablets, phones and cords.
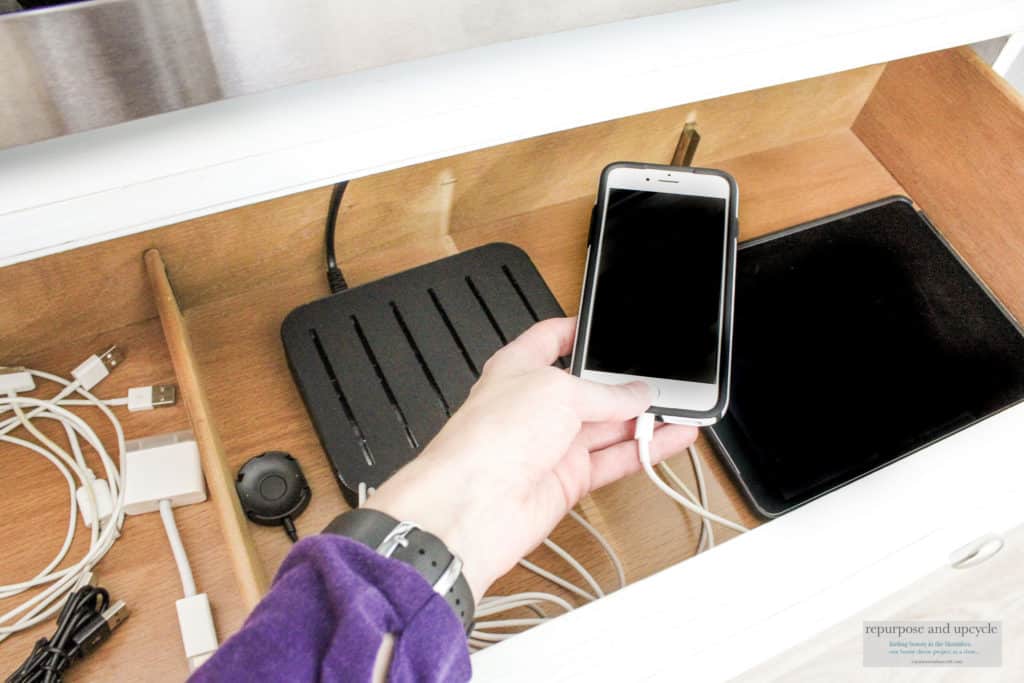
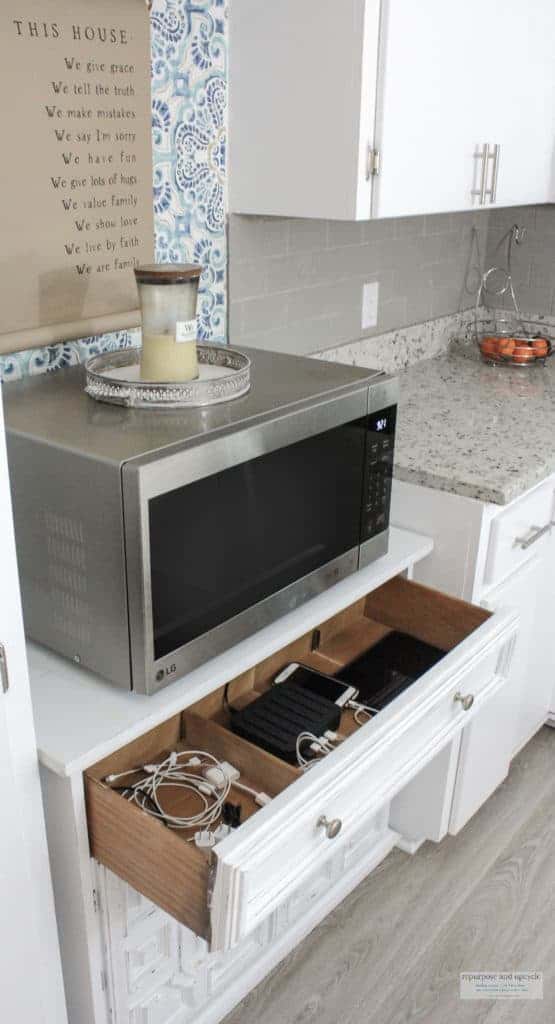
At first I thought it might be awkward having our electronics in the kitchen, but after a few days of using it, it’s perfect!
DIY charging station or charging drawer
My favorite DIY’s are those that require little time and no money! Since I had all supplies on hand for this one, it was free.
Since this post I did a little makeover in the “kitchen Cubby.”
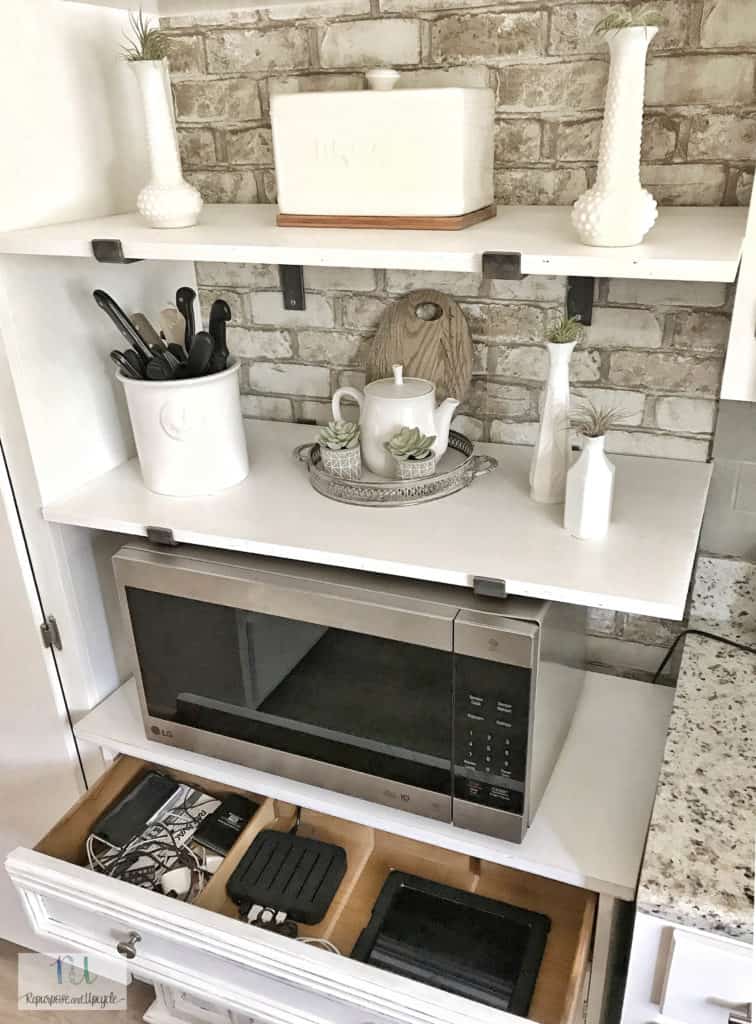
I hope this has inspired you to create a little more organization in your life, even if it starts with a phone or a tablet!
Lindsey**


