Learn this easy trick to how to put ribbon on a Christmas tree. I’ve included a simple Christmas tree ribbon hack video too!
I’ve always been amazed at the time and energy some people put into creating gorgeous, full, Christmas trees around the holiday season. Can I be honest? I’ve never had the energy (or time) to spend ALL day decorating a Christmas tree for our living room.

Many people struggle with getting the ribbon to look just right with straight lines, often resulting in a messy and uncoordinated tree. Fortunately, there are some easy techniques that can help anyone achieve a beautifully decorated tree with perfectly placed ribbon.
This year, I’ve learned a little ribbon hack that has changed everything! I can’t wait to share you this step-by-step tutorial on the easy way to put ribbon on a Christmas tree. I’ve always loved Christmas trees with a lot of ribbon. I don’t, however, love to add ribbon to a tree. Is it just me or does it seem so labor intensive? Maybe I’m just being dramatic, or maybe I’m just lazy! Back to the easy tutorial…
One of the most important things to keep in mind when placing ribbon on a Christmas tree is to choose the right type of ribbon. Wired ribbon is typically the best option, as it can be easily manipulated and shaped to fit any tree. It’s also important to choose a ribbon that complements the colors and theme of the rest of the tree decorations. Once the right ribbon and color palette is chosen, there are several techniques that can be used to achieve a cohesive and polished look.
Understanding Ribbon Types
When it comes to decorating your own Christmas tree with a roll of ribbon, it’s important to choose the right type of ribbon for the look you want to achieve. Here are some common types of ribbon and their characteristics:
Wired Ribbon
Wired ribbon is a popular choice for decorating Christmas trees because it holds its shape well and is easy to manipulate. The wire in the ribbon allows you to create loops and bows that stay in place, and it can be easily reshaped if needed. Wired ribbon comes in a variety of colors, patterns, and widths, making it a versatile choice for a real or artificial Christmas tree.
Satin Ribbon
Satin ribbon is a smooth and shiny option that adds a touch of elegance to any tree. It comes in a range of widths and colors, and can be used to create bows or draped around the tree for a more subtle effect. Satin ribbon is not as easy to manipulate as wired ribbon, but it can still be used to create beautiful decorations.
Sheer Ribbon
Sheer ribbon is a lightweight and delicate option that adds a soft, ethereal look to a Christmas tree. It comes in a range of colors and widths, and can be used to create bows or draped around the tree for a more subtle effect. Sheer ribbon is not as easy to manipulate as wired ribbon, but it can still be used to create beautiful decorations.
Burlap Ribbon
Burlap ribbon is a rustic and natural option that adds a cozy, country feel to a Christmas tree. It comes in a range of widths and colors, and can be used to create bows or wrapped around the tree for a more subtle effect. Burlap ribbon is not as easy to manipulate as wired ribbon, but it can still be used to create beautiful decorations.
Velvet Ribbon
Velvet ribbon is a type of ribbon made from velvet fabric, which is a soft and plush material. Velvet ribbon adds a luxurious and elegant touch to various items and is available in a wide range of colors and widths.
Materials Needed
Ribbon Selection
Choosing the right ribbon is important when it comes to decorating your Christmas tree. You can opt for wired or unwired ribbon, depending on your preference. Wired ribbon is easier to manipulate and shape, while unwired ribbon is more flexible and can be draped more easily. Select a color and pattern that complements your tree decorations and overall design theme.
Tree Preparations
The first step, before placing the ribbon on your tree, make sure that it is properly fluffed and shaped. This will ensure that the ribbon lays flat and does not get tangled. Start by straightening out the branches and separating them from each other. This will provide a clear path for the ribbon to be placed.
Additional Tools
To make the process easier, you may want to consider using additional tools. A ribbon spool holder can help keep the ribbon organized and prevent tangling. A pair of scissors can be used to cut the ribbon to the desired length. A step stool or ladder may also be necessary to reach the higher branches of the tree.
Remember to take your time when placing the ribbon on your Christmas tree.
Ribbon Placement Techniques
Here are three different ways for methods for ribbon placement:
Looping Method
The looping method involves taking a length of ribbon and creating loops that hang down from the branches of the tree. To do this, start at the top of the tree and tuck one end of the ribbon into the tree, then drape the ribbon down and create a loop by folding it back up and tucking it into the tree again. Repeat this process, alternating sides of the tree, until the entire length of ribbon has been used.
Weaving Method
The weaving method involves taking a length of ribbon and weaving it in and out of the branches of the tree. To do this, start at the top of the tree and tuck one end of the ribbon into the tree, then weave the ribbon in and out of the branches, going over and under each branch as you go. When you reach the bottom of the tree, tuck the ribbon into the tree and start again with a new length of ribbon.
Cascading Method
The cascading method involves taking a length of ribbon and draping it down the tree in a cascading pattern. To do this, start at the top of the tree and tuck one end of the ribbon into the tree, then drape the ribbon down the tree in a zigzag pattern, allowing it to cascade from branch to branch as it goes. When you reach the bottom of the tree, tuck the ribbon into the tree and start again with a new length of ribbon.
Two ways to fake the look of a full roll weaved in and out of the Christmas tree:
- Use a three to four foot piece of ribbon to strategically place in the tree with the center being pushed or folded into the tree (making it look like two swoops)
- Cut two smaller 2 foot pieces of ribbon and staple them together on each end. Bend them into half circles, “fluff them a little” and then stick them into the bare spots in the tree. This is the method I used for this tree.
The key to creating a beautifully decorated tree with flowing ribbon is using ribbon with wire. You don’t have to used wired ribbon if you don’t have it, but it helps maintain the shape and makes this ribbon hack a little easier.
How to add ribbon to a Christmas tree
- First thing, start at the top of the tree near the tree topper and, using either 3-4 foot ribbon or two 2 foot ribbon pieces, place them in the open spots weaving in and out of the branches.
- Continue putting ribbon around the tree making sure that the ribbon is evenly placed.
- Next step, mix the different ribbons together for a fuller effect. Sometimes using contrasting types of ribbon gives it even more dimension!
You can make this ribbon hack as simple or as ornate as you want it! We used it with our real tree, but for a really full artificial tree, use the 2 foot and 4 foot method!
Wasn’t that ribbon hack easy? I wish I had know about the Christmas tree ribbon trick a long time ago.
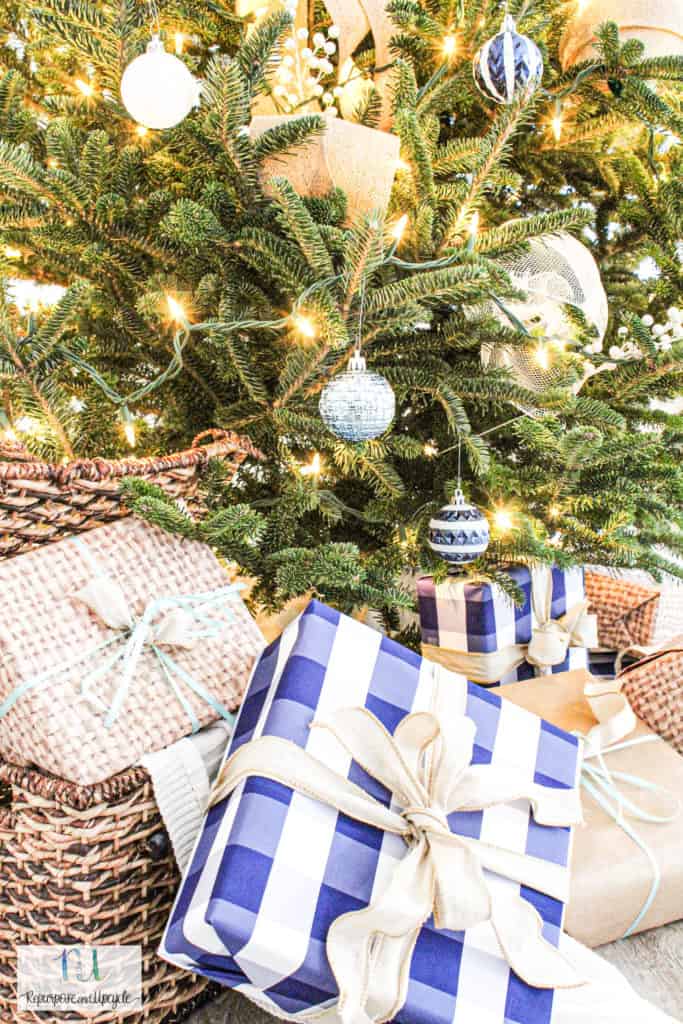
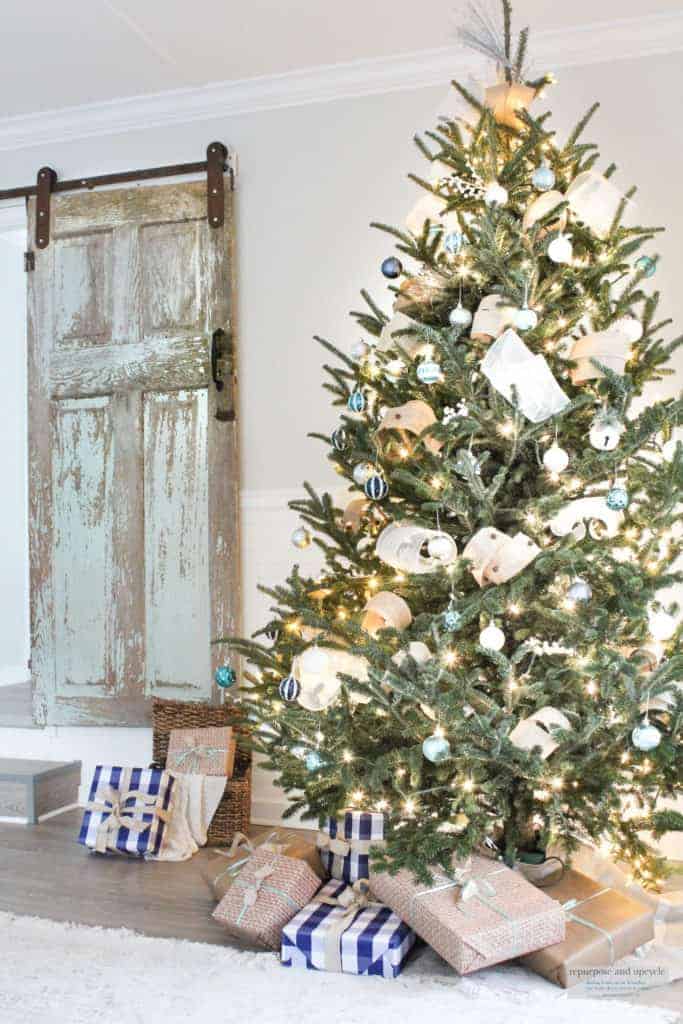
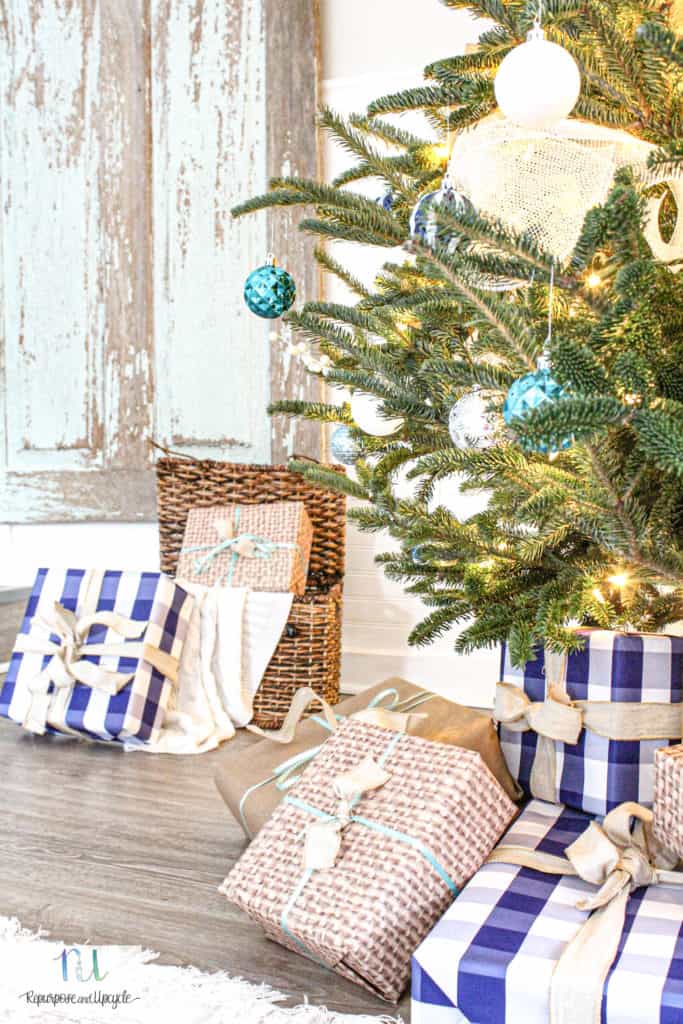
This year I wanted to create a coastal Christmas theme with different shades of blue and lots of natural jute colors for a more natural tree look!

Additional Tips and Tricks for Christmas Tree Ribbon Idea
When it comes to placing much ribbon on a Christmas tree, there are a few additional tips and tricks that can help make the process even easier.
Firstly, consider using wired ribbon. This type of ribbon is much easier to manipulate and shape than non-wired ribbon, making it the best ribbon to create the desired look on the tree.
Another tip is to use a variety of ribbon widths. Mixing different widths of ribbon (wide ribbon with thin ribbon and smaller pieces too) can add depth and dimension to the tree, making it more visually appealing.
To create a fuller look, try layering different types of ribbon. For example, layer a sheer ribbon over a solid ribbon to create a textured look. I love the look of a plaid ribbon with a solid color ribbon in different widths.
If you’re struggling to get the ribbon to stay in place, consider using floral wire to secure it to the tree, it makes a huge difference! Simply wrap the wire around the ribbon and attach it to the tree branch.
Don’t be afraid to experiment with different ribbon styles and colors. There are endless possibilities when it comes to Christmas tree decorations, so have fun and get creative!
I hope this ribbon hack has given you a tool to create your own “professionally decorated” Christmas tree.


