Hello early 2000’s brown granite. I used to love you, along with the dark cherry and mahogany cabinets, but it’s time for something new. That being said, come along as I update this granite fireplace with some beautiful peel and stick faux tile.
This project might be a little controversial. Maybe, maybe not. We’ve lived in our Cozy Craftsman for over 6 months and I just can’t get used to the brown granite over the hearth when I KNOW I can make it better. Let me show you what I came up with.
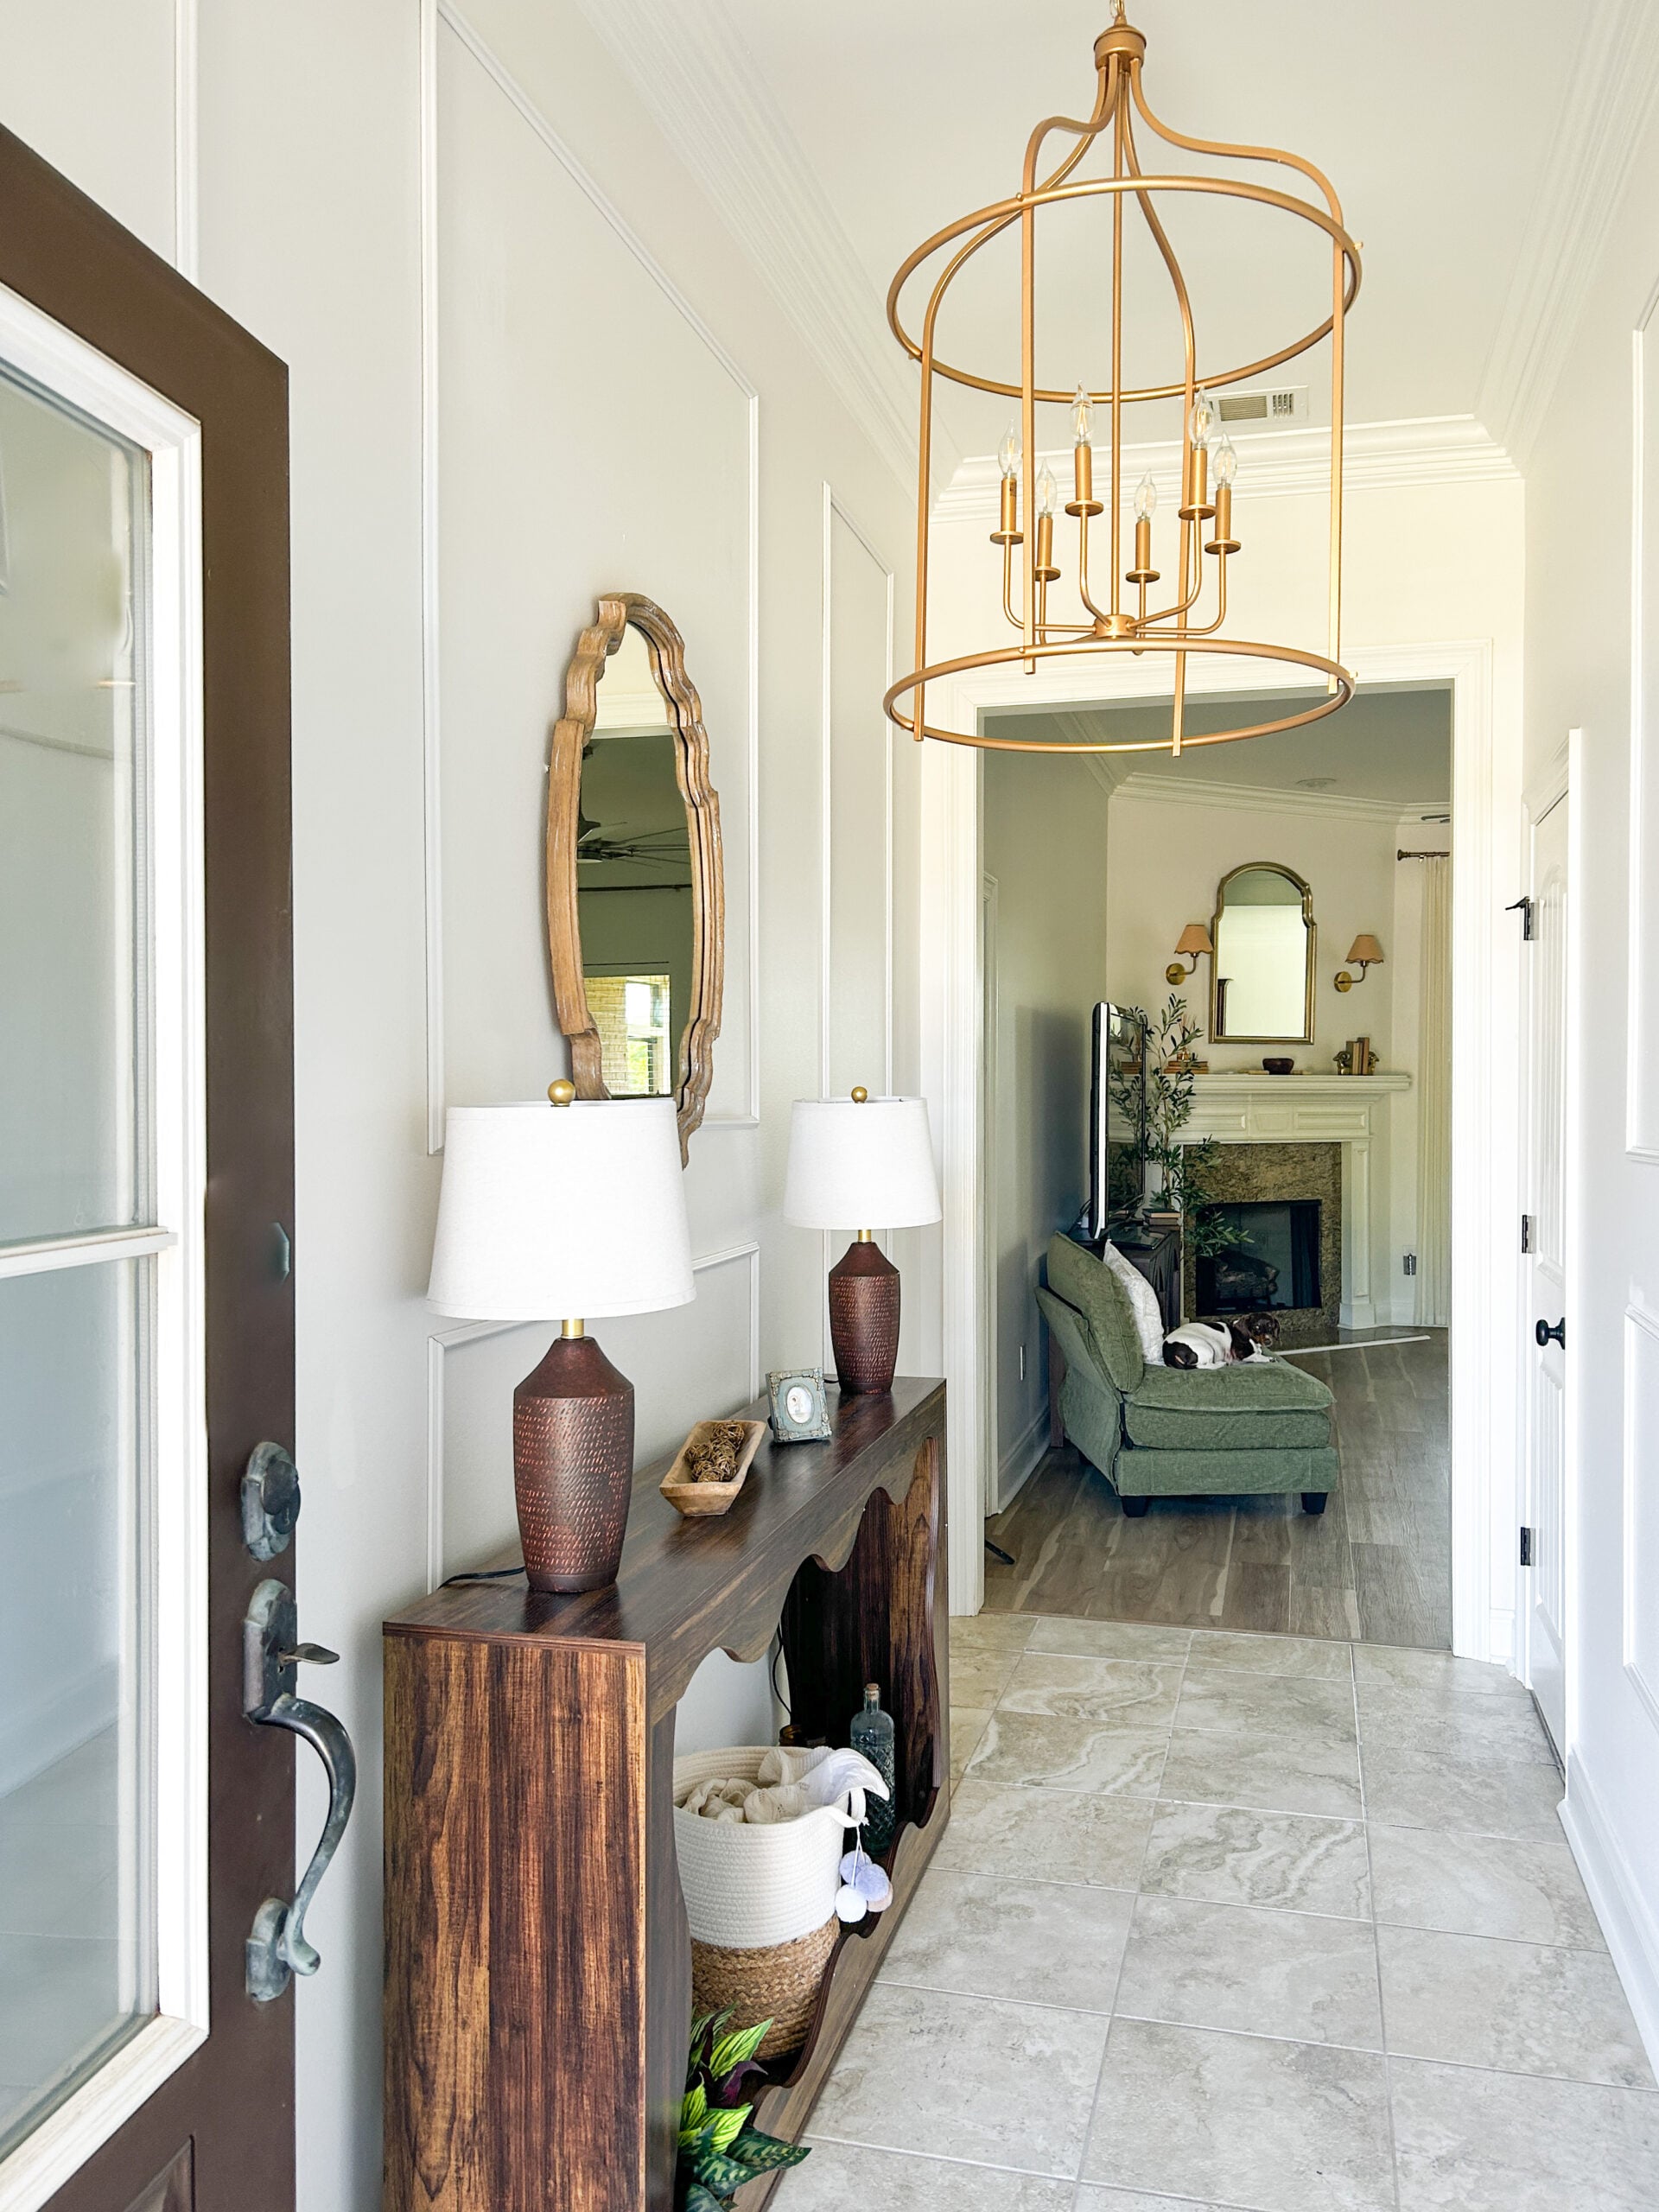
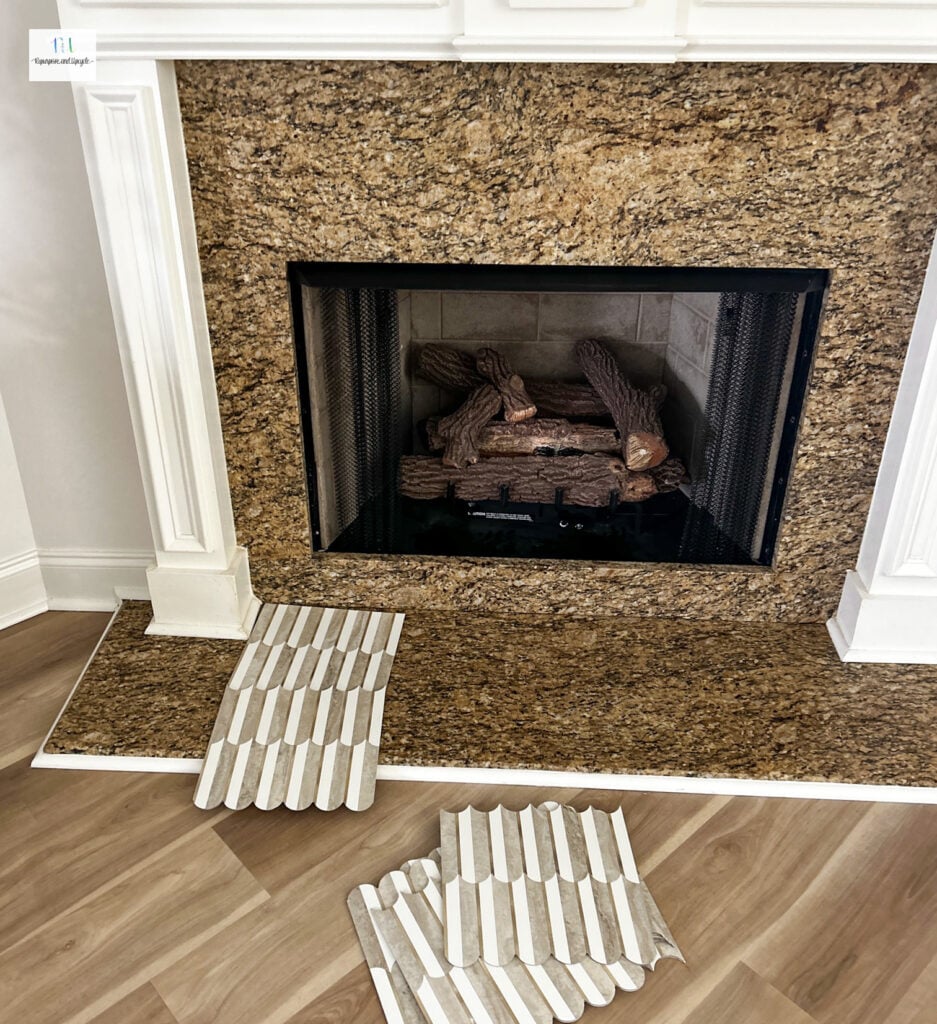
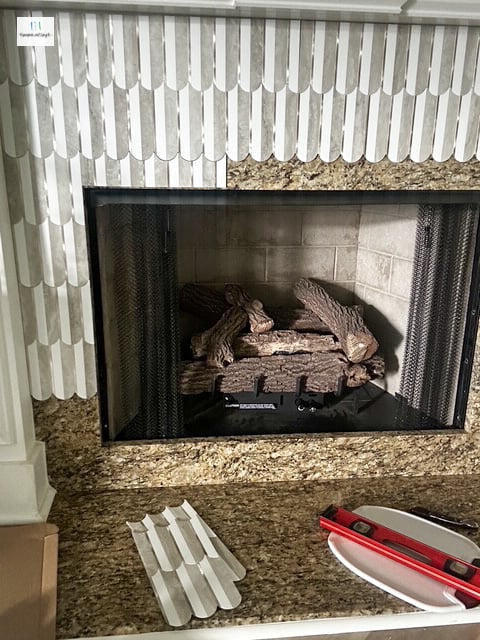
The Granite BEFORE the makeover
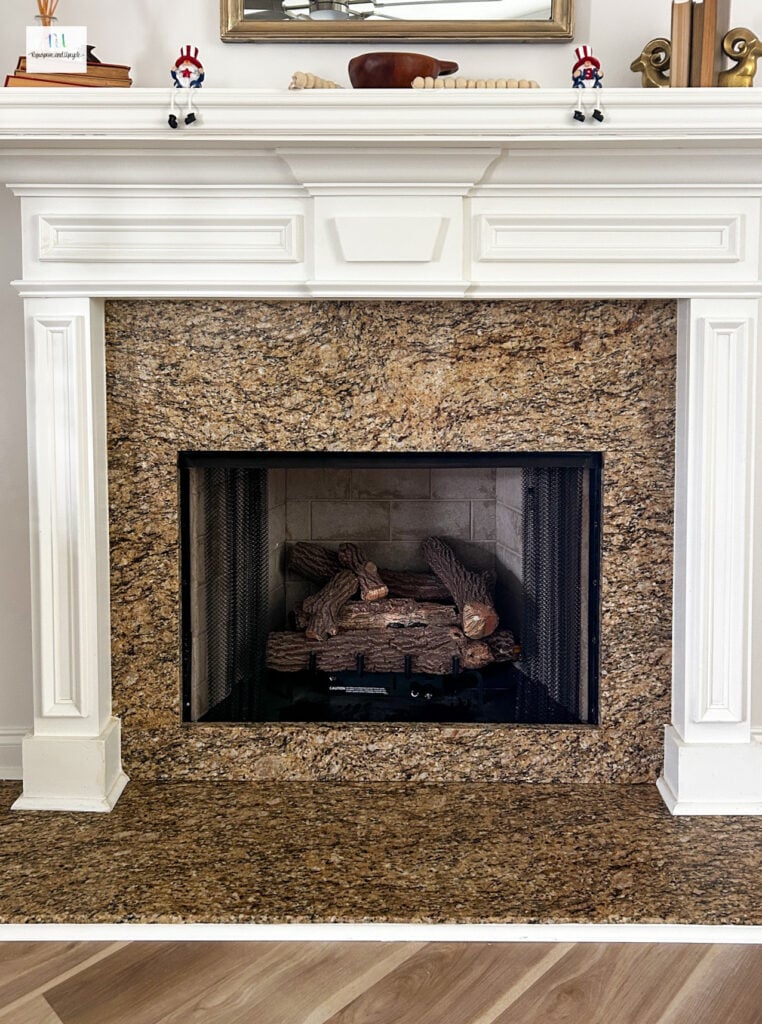
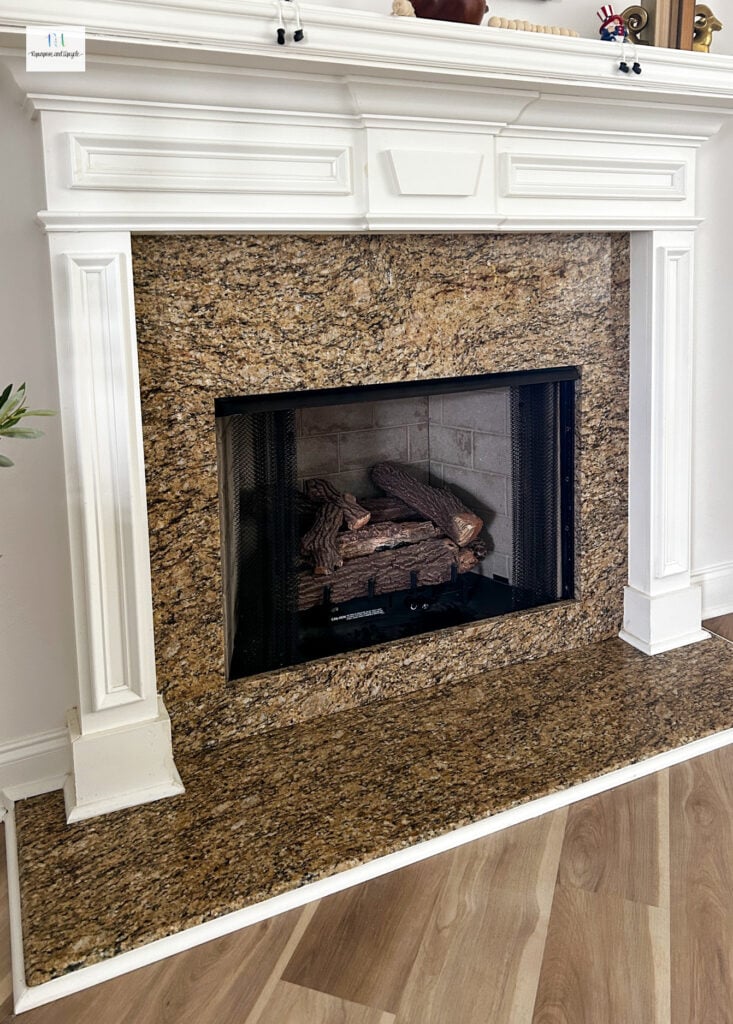
It’s not bad but I know I could do better. So, what’s next?
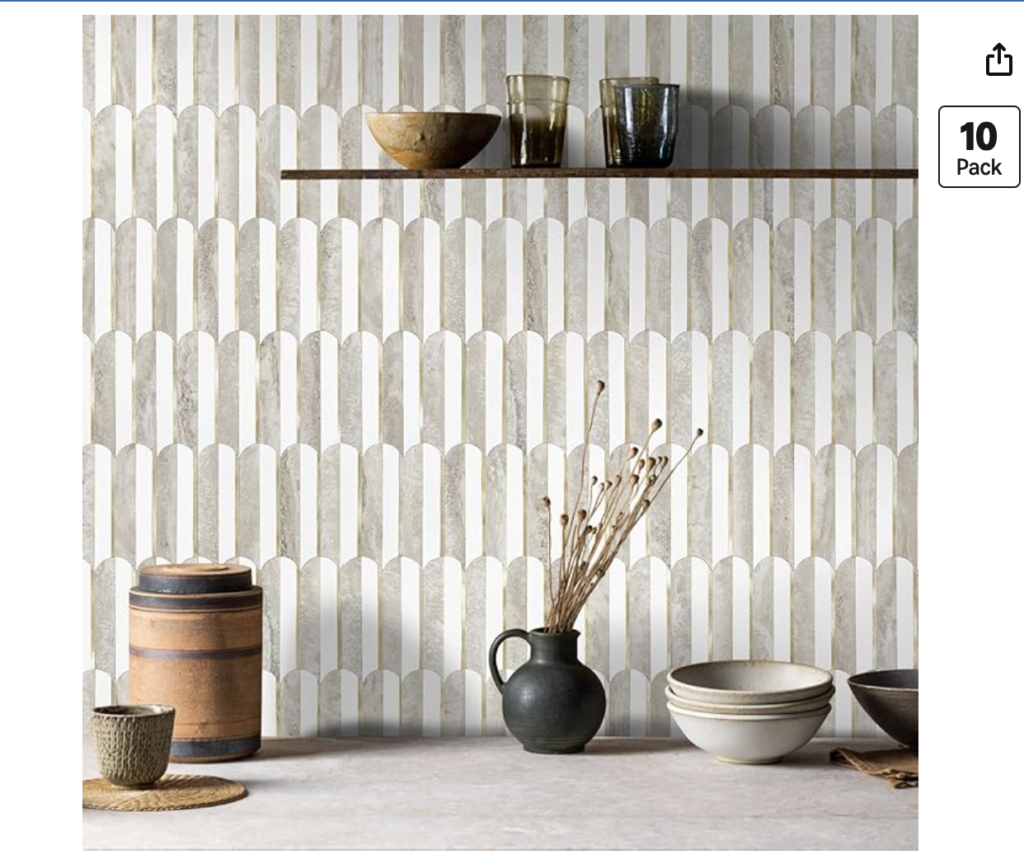
The Peel and Stick product
Disclosure; this post contains affiliate links. As an Amazon Associate I earn from qualifying purchases.This disclosure statement refers to the rest of the amazon links and other affiliate links in this post.
Here is the peel and stick product I purchased from Amazon. I looked long and hard for a scalloped peel and stick product, and this is what I ended up purchasing. It comes in a handful of different color options. I thought these colors would blend the best with the rest of my house.
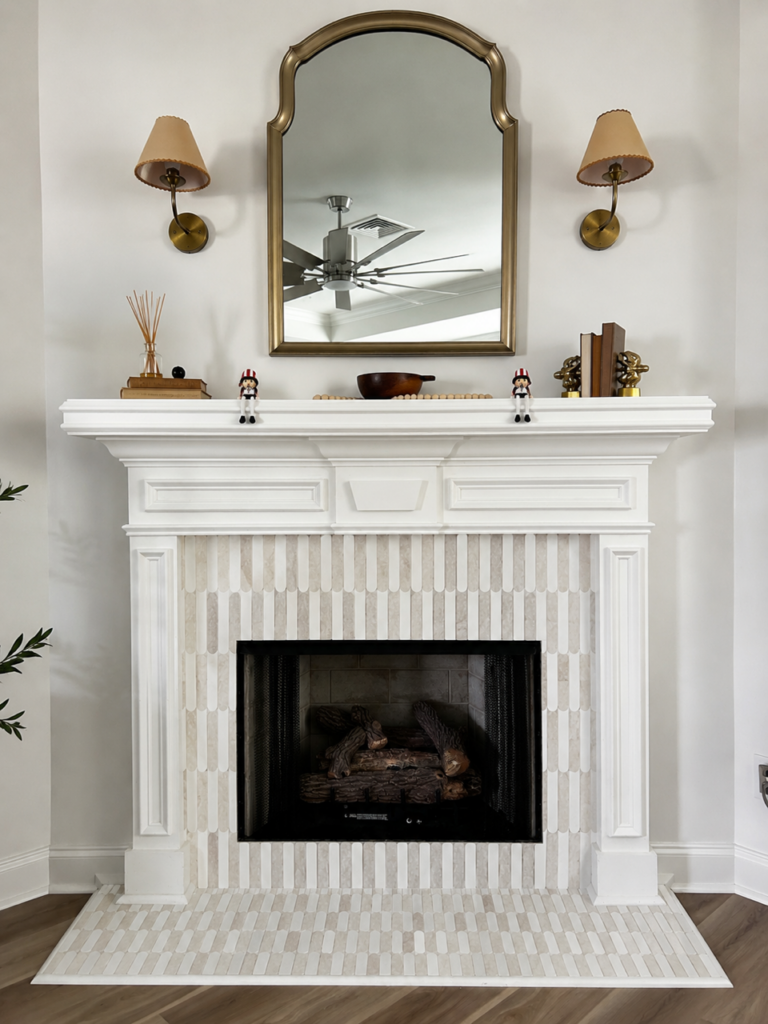
I asked AI to makeover the fireplace with this tile.
Preparation and Planning
There wasn’t a whole lot of prep to do to get ready for applying this product, but there are a few things to note.
Cleaning the Fireplace Surround
First things first, make sure the granite is super clean. Use a degreaser product to scuff off any impurities.
Measuring and Layout
Measure the full surround area: width and height of each plane (face, sides, mantel returns if you have them). Break the fireplace into rectangular zones and record dimensions for each zone separately to simplify layout and cuts.
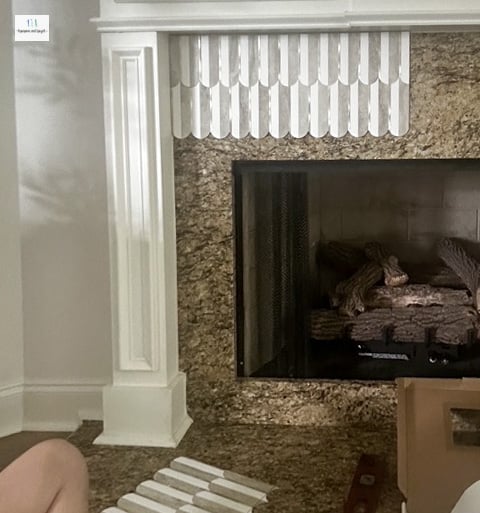
Decide how and where to start applying it. I started at the top left corner and worked my way to right and then down.
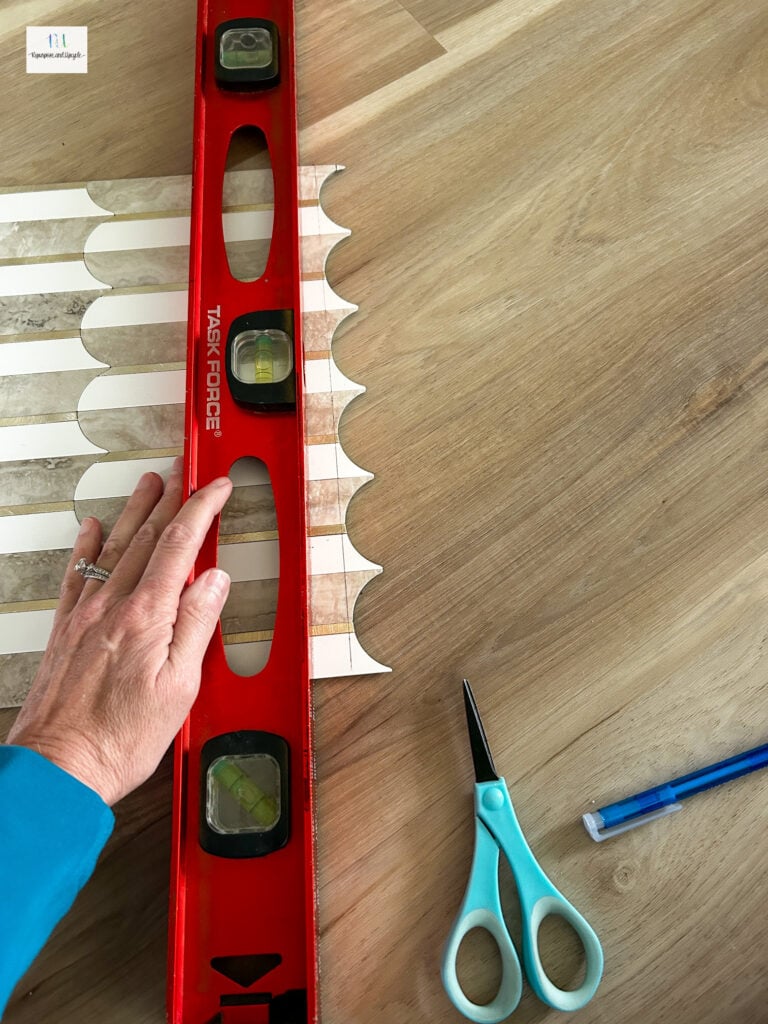
Account for grout line spacing if applicable (most peel-and-stick have micro-gaps). Use a laser level and a straightedge to draw reference lines.
Estimating Quantity Needed
Calculate square footage: multiply width × height for each zone and sum the zones. Add 10–15% for waste if your tile has directional pattern or requires many edge cuts; add 5–10% for straightforward, uniform tiles.
Convert total square feet to tile units using the coverage listed on the tile packaging. Round up to the next full box; don’t rely on partial boxes. Note that thin, stone-look peel-and-stick tiles may come in panels — count panels rather than individual tiles.
If your surround includes many small cuts or irregular shapes, increase waste allowance to 15–20%. Order extra tiles from the same batch/lot to avoid color or sheen variation.
Installation Techniques
Tools: straightedge with level, utility knife, miter saw, pencil or pen, silicone, paint, paint brush
Step-by-Step Application Process
- Clean and inspect the surface.
- Remove soot, dust, loose paint, and grease with a degreaser
- Dry-fit tiles and map layout.
- Lay out full tiles across the widest visible plane to center patterns.
- Mark reference lines with a pencil and level; work from the most visible corner outward. For me, this was the top left corner.
- Apply tiles.
- Peel backing gradually; press tile from one edge to the other to avoid air pockets.
- Use a J-roller or firmly hand-roll each tile for 30–60 seconds to ensure adhesive contact.
- Make cuts with scissors or miter saw.
- Finishing.
- Seal edges with a heat-rated silicone
- Allow adhesive cure time per product instructions before applying heat.
Cutting and Shaping for a Custom Fit
Measure twice before every cut and transfer dimensions directly to the tile; account for grout joints and reveal where applicable.
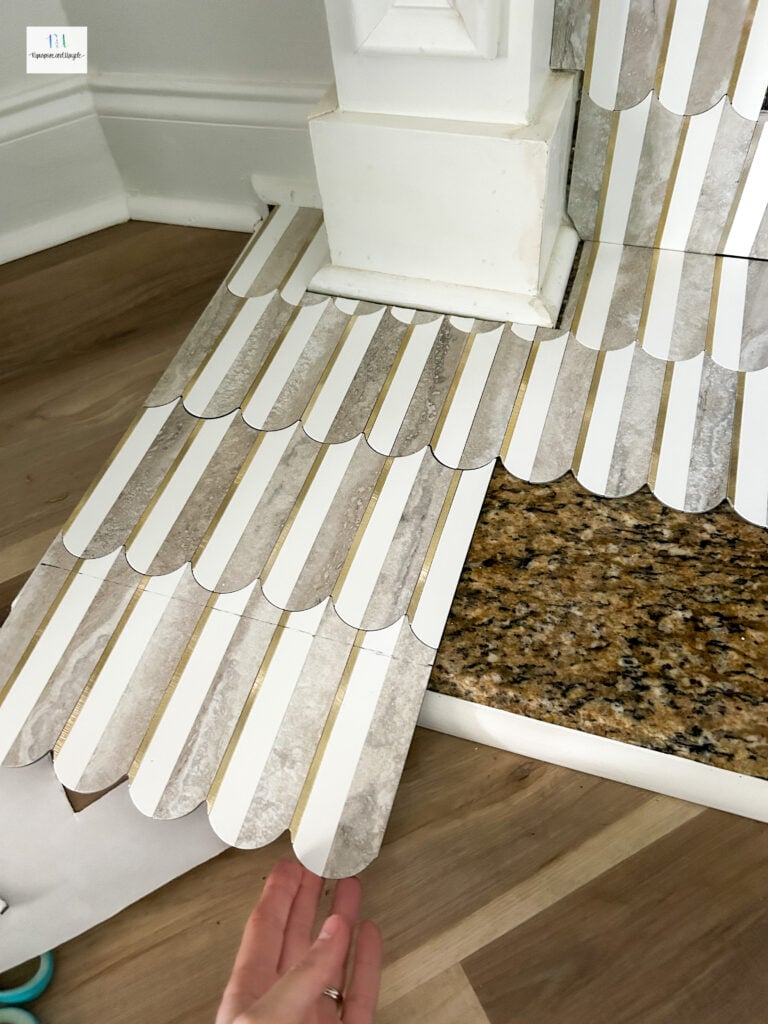
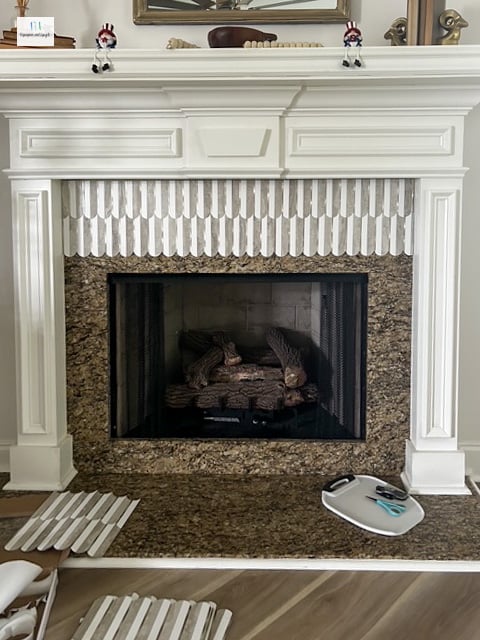
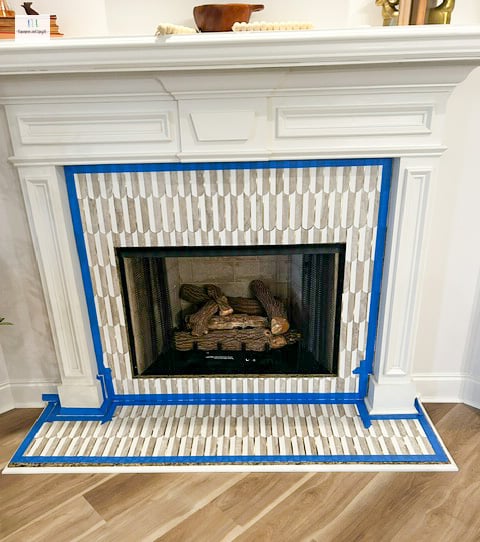
You can see below I applied painters tape around the edges before applying the paintable silicone. Last step, I painted the edges white!
Heat-Related Challenges
The first question I get asked is; how will they hold up when you have a fire?
Well, I knew the tiles were rated for high heat, especially behind the stove but I didn’t know how they would hold up against a fire. That’s when I decided to test them.
I ordered one box, set them out along the granite as close to the fire as I could, and turned it on. I let it run for about 20 minutes just to see if they melted at all.
After 20 or so minutes, they looked the exact same with no indications that they would be a fire hazard. I was able to proceed!
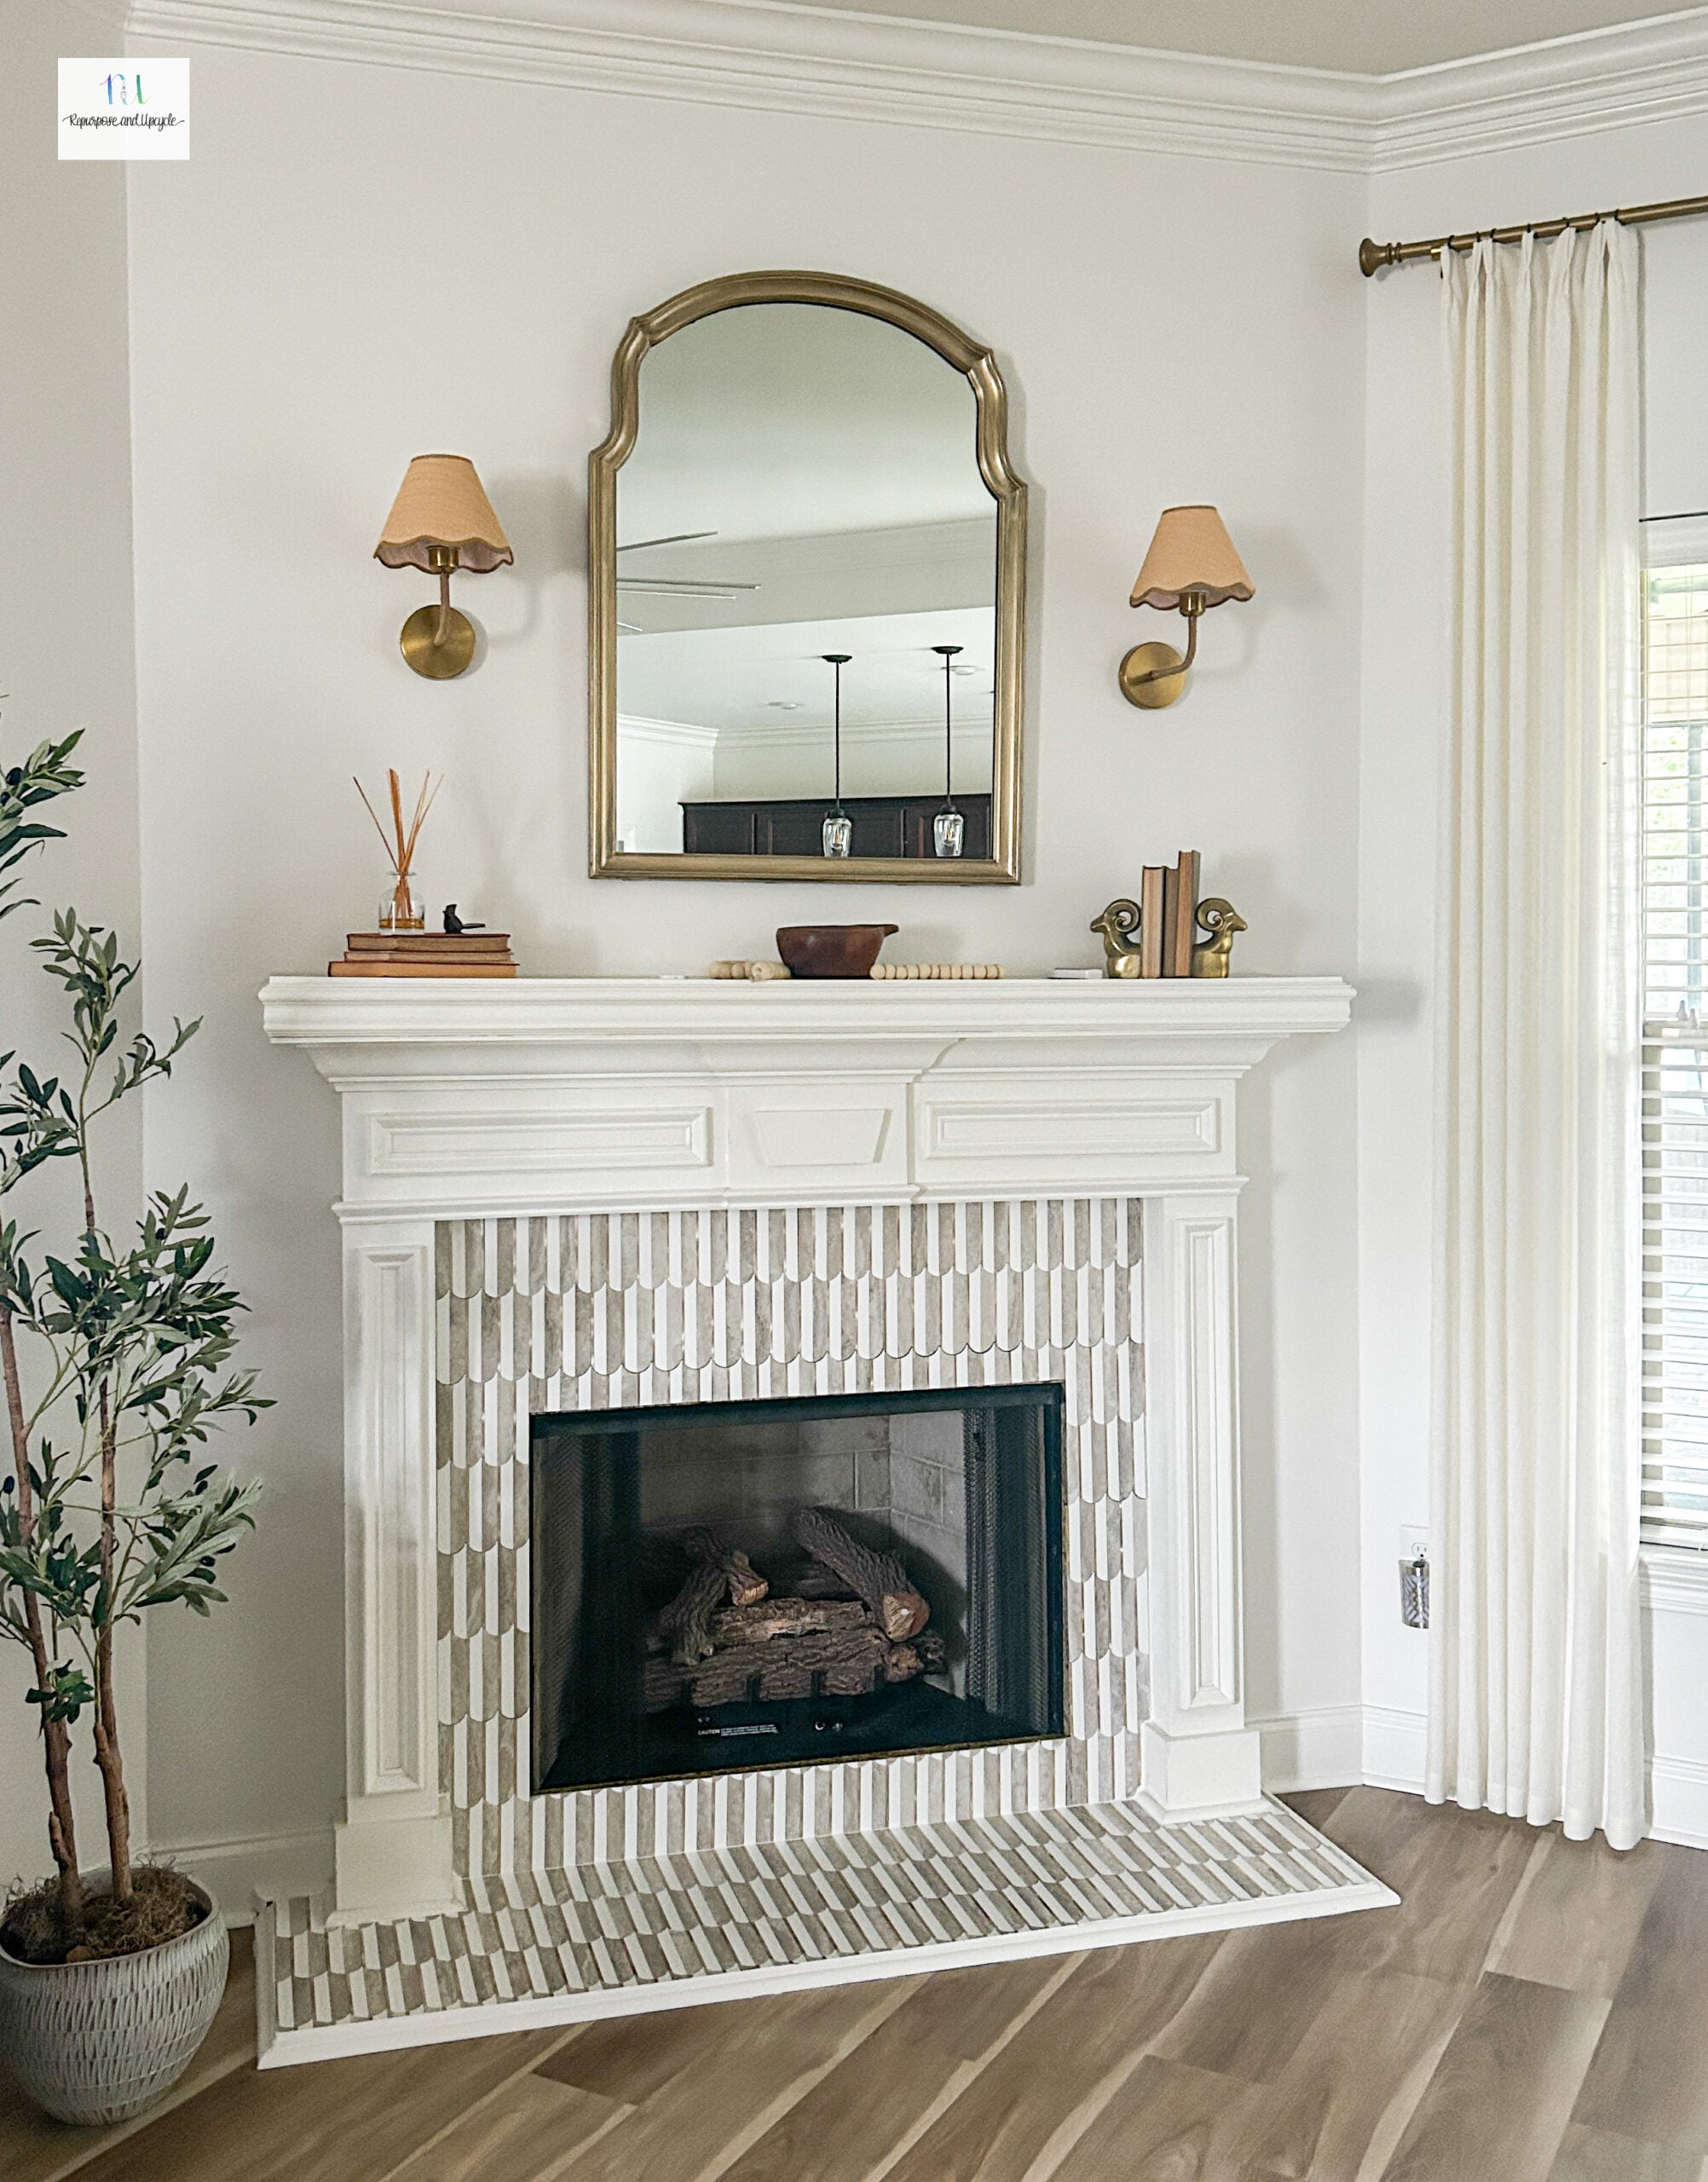
The newly “tiled” Fireplace
I have to say, I was a bit hesitant on how this would turn out. I’m pleased to say it looks better than I expected.
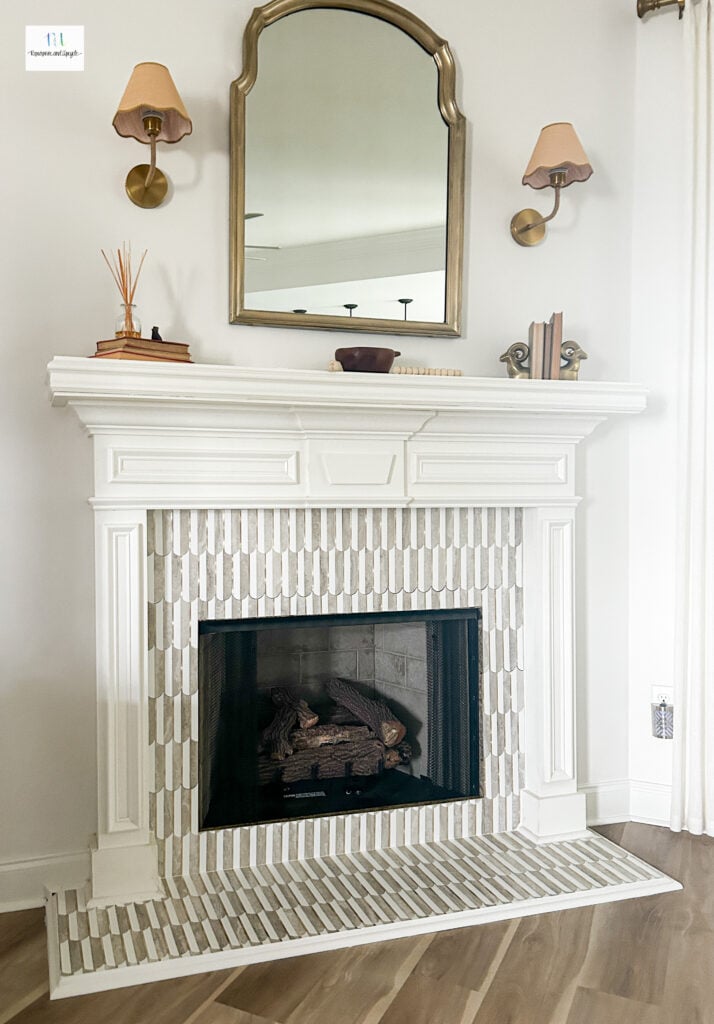
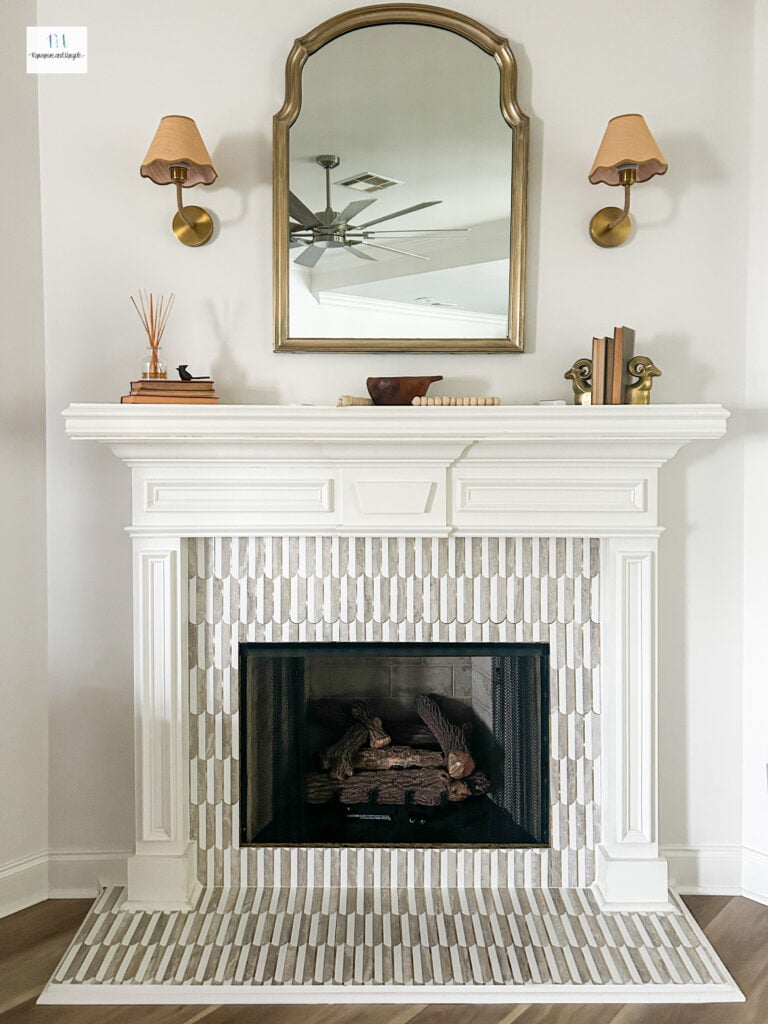
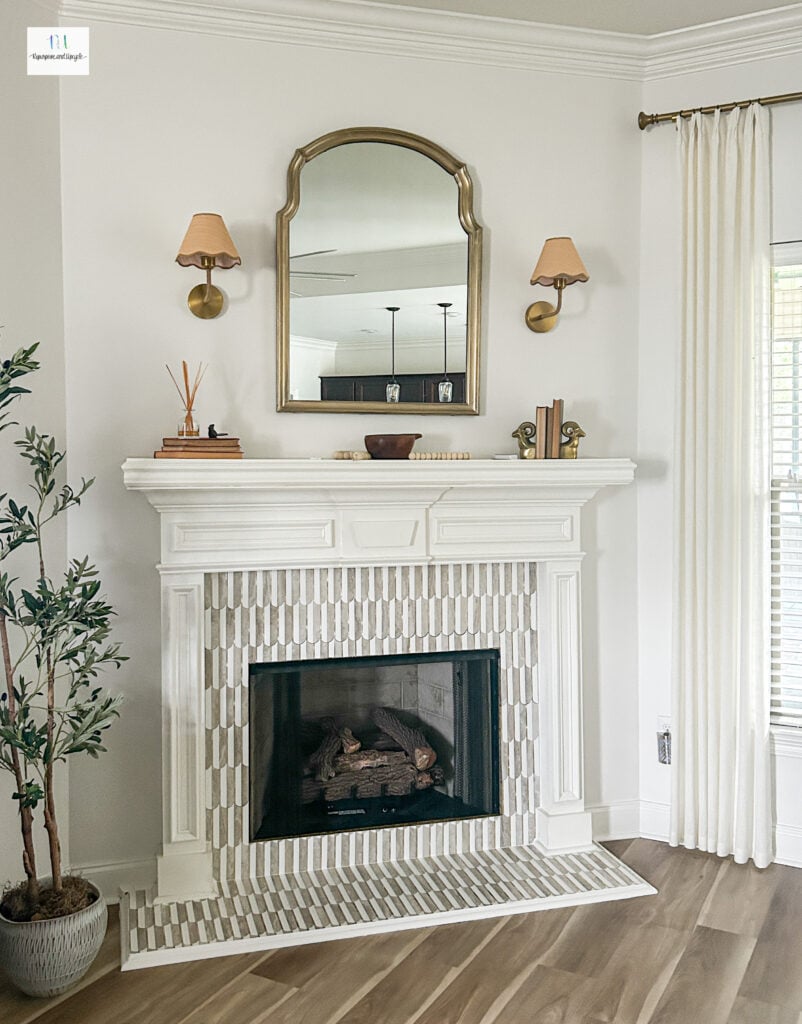
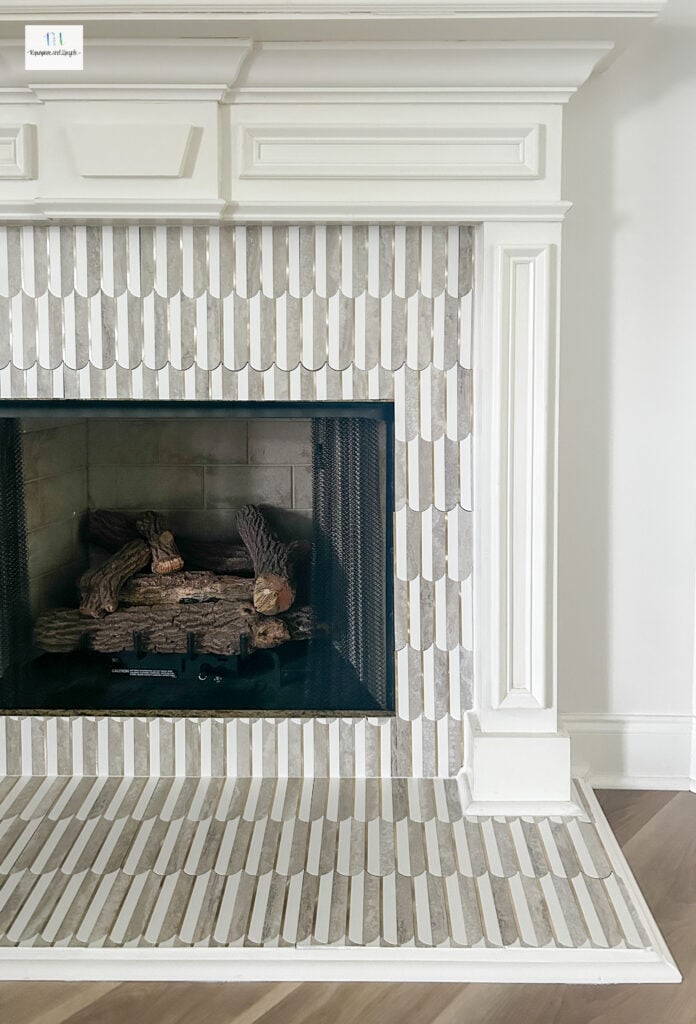
What do you think? Onto the next project…