Do y’all know what it means to own an older home (I mean 1980’s and before)? To me it means lower ceilings, small bathrooms and minimal closets. Most of all, it means a smaller kitchen or minimal cabinet space. When we purchased our 1980’s rustic beach house, we knew one project we would complete immediately after we moved in. This project involved moving a few things around in the kitchen and creating a new kitchen cubby makeover with DIY open shelves for storage.


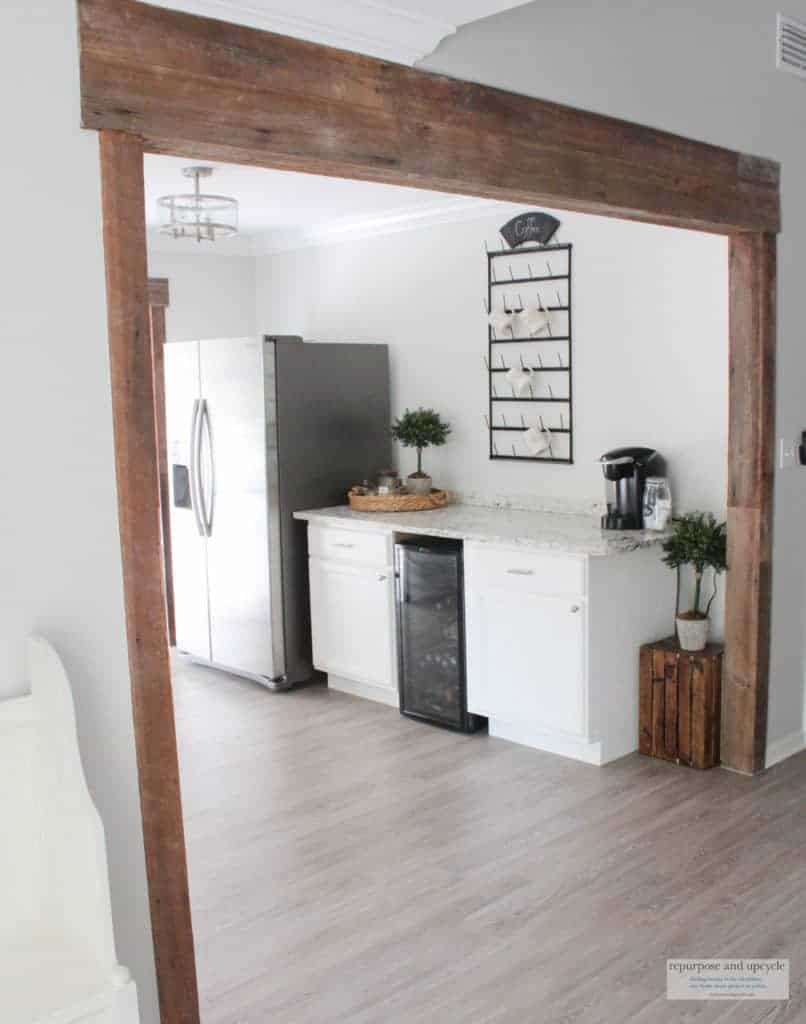
Let me begin this story by explaining what used to live in this space. Can you guess? Yep, this space was supposed to house a refrigerator. Apparently fridges have grown a bit since the 1980’s because any modern day fridge stuck out like an eyesore. I knew we had to do something different with it.
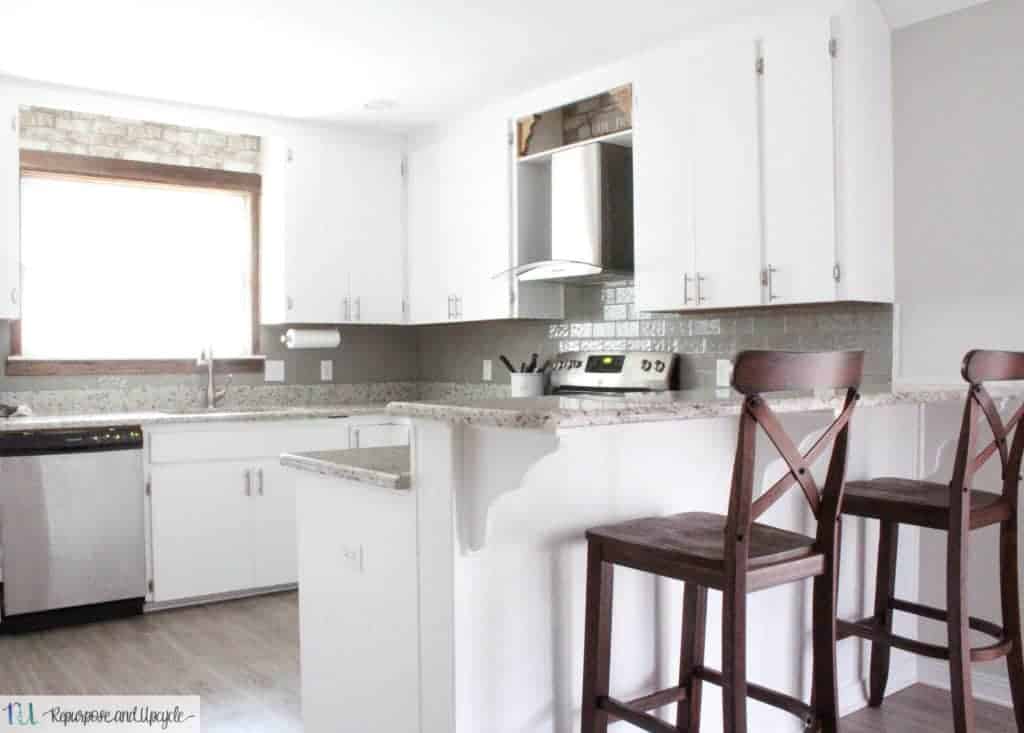
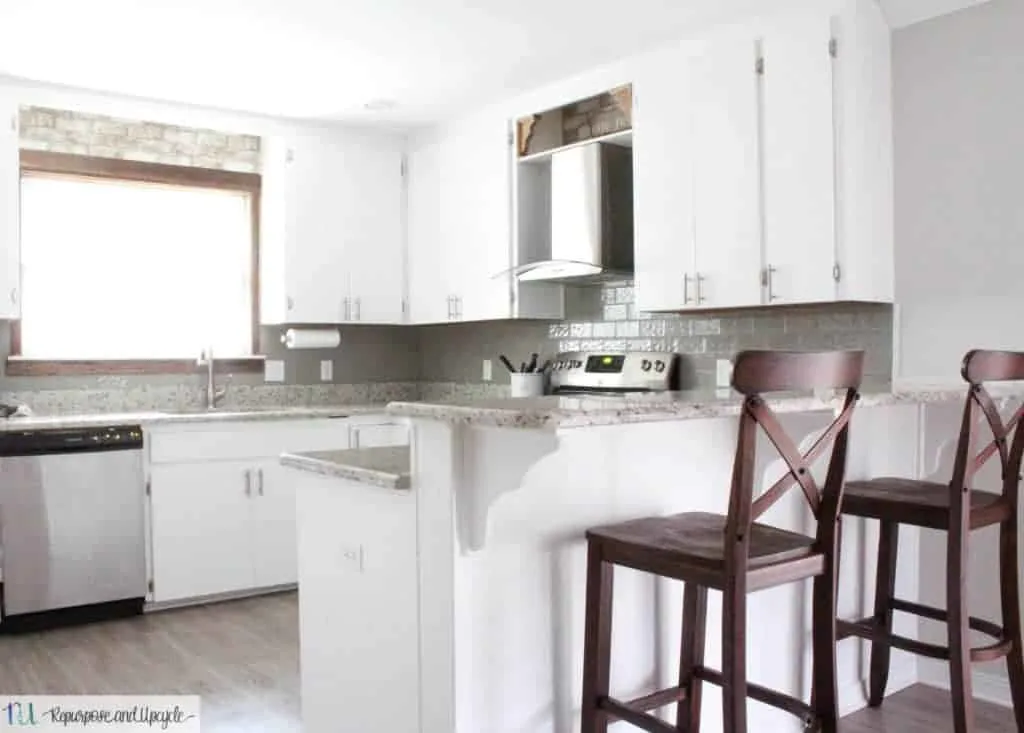
I had the idea to move the fridge to the adjacent wall in our kitchen.
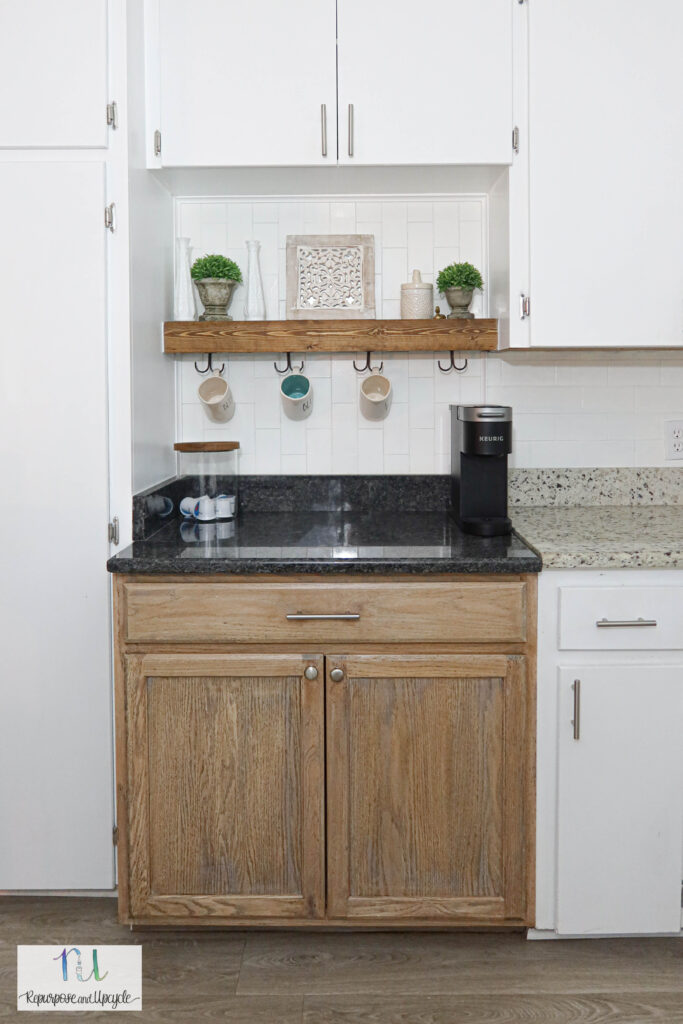
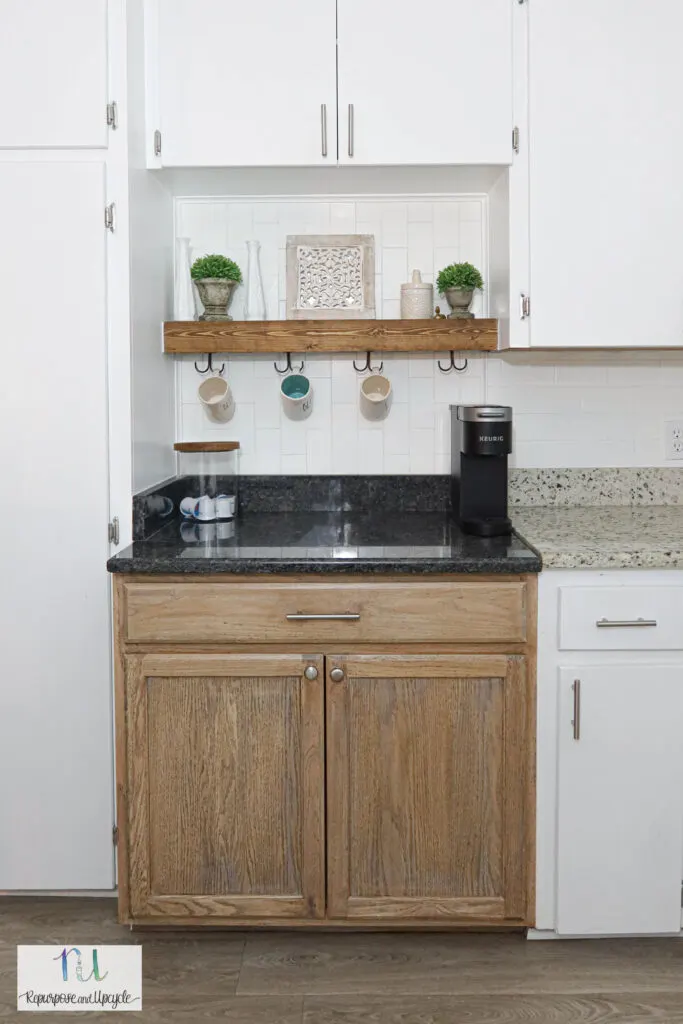
After we moved the fridge I created a DIY beverage and coffee bar.

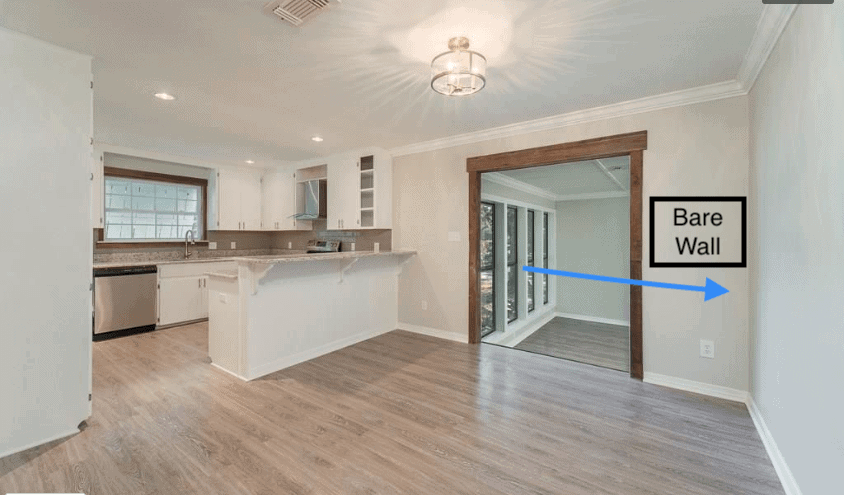
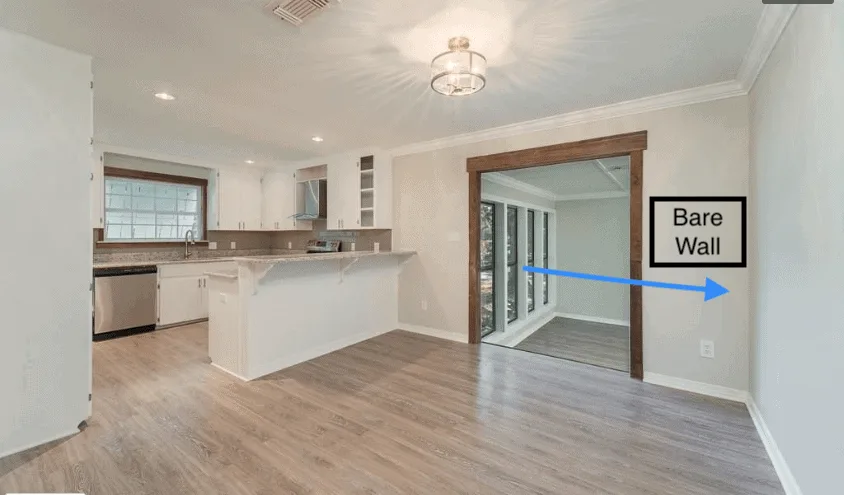
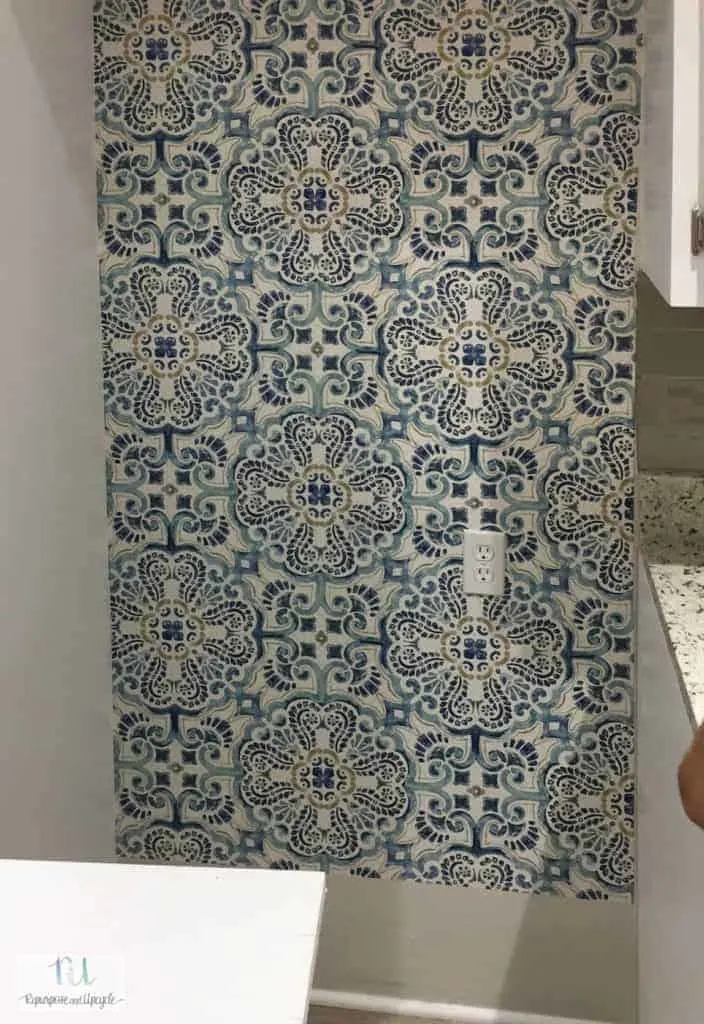
Once the fridge was moved, we were left with a blank wall.
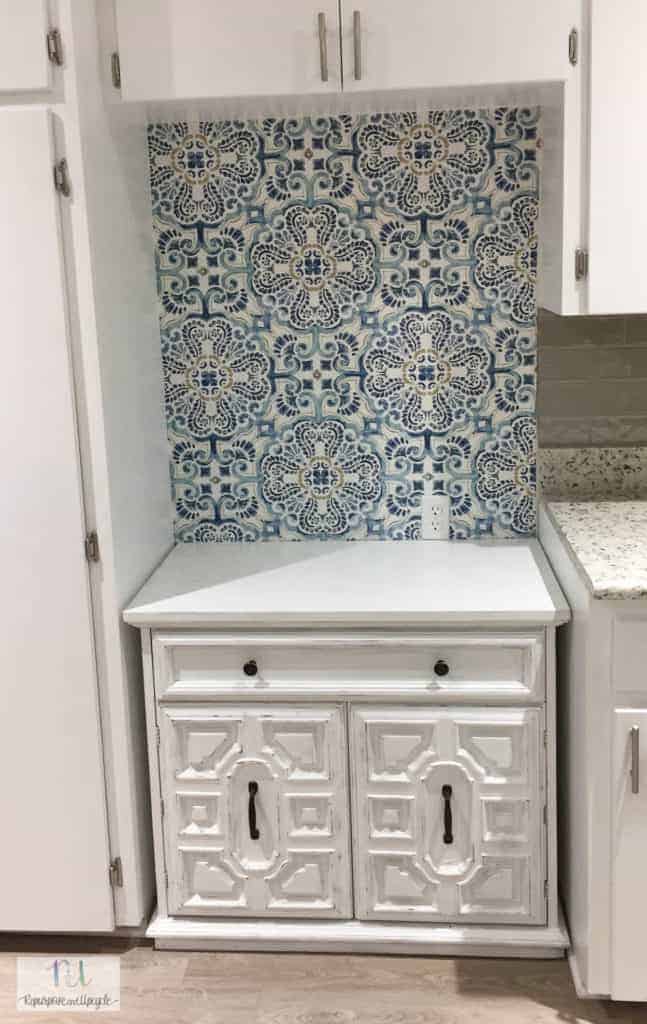
Kitchen cubby makeover with open shelves for storage


Disclosure; this post contains affiliate links. As an Amazon Associate I earn from qualifying purchases. This does not affect the price you pay. This disclosure statement refers to the rest of the amazon links and other affiliate links in this post.
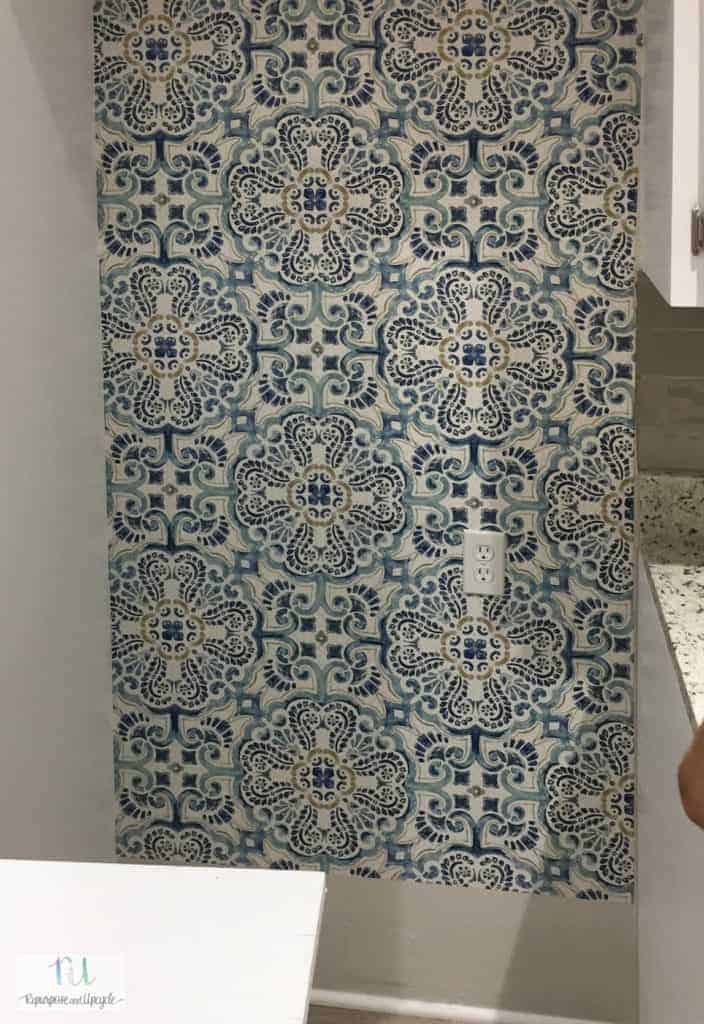
The first thing I did was cover up the wall with this lovely wallpaper.
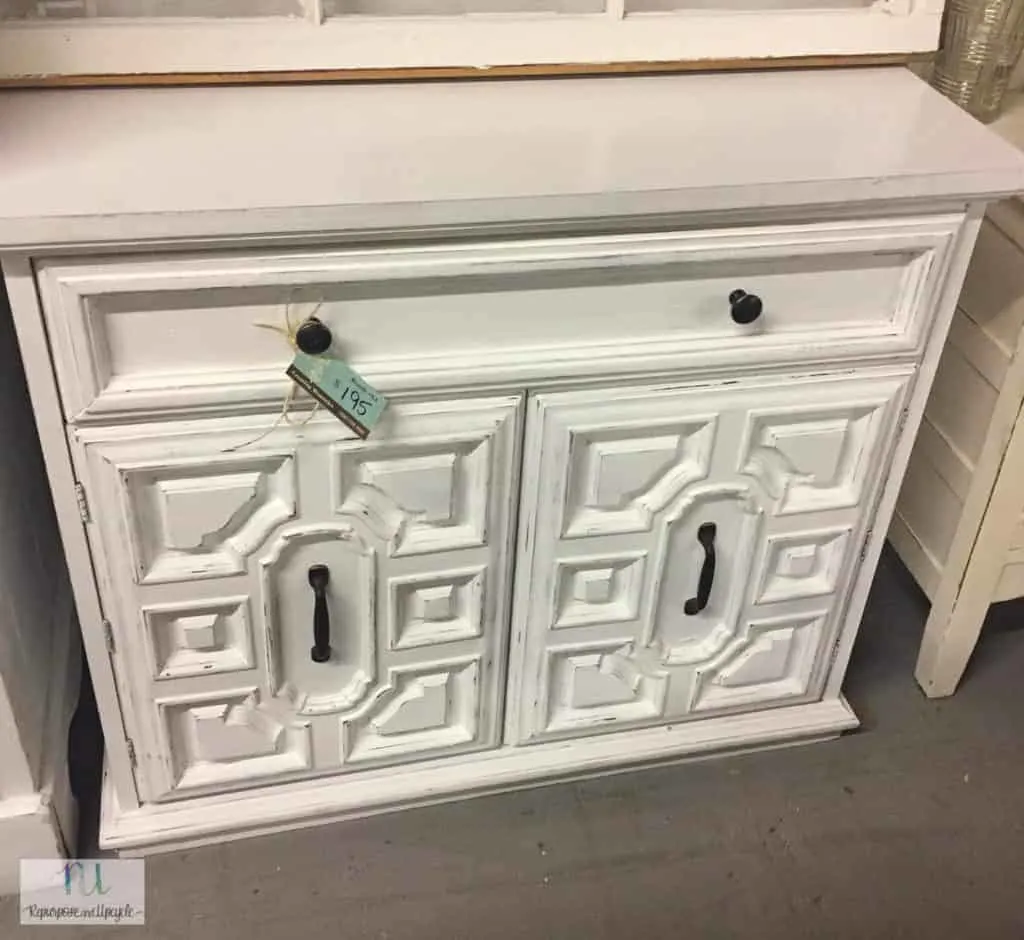
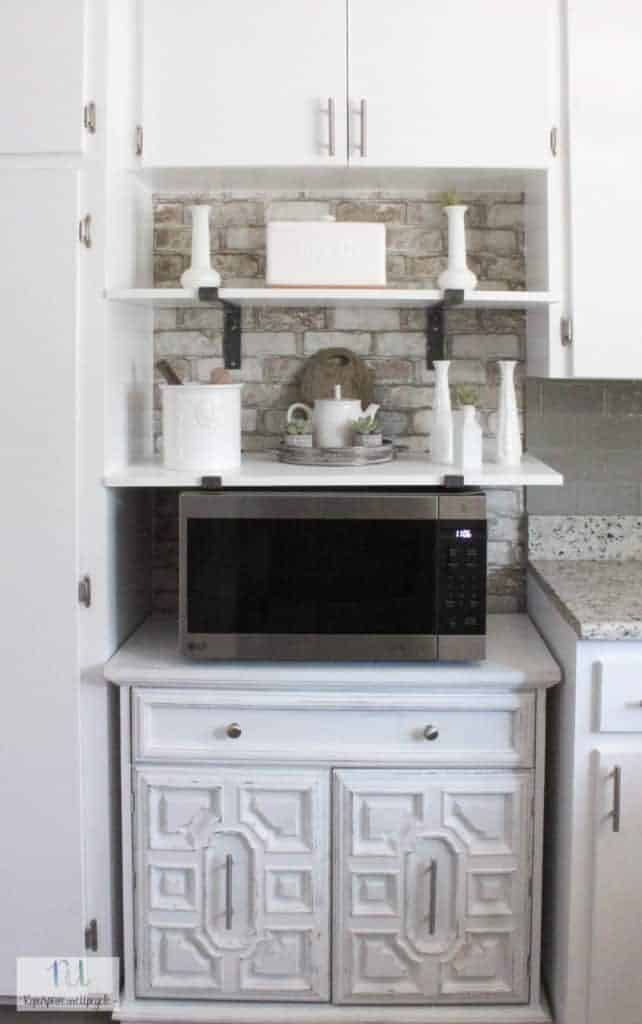
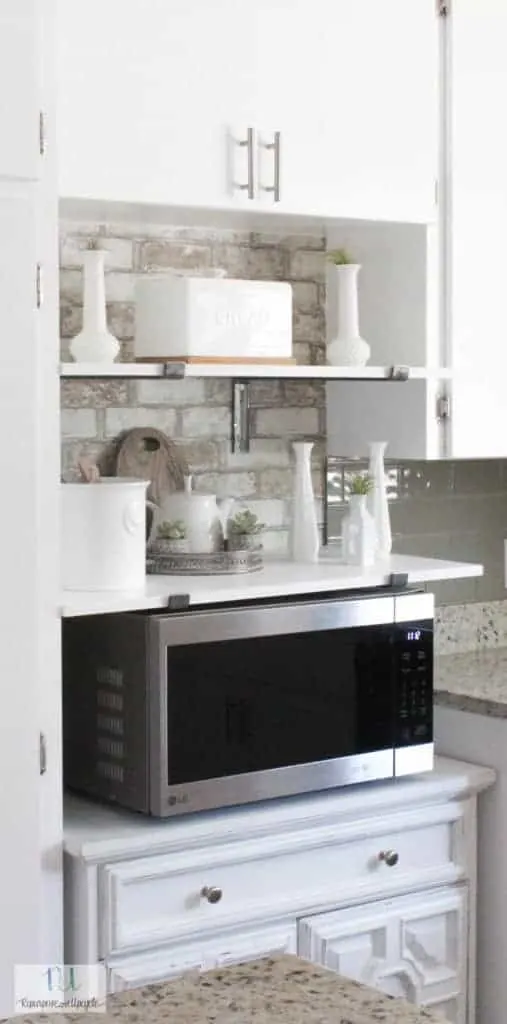
Then I found this fabulous piece of furniture (below) at a local antique shop that fit the space perfectly!


After living with the wallpaper a while, I decided it wasn’t the right color for this space. Thank goodness for the peel and stick wallpaper, it came right off!
I decided to replace the blue floral peel and stick paper with an exposed brick wallpaper.
You can see all about the brick wallpaper and how to apply regular wallpaper vs. peel and stick.


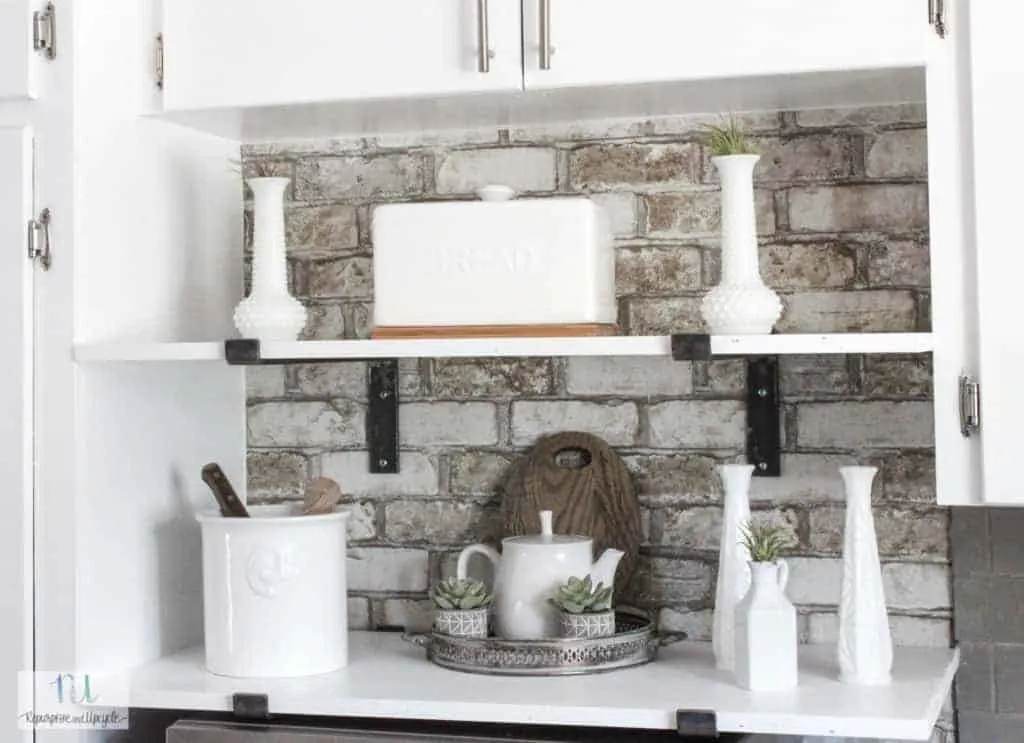
After installing the wallpaper on the wall of our kitchen nook, I decided it would look best to add a few shelves to this space.
Initially I wanted DIY floating shelves like we had in our old living room.


Floating shelves are only “stable” at about 12″ deep, and I wanted these shelves to be 18″ deep. This meant “floating shelves” were not an option.
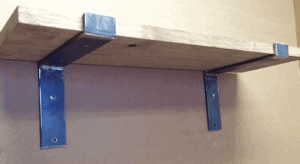
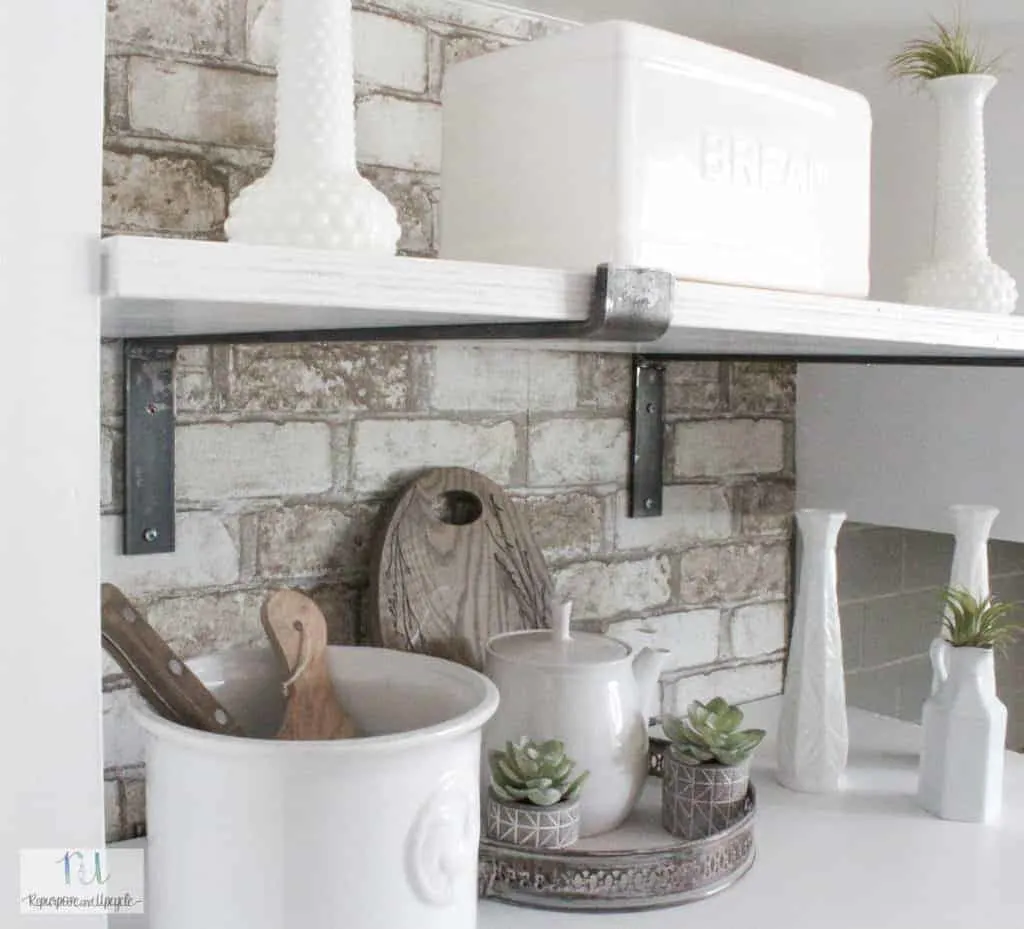
My next option was making my own custom fit shelves with brackets.
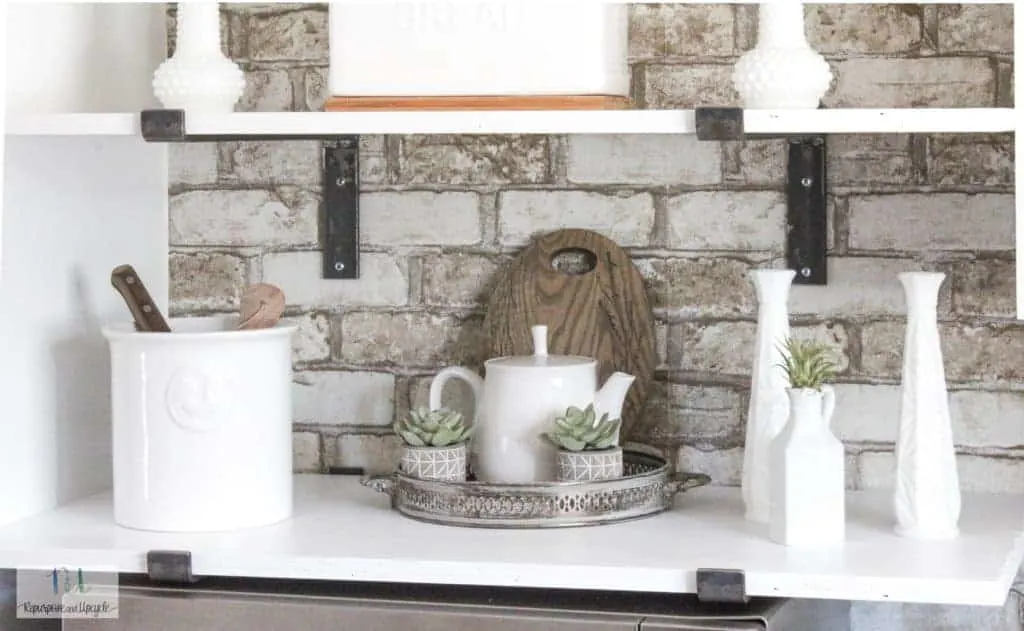
I wanted the brackets to look minimal and yet still stylish. I found a company on Etsy that makes really sturdy steel shelf brackets.

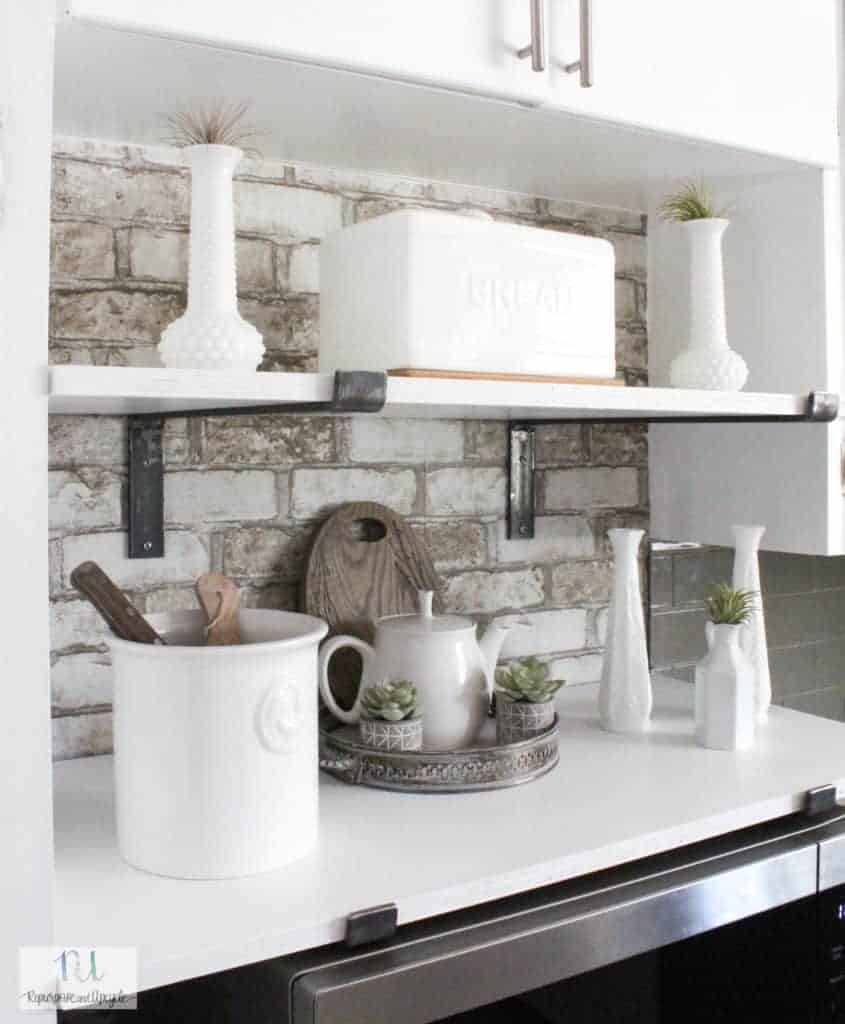
Kitchen nook makeover with DIY shelves
I made my own wood shelves and painted them white. Ready to see what it all looks like?


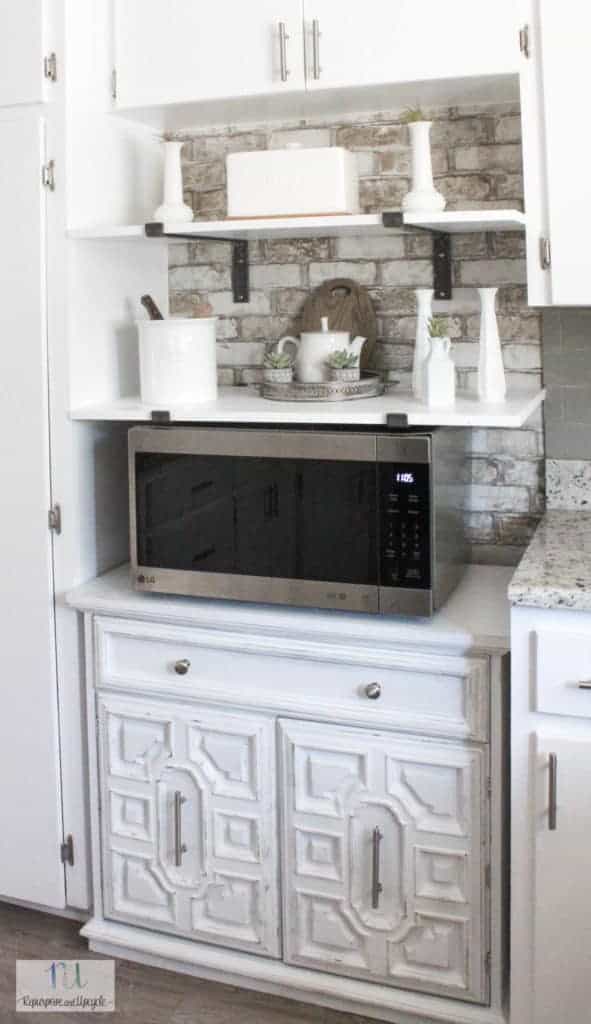


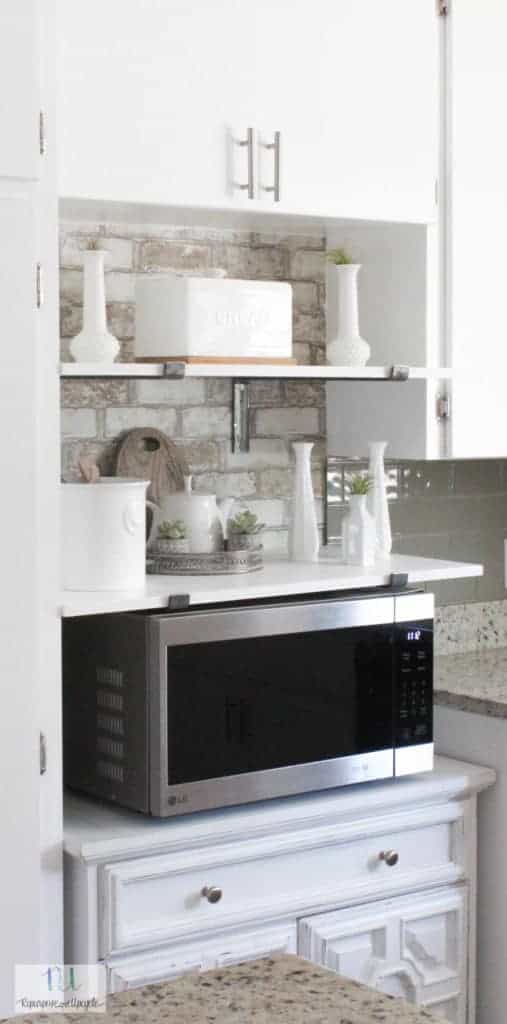
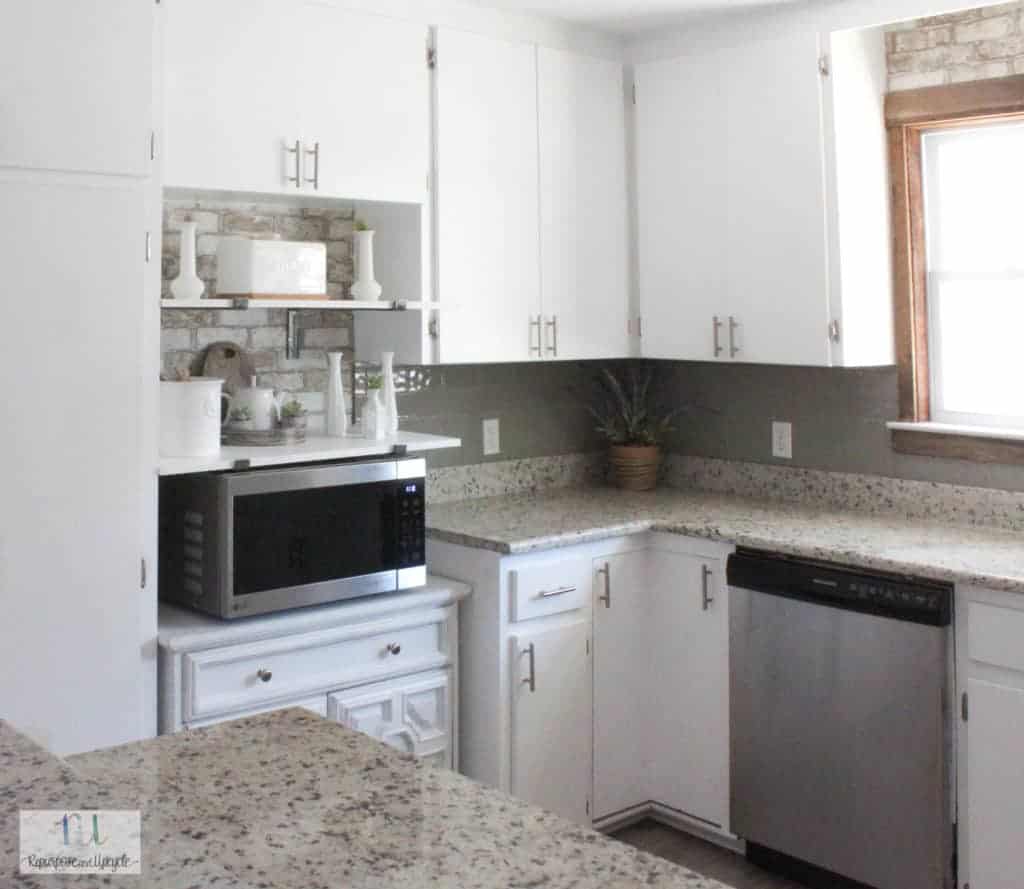
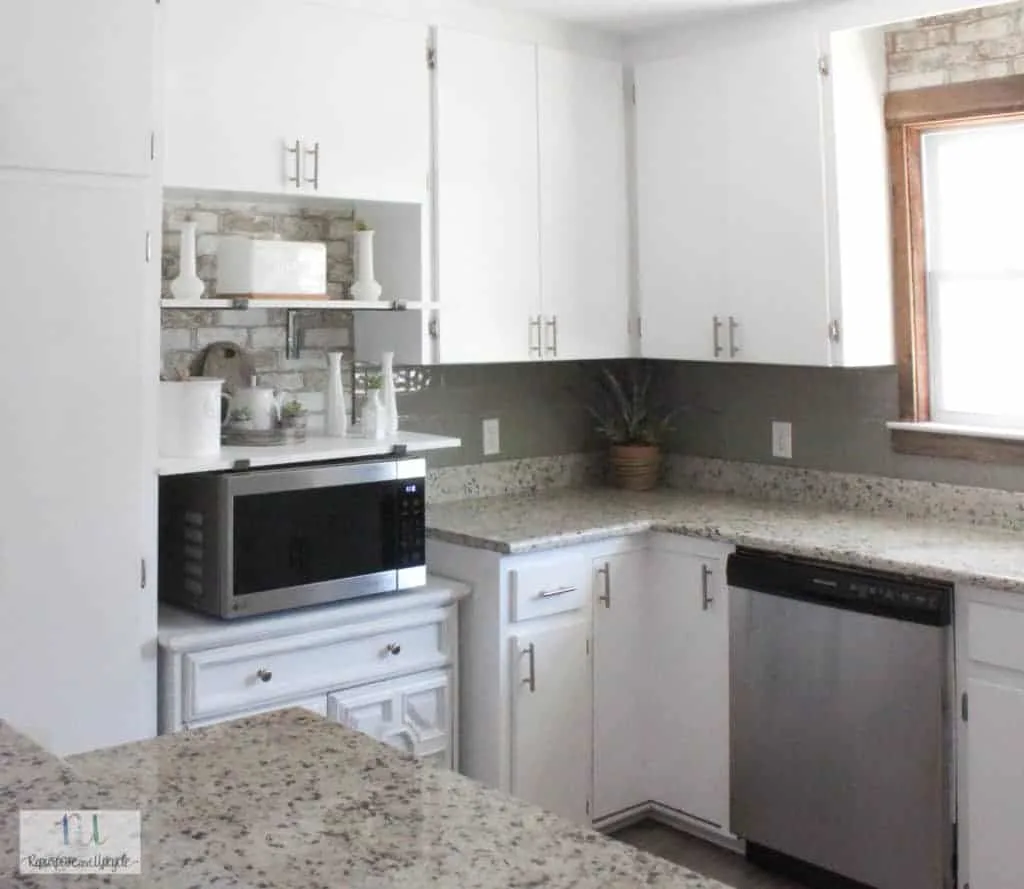
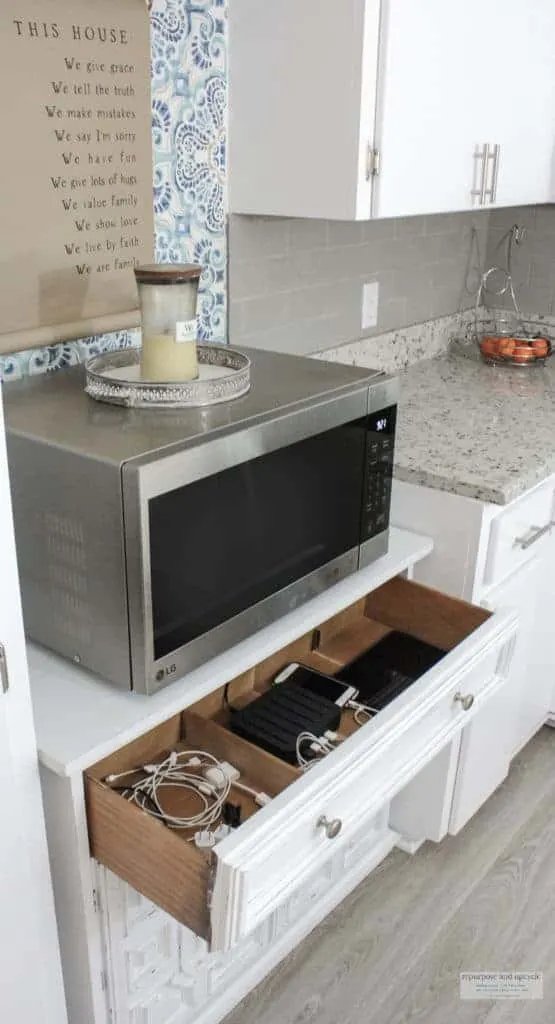
As a side note; I added a family charging station in the top drawer of the cabinet. It’s been such a great tool to organize all of our electronics in one central place!

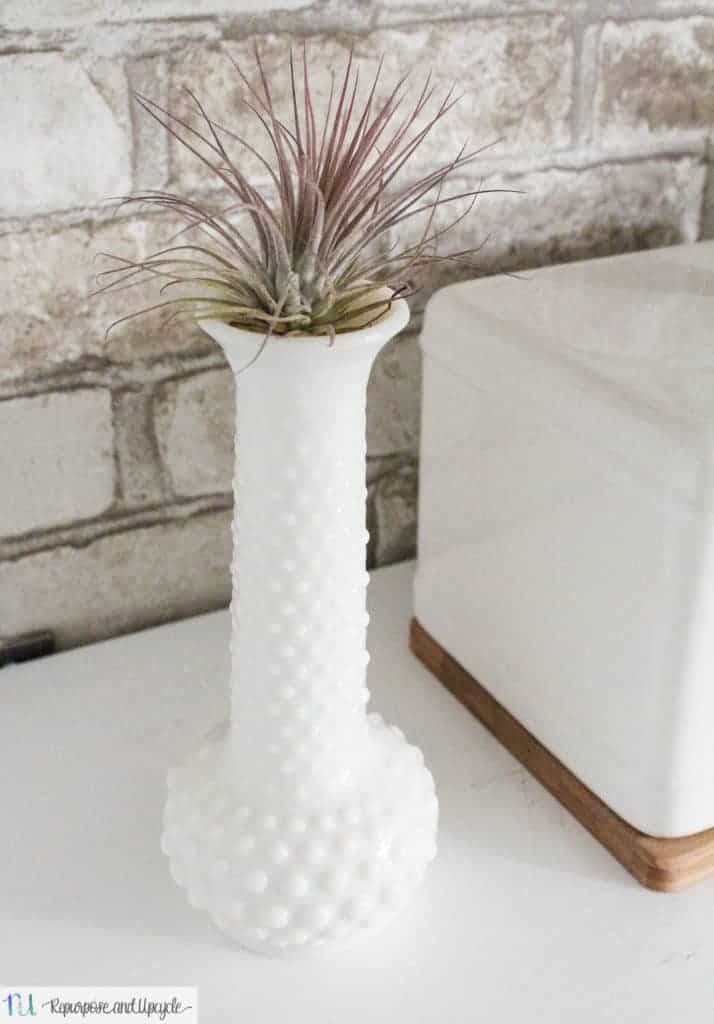
Also, you can see how I added Air Plants around the white ceramic ware for a little color. I love how plants add an element of color to a space.

SHOP THE POST:

Tell me your thoughts, what do you think about our new kitchen nook makeover?
UPDATE: This space has been changed again! Come check out our new coffee bar in the kitchen.
So far it’s been a very functional (not to mention aesthetically appealing) addition to our kitchen.
Lindsey**
Groovy piece of furniture that fits perfectly into the space! You turned that kitchen area into a pretty focal point.
Happy spring, Kippi
This looks so nice! I love all the white accessories.
Thanks April!
Love the new use of space – perfect for the microwave, since it always seems that it is in the way no matter where you put it on a countertop.
Where’s the fridge?
Love the furniture piece that fit your opening! The brick wallpaper is so cool. Question: have you thought about adding a board or decorative trim to each sides for a built in look?
Thank you Doris! I have thought about adding a little trim especially to transition from the wallpaper to the tile. I might look into it! Thanks for stopping by.