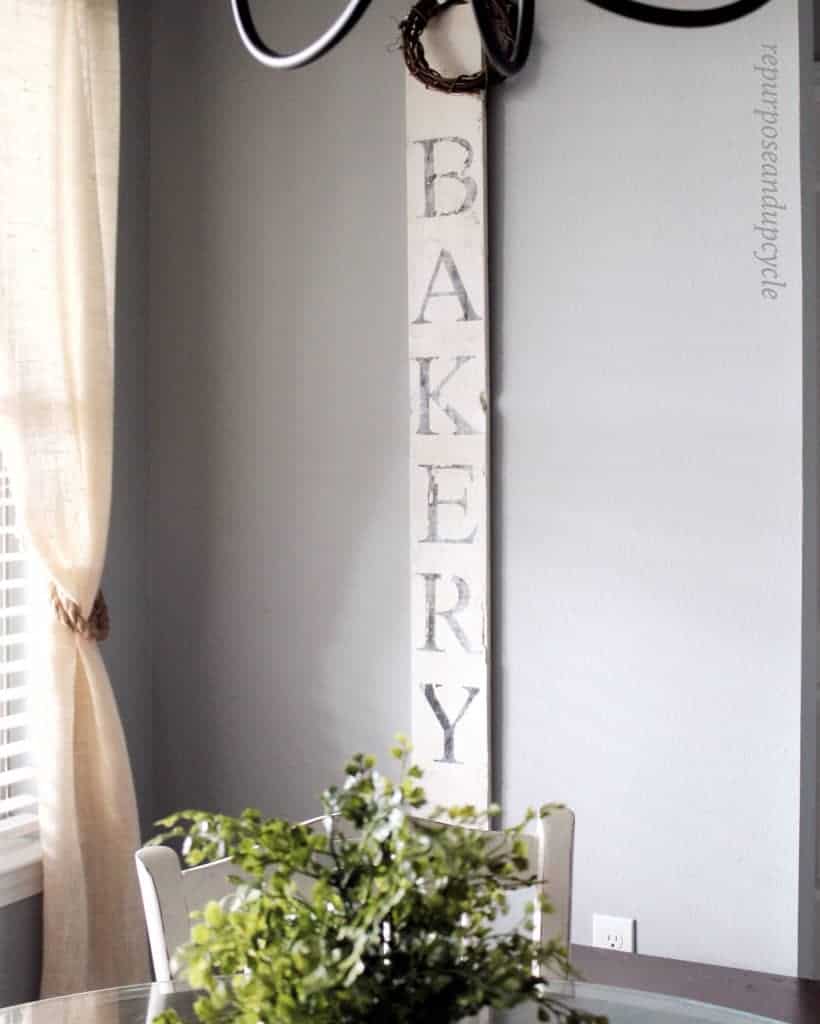
Y’all, Pinterest is dangerous to me. When I spend more than 30 minutes a day on it, I find myself starting too many new projects. That being said, I was inspired by all the people on Pinterest who have “recreated” the BAKERY SIGN similar to the one that Joanna uses on Fixer Upper. I wanted one, but I didn’t want to pay the $70-$150 to purchase one from other home decor stores. This is where I decided it was time to create my own DIY VINTAGE BAKERY SIGN
I was excited about this picture transfer to wood project because I’ve been wanting a vintage wall saying for a while now to add to my modern farmhouse decor.
Disclosure: this post contains affiliate links. This means that if you purchase from one of these links I will receive a small commission, but rest assured you won’t pay any more for the product.
Let’s start with the materials list:
- 1 by 6
- white paint– it doesn’t really matter what type of paint you use. I’ve shared a link to what I used.
- sand paper
- bakery sign printout from a laser printer Modern #20 Font (see more details below).
- Mod Podge
DIY VINTAGE BAKERY SIGN with an image transfer to wood
First, pick up a 1 by 6 from your local hardware store. It was only $4.95.
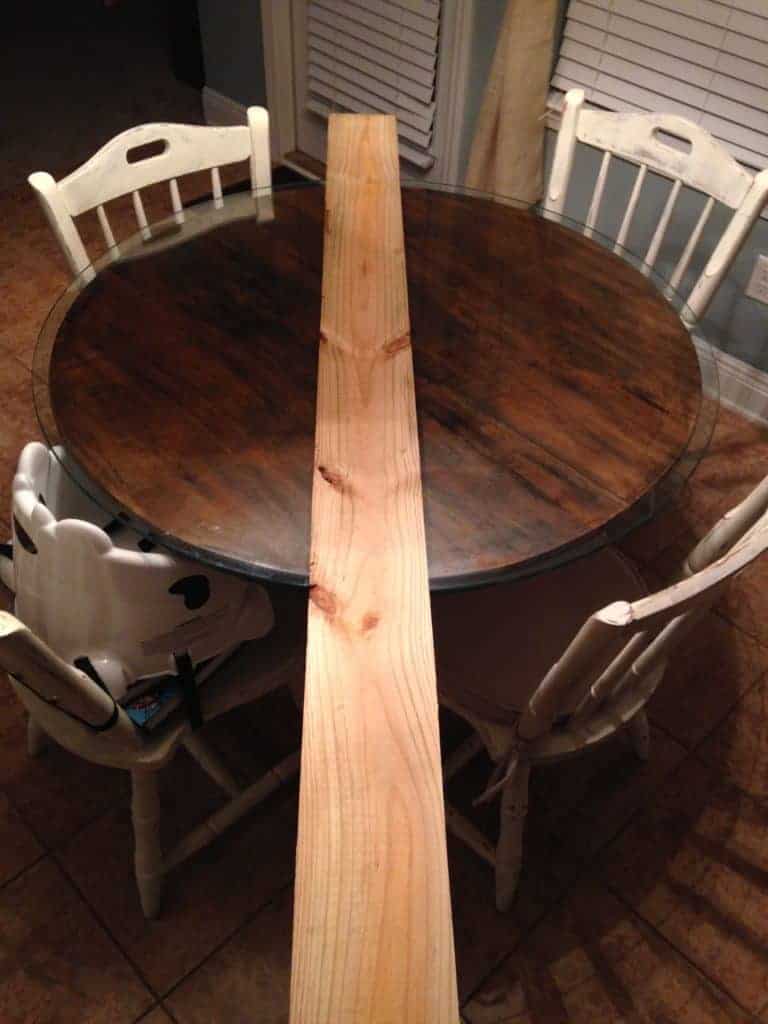

Next, paint the board with a layer of white paint. I did sand and “distress” it a little.
The next step involves having the letters printed for the DIY bakery sign.
NOTE: for this transfer method to work, the letters need to be printed from a LASER printer, not inkjet. Most home printers are inkjet.
I went to our local Office Depot and had them print INVERTED (very important) BAKERY letters in Modern #20 Font.
I measured the wood and told them to print the letters no larger than 5.5 inches wide. This came out to be 550 font size. They printed each letter on a separate 8 1/2 by 11 piece of paper.
Next, I took the letters and arranged them on the wood as I saw fit. Word of advice; cut the paper down as small as you can around the letters. This makes it easier when you have to “rub off” the excess paper after it’s been transferred.
Next, take the Mod Podge and coat the letters. Then lay them face down on the wood.

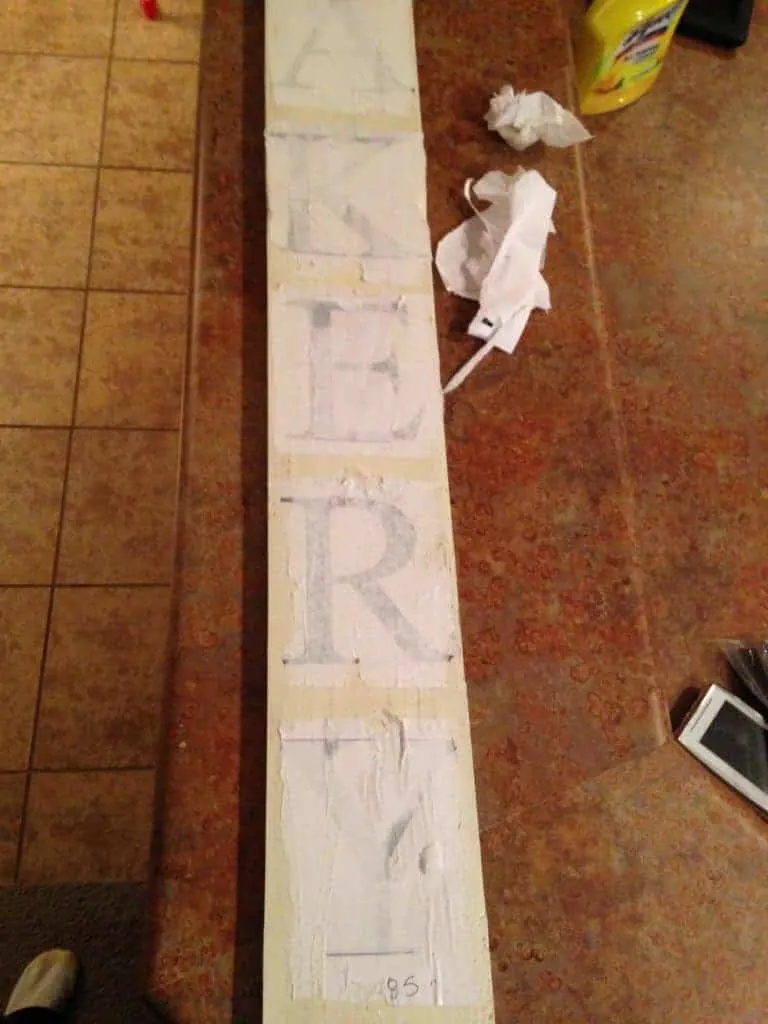
I also covered the top of the DIY farmhouse sign with one coat of Mod Podge as well. Now for the waiting game.
I waited about 3 hours (wait until its completely dry) and then I took a damp washcloth and lightly scrubbed the top layer of paper away. The idea is that the paper will peel off and leave the black letters on the wood.

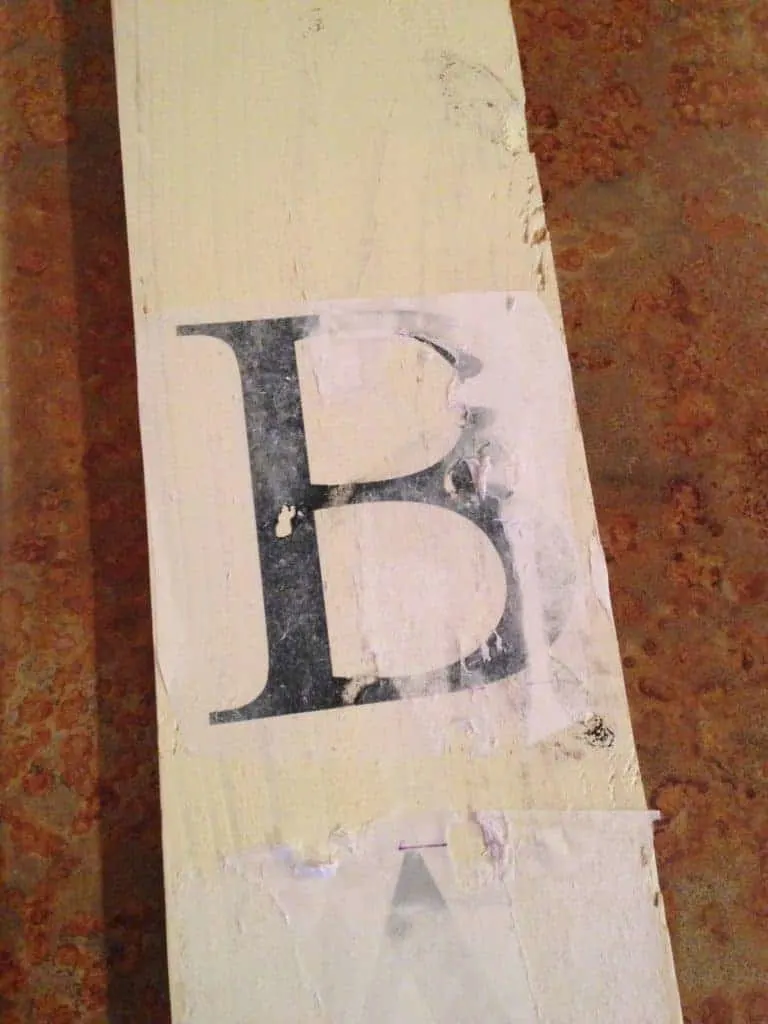
You can tell I am going for a more “distressed, vintage look.”
After I scrubbed as much off as I could, I painted one more layer of mod podge on the top to seal the letters on my vintage bakery sign. I love the way my new farmhouse decor sign was turning out!
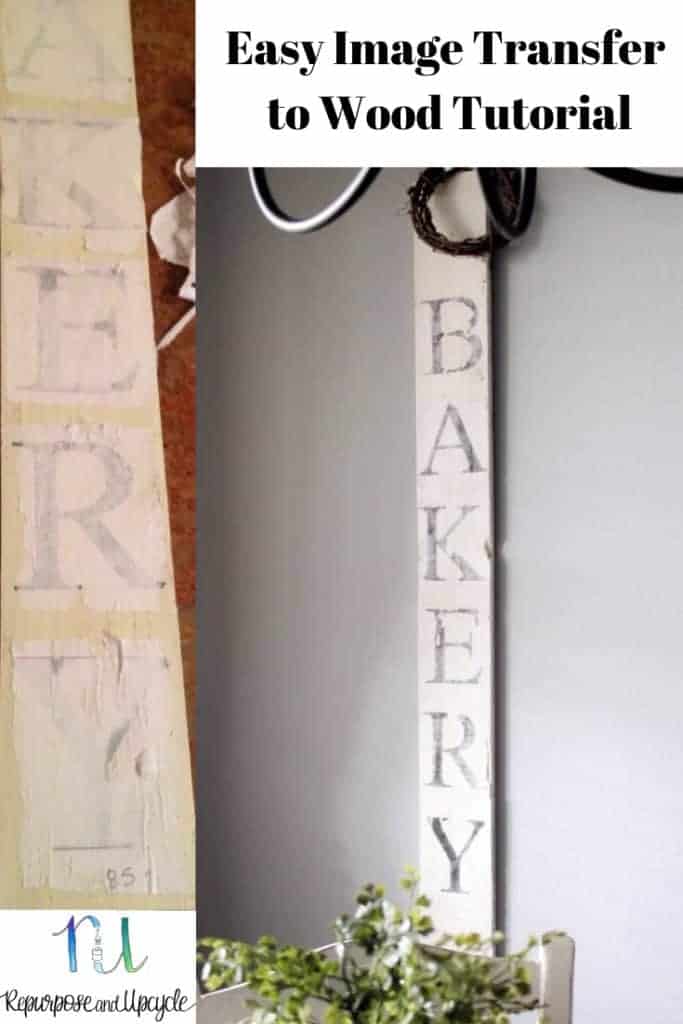
How easy is that! With a little time and effort and not much money you can recreate the “DIY vintage Bakery Sign” look for under $10!
I love this image transfer to wood method because it’s so easy!

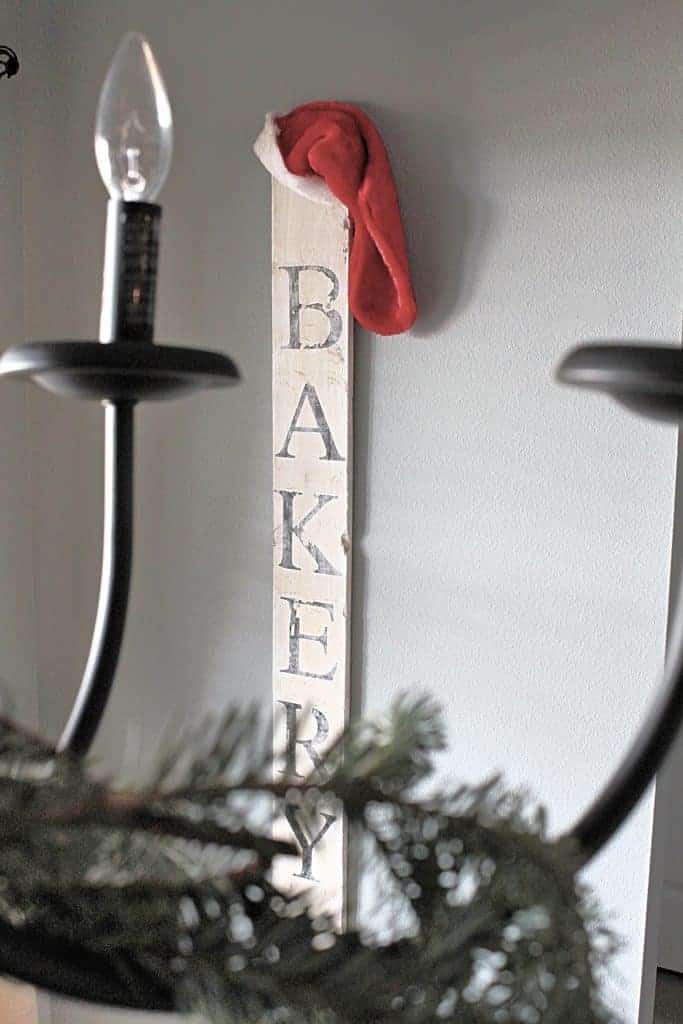
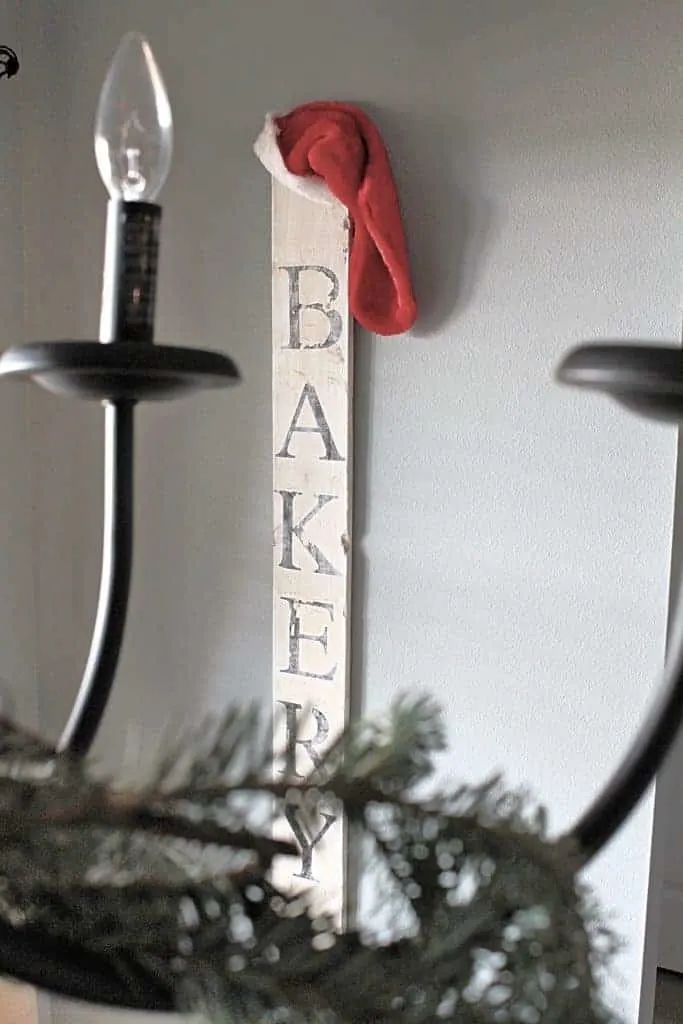
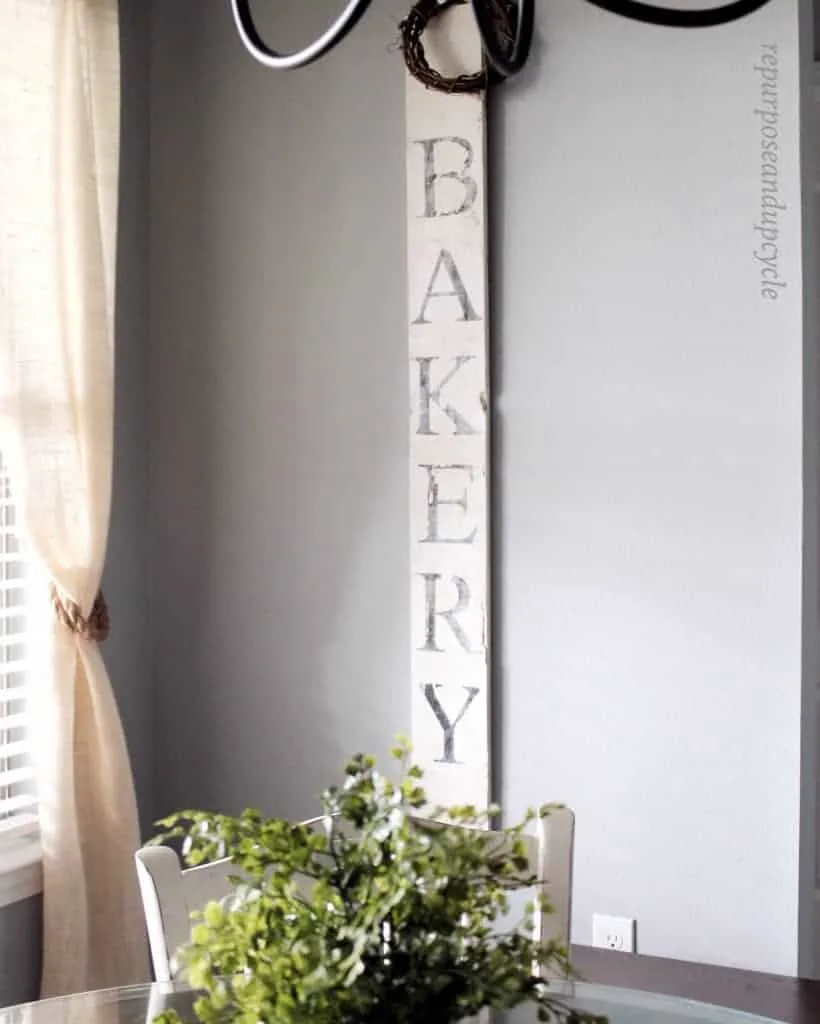
Here is a view of the DIY Bakery Sign styled for Christmas. To see more of my Christmas decor click HERE.
I hope this helps you create a few of your own farmhouse vintage style signs to add to your own decor!
Lindsey **
[…] DIY Vintage Bakery Sign shared by Repurpose and Upcycle […]
Hi, I love this a great simple statement piece that look is fairly easy to make #SharingtheBlogLove
[…] To see more about the DIY Bakery Sign click HERE. […]
[…] To see more pictures and a post about the DIY vintage Bakery Sign you see pictured above click HERE. […]
I love this sign. Just wanted to stop by to let you know that I’m featuring it at this week’s link party. http://www.thelifeofjenniferdawn.com/2017/04/diy-wood-craft-projects-weekly-link.html
Oh thank you so much! This made my day. Have a wonderful week.
Lindsey
Love your sign. I’ve read about technique but never tried it. You bet I will now. Thank you for sharing your charming sign at the Snickerdoodle Create~Bake~Make link party!
[…] […]
That is darling! Thanks for sharing with us at Funtastic Friday 🙂
Great job Lindsay!! Thank you for sharing at Create, Bake, Grow & Gather this week.
[…] DIY Bakery Sign by Repurpose and Upcycle […]
Nice tutorial, Lindsey–anyone can do this–even me! Love the look and am so glad you linked the project up with us at Vintage Charm 🙂
Wonderful tutorial Lindsey, I adore the large vintage signs in decor, this one came out great! Thanks for sharing your project at Fridays Furniture Fix!
What a great project! I have had this on my to do list forever and seeing your project has inspired me once again 🙂
Thanks for sharing your creativity with us at the Waste Not Wednesday Link Party. Looking forward to seeing more from you each week.
Love this! So cute for the kitchen. Thanks for sharing at the Friday at the Fire Station link-up!
I love this!! Thank you for sharing for the Waste not Wednesday Link party! You are my pick this week! It will be posted Tuesday night at 10pm EST
Thank you thank you for the feature! And I’m glad you enjoyed my post.
Aw, man. I need to come to where you are. I just bought 1 x 6 boards at Lowe’s the other day, and they’re a full $8 where we are. Not a huge expense, but those little expenses add up, you know? Love your bakery sign, and appreciate the tip on laser printers. Now I know why I’ve never had success with this method. Thanks so much for joining the #happynowlinkup!
So cute! I’m trying to get brave enough to make a “Farm Fresh Eggs” sign for my kitchen. Thanks, for sharing!
This is so cute! Thanks for sharing!
I wouldn’t want to pay that much either! Yours looks really great. Thank you for sharing with us this week at Celebrate Your Story, have a great weekend.
Hi! I’m one of the co-hosts from the Welcome Home Wednesdays Link Up. I love this beautiful DIY sign. My hubby and I are building our dream house, farm house style and i’m dreaming of all kinds of pretty, vintagey signs like this. I can totally see this in our new kitchen. Thank you for sharing.
Cute look.
It’s so smart to just make your own sign!! What a great project!
Jodie
http://www.jtouchofstyle.com
#Fandayfriday
Good instructions on making this…. very nice. 🙂
I really need to start making my own signs…you make it look so doable!
What a darling sign! Thank you for sharing with us this week on the Art of Home-Making Mondays at Strangers & Pilgrims on Earth!
Great technique. Love the way it came out. Thanks for sharing at Dishing It & Digging It!
This turned out awesome and so much cheaper! Great job and thanks for sharing!
Love this! Was drawn to it because I grew up with my parents owning a bakery. This came out beautifully!
This sign looks like it was so much fun to make! I wish I had the time to do one myself!
Kate | TheOrganizedDream.com
How cute! And it looks so easy! Thanks for sharing 🙂
Lovely! This is a great DIY 🙂 thank you for sharing at Support Your Fellow Crafter!
Totally plan on doing this! I want it to say Gather for my dining room- thank you for the tutorial!
Great idea! Let me know how it turns out!
I love it….great job.
Your directions are great. They are so clear and specific. I probably would have never considered a project like this something I could do but your directions are so clear that it seems like something I can handle. Pinning this one to give it a try over the summer. Thanks for the inspiration.
Oh that’s great news. Thanks for the feeback, I always like to know if I’m being clear and concise. I hope your project turns out well. Good luck!
I am in love with this sign. Love it! I hope that you will join us at Family Joy Blog Link Up Party this week. Check us out http://thinking-outside-the-pot.com/?p=3499
This is too cute! 🙂
I would love for you to share this with my Facebook Group for recipes, crafts, tips, and tricks: https://www.facebook.com/groups/pluckyrecipescraftstips/
Thanks for joining Cooking and Crafting with J & J!
Definitely lovely! Thanks for sharing the process!
God bless,
Patty
A very effective look and easy to do too #CreativeMondays
This is great! I, too, always love these signs when I see them. I’m glad to know that I can make one for myself. Thanks so much for the tutorial!
It’s a great decor piece, and so simple to make too. Thank you for sharing at The Really Crafty Link Party! Pinned!
Do you happen to have video of this process ?
Hi! No, I sure don’t, but you better believe when I do this again I definitely will make a video. So sorry, wish I could be of more help!
If you have any questions please don’t hesitate to ask.